Rod's Spaceship Scratch Built Plasma Table
-
- 4 Star Member
- Posts: 780
- Joined: Sun Aug 21, 2016 1:49 am
- Location: Brisbane, Australia
- Contact:
Rod's Spaceship Scratch Built Plasma Table
Hi guys, I live in Australia and have been lurking here for quite a while learning as much as I can and I thought I'd add a build Thread on my yet to be completed Plasma table. Its been a long time coming as I actually started 9 months ago way back in March last year.
So here i what it will look like
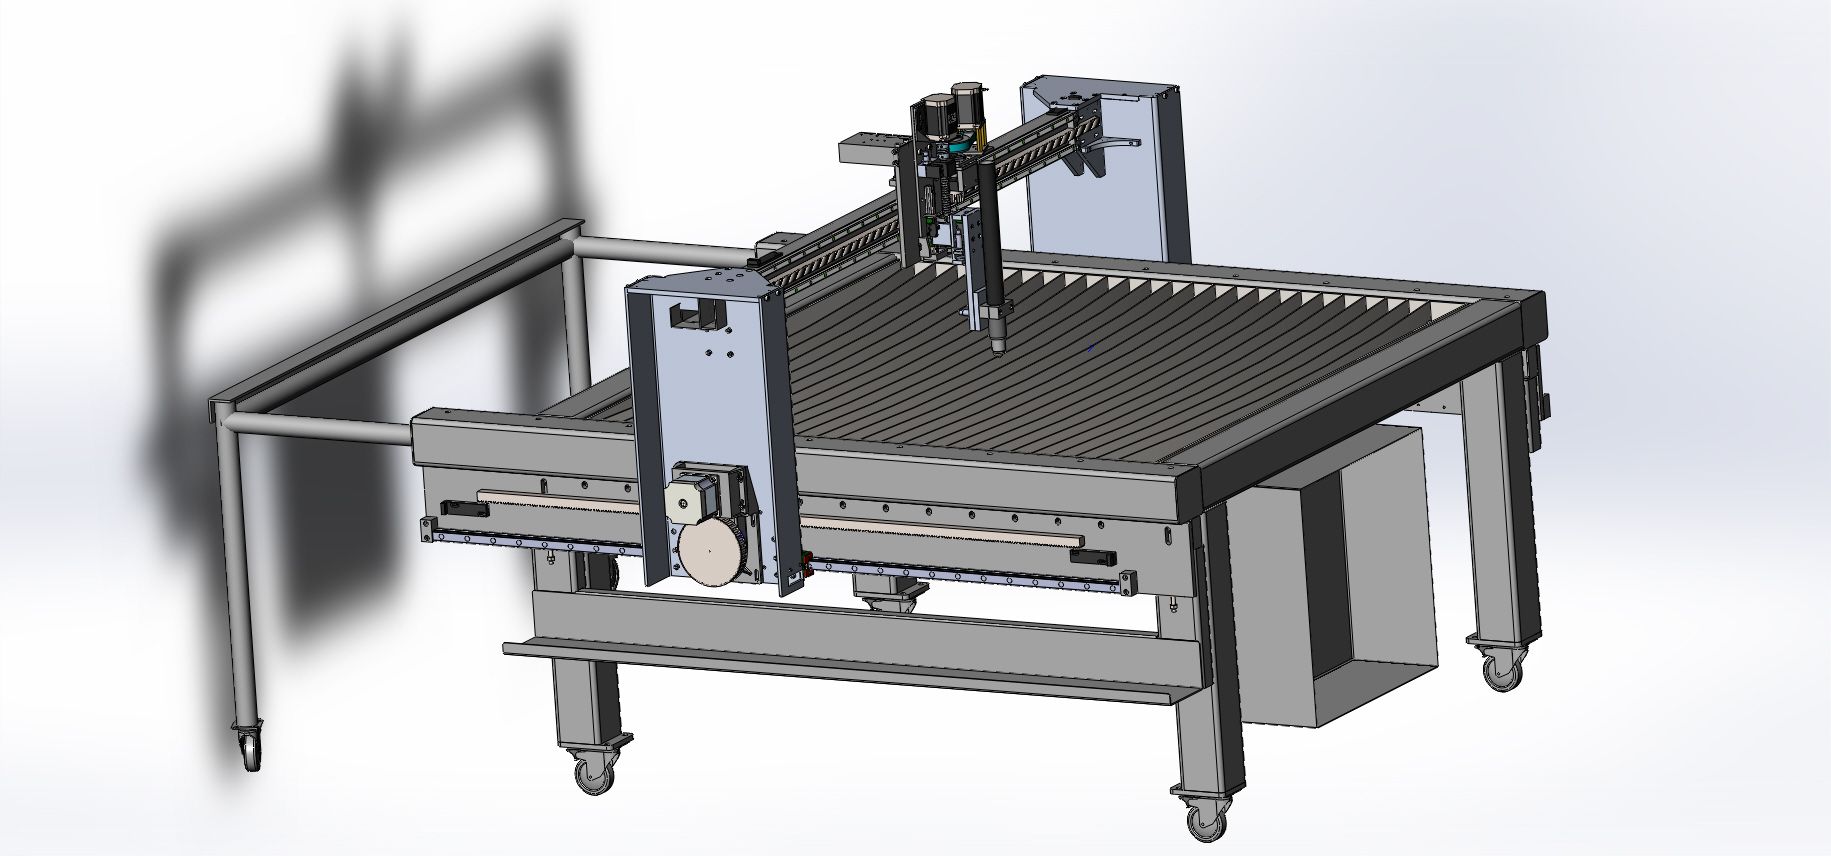
What you are looking at is about Version 87.3 of the design.... (or is that V 887?)
Most people seem to start with welding up the table but I started at the other end as I am a cr@ppy welder. So every part you see in the render is built and the material is cut for the table
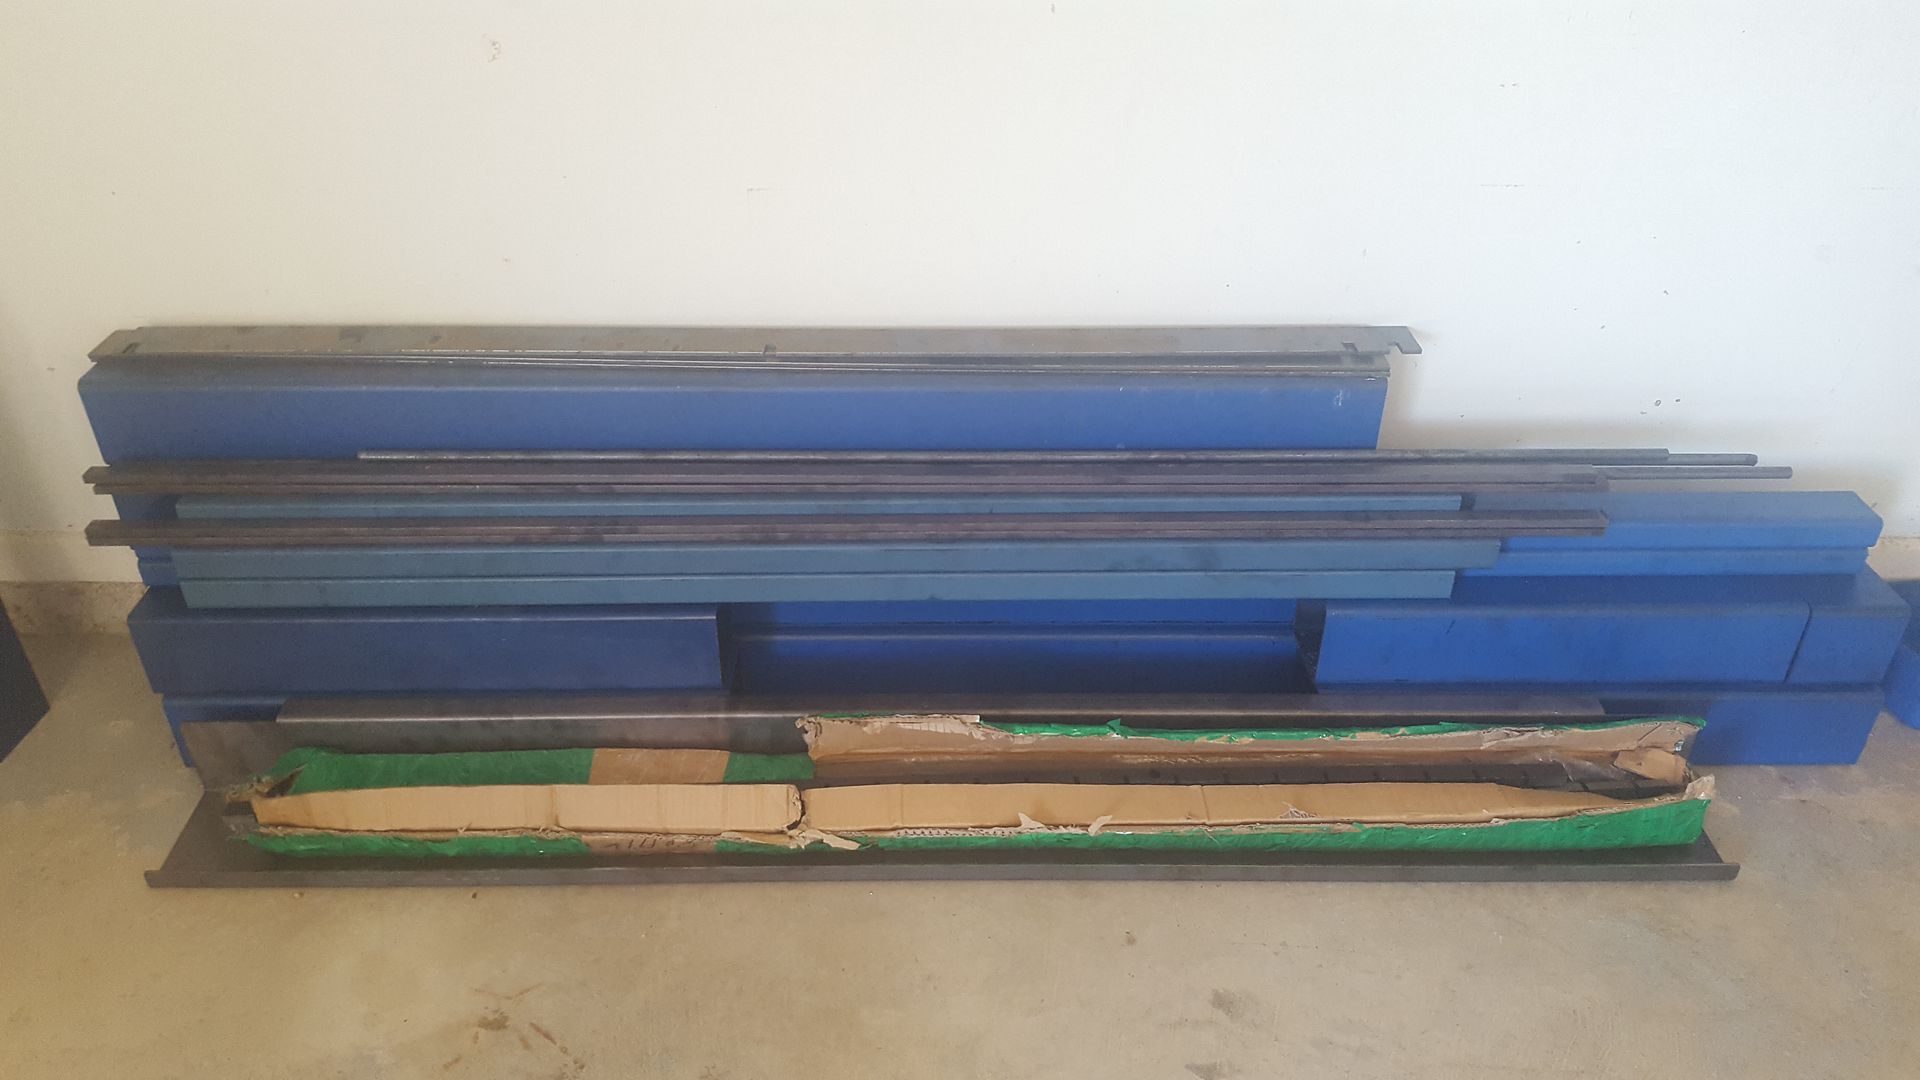
Now I work with a couple of very good fabricators who can actually weld very well so hopefully and one of them has agreed to weld it up for me so it should get together next week sometime. Once thats done its a matter of drilling and tapping a few last holes and bolt all the subassemblies together to see if it works:
Anyway, here are a few specs.
Frame: 100mm x 4mm SHS
Table Size: call it 4" x 4" but its around 1240mm x 1300mm, with slide out material support for full sheets.
Fume control: Probably Downdraft
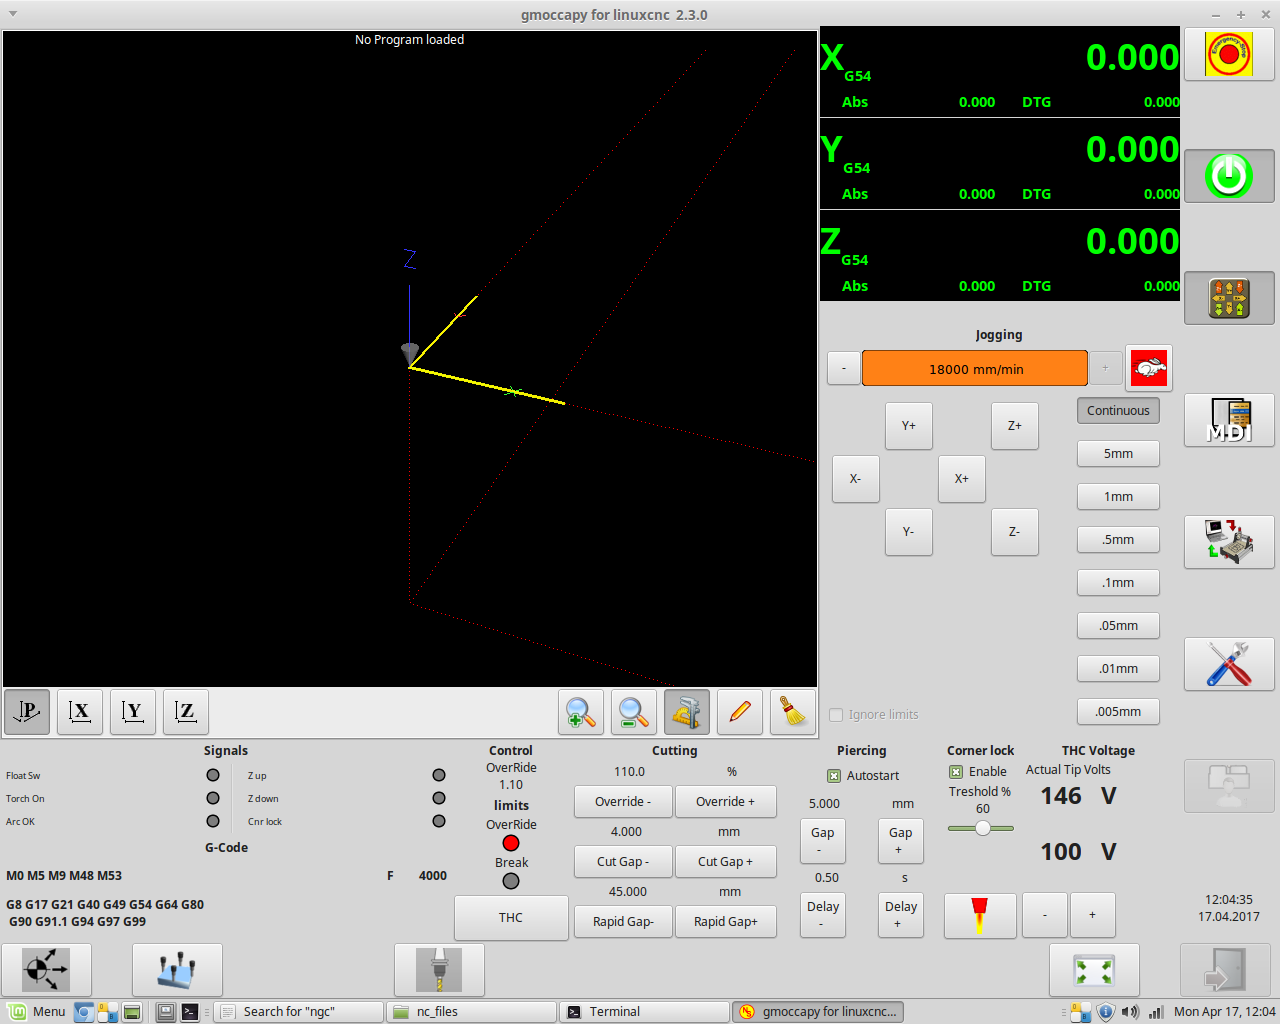
Controller: LinuxCNC with Gmocappy GUI
PC: Gigabyte Celeron J1900 USFF PC that fits in the palm of your hand
Monitor: Touchscreen (still to buy)
Operating System: Linux Mint 17.3
CNC interface: Mesa 7i76e Ethernet card
Stepper Controllers: Longs Motor DM542a with 20x microstepping (4000 pulses per revolution)
Torch Height Control: Mesa THCAD-10 voltage to frequency card with experimental PID based LinuxCNC THC component released 4 days ago.
Z axis Drive: NEMA 23 stepper with 150mm ball screw, 150mm linear rail floating head (86mm travel), magnetic breakaway
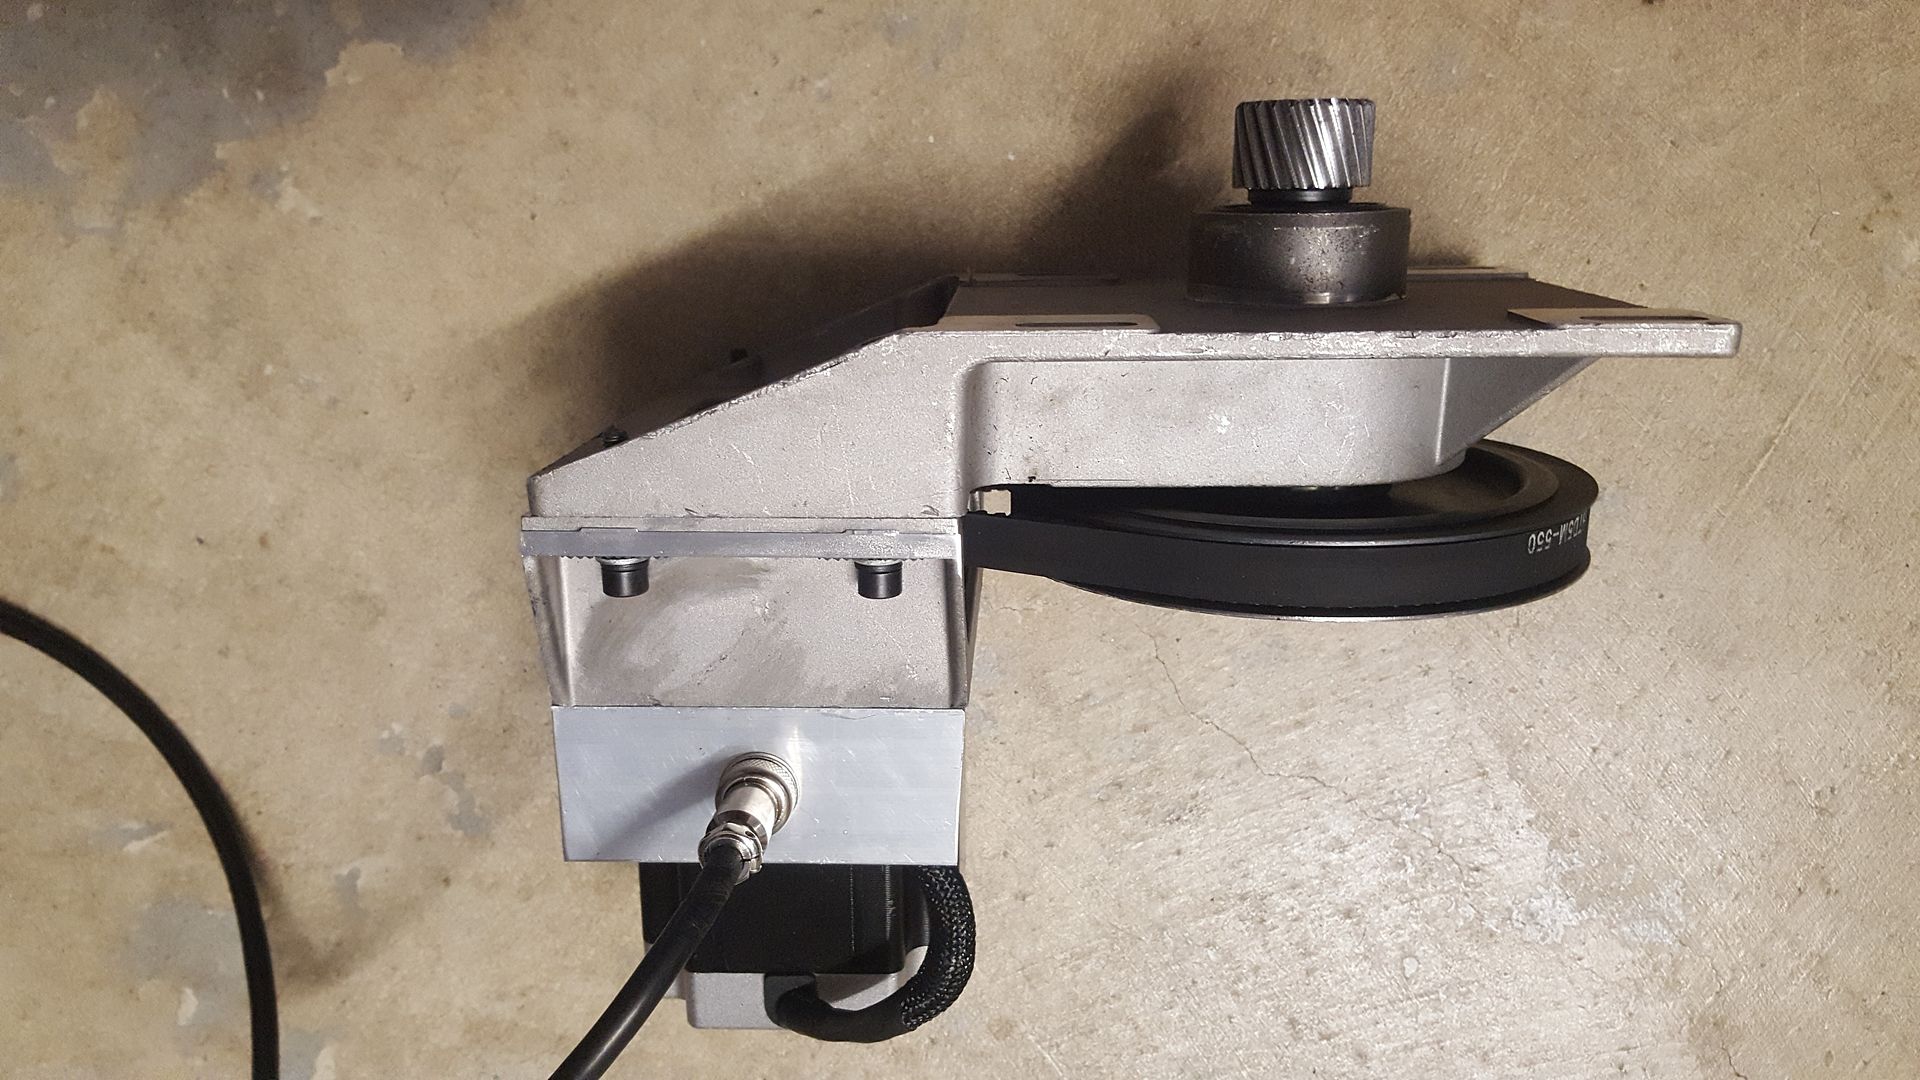
Gantry Drive: NEMA 23 stepper, Home grown 3:1 reduction drive to rack and pinion, 15mm linear rails x 2
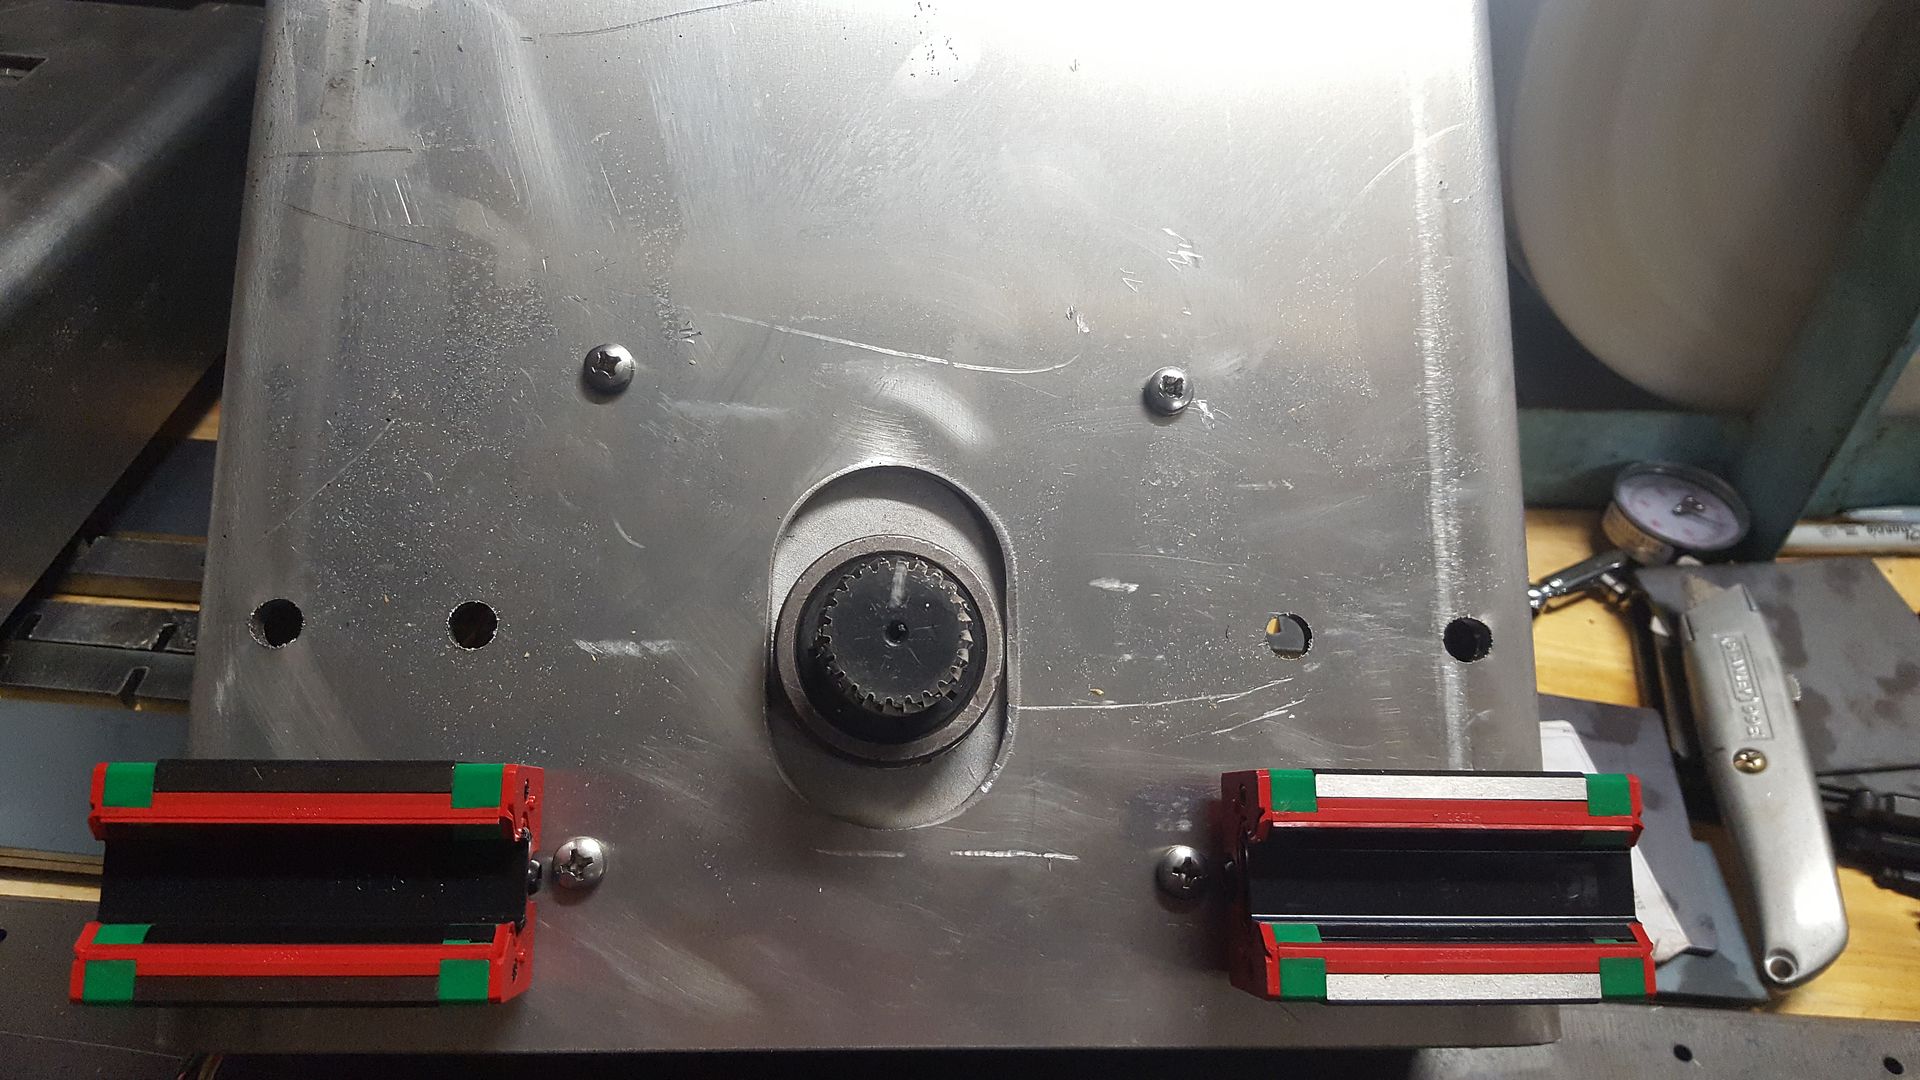
Table Drive: 2 x Nema 34 steppers 5:1 reduction drive, 25mm linear rails, helical rack and pinion
Gantry towers: 6mm aluminium laser cut and folded
Gantry cross member 40mm x 80mm x 4mm Aluminium RHS.
Plate Marker: M7 scribe, 150mm air ram and all of the regulators and oilers as per this forum (3 parts left to make)
Maximum speed 21 metres per minute (825 inches per minute)
Rotary Axis: planned, already have a stepper driven Rotary table.
Post Processor: Sheetcam (still to buy)
Plasma cutter: Everlast 50 amp with 75 amp machine torch (for proof of concept, probably move to 3 phase Hypertherm)
Once built, this thing will weigh in at 400-500kg so its not a trivial build.
So here is a few pics in no particular order.
PC
http://i210.photobucket.com/albums/bb27 ... joxyyi.jpg
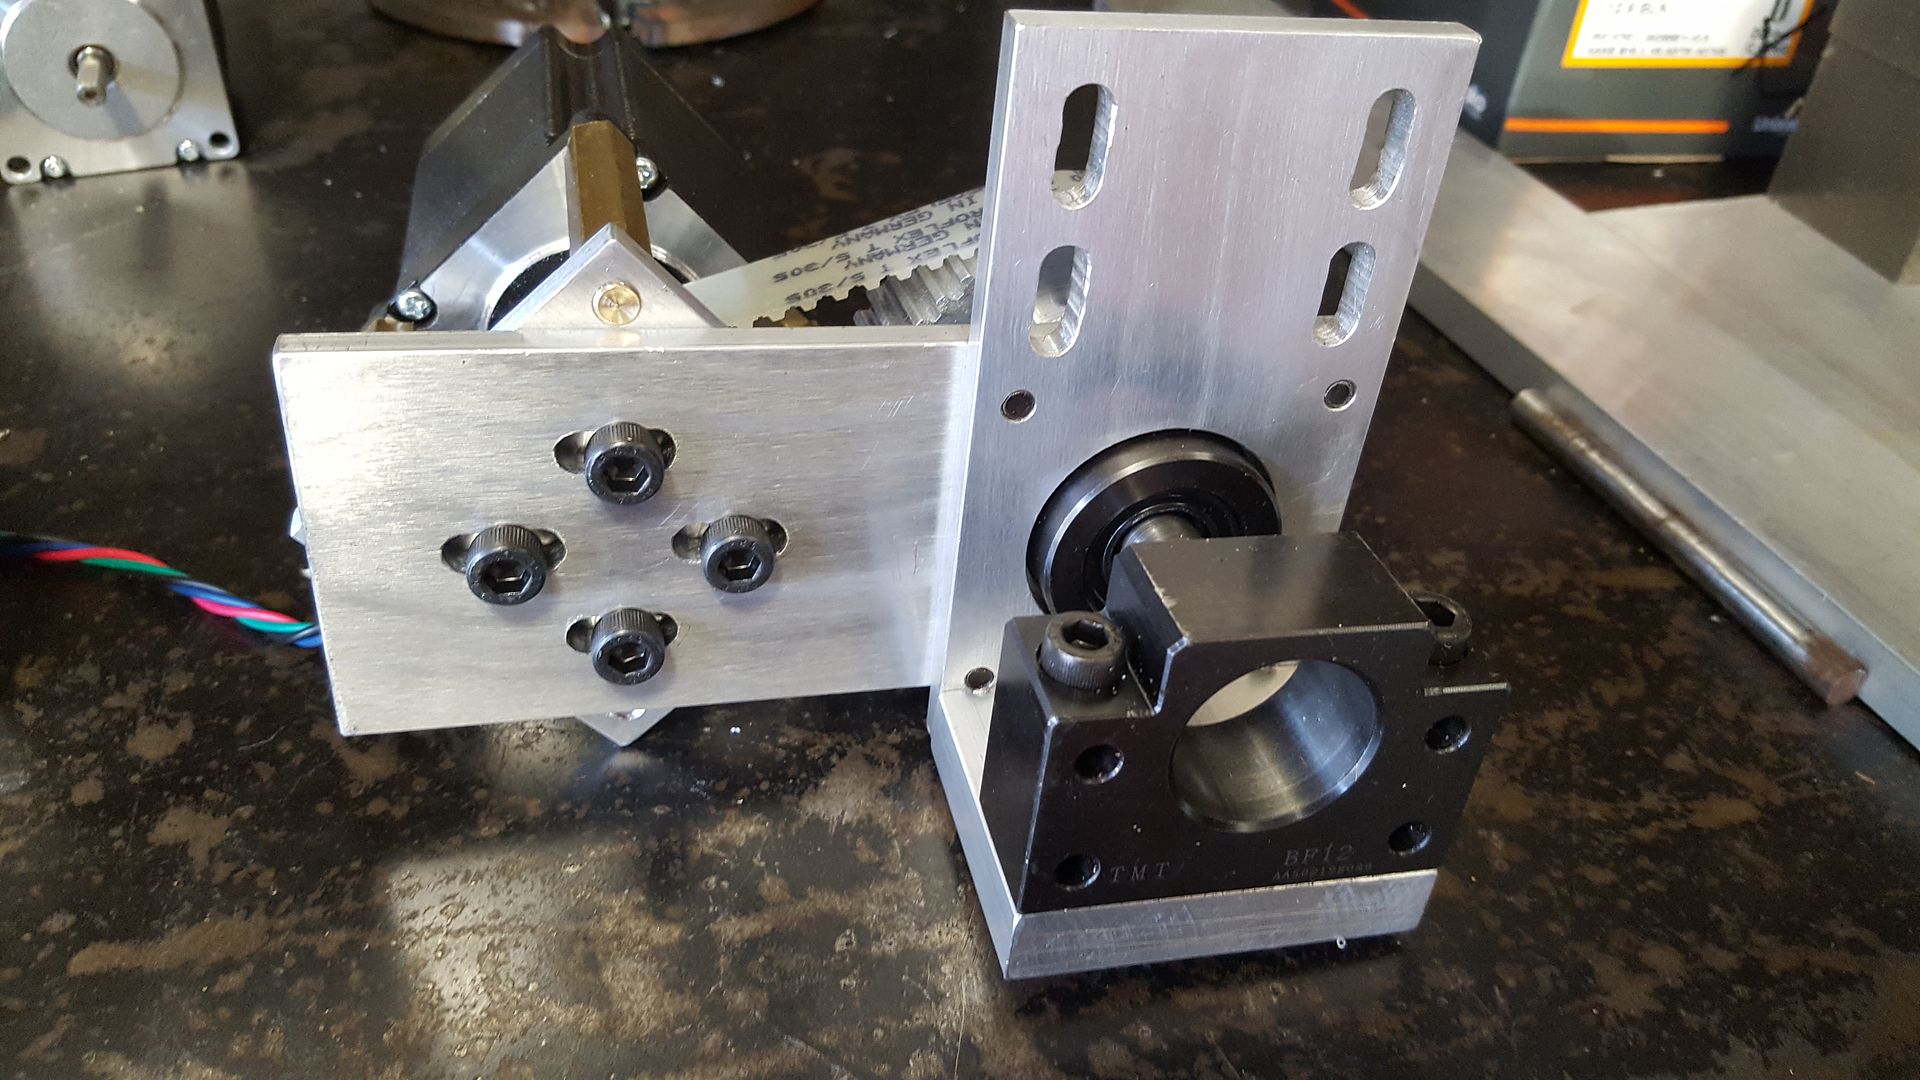
Reduction drive on the gantry
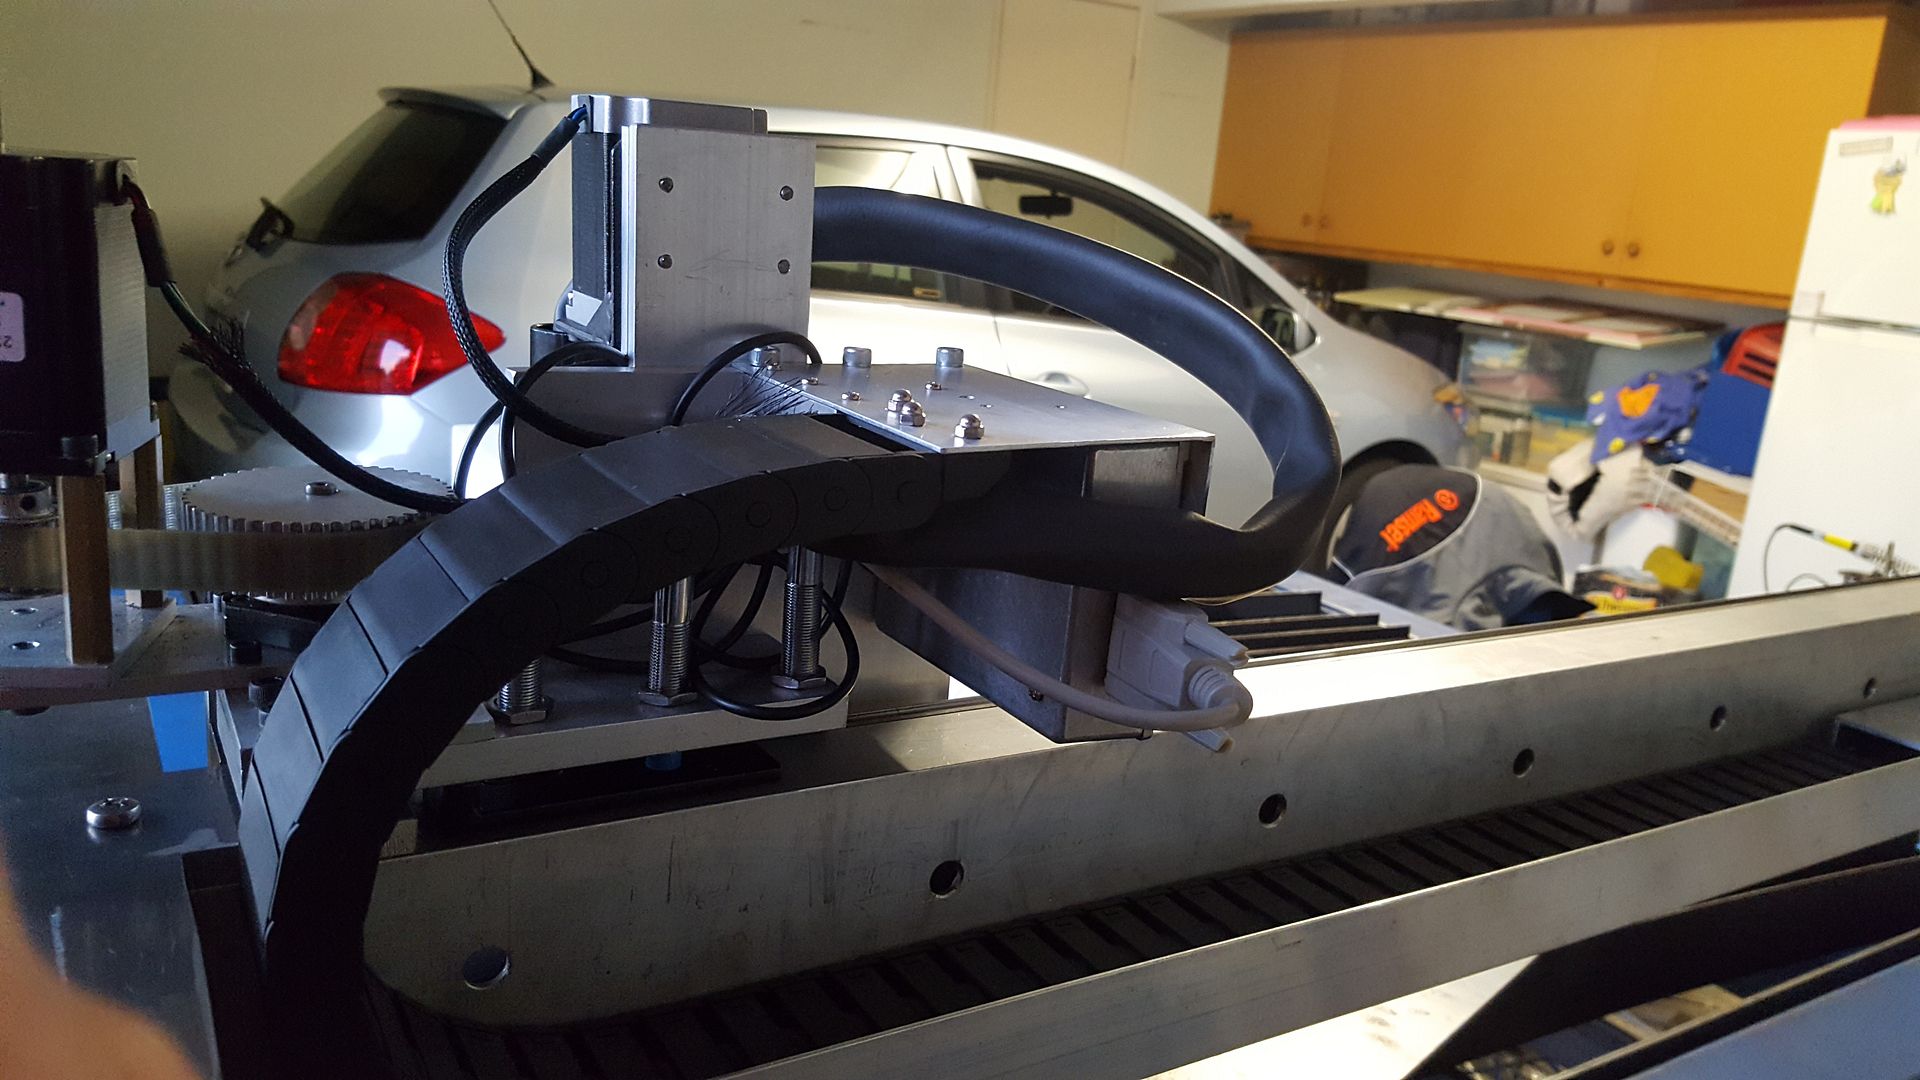
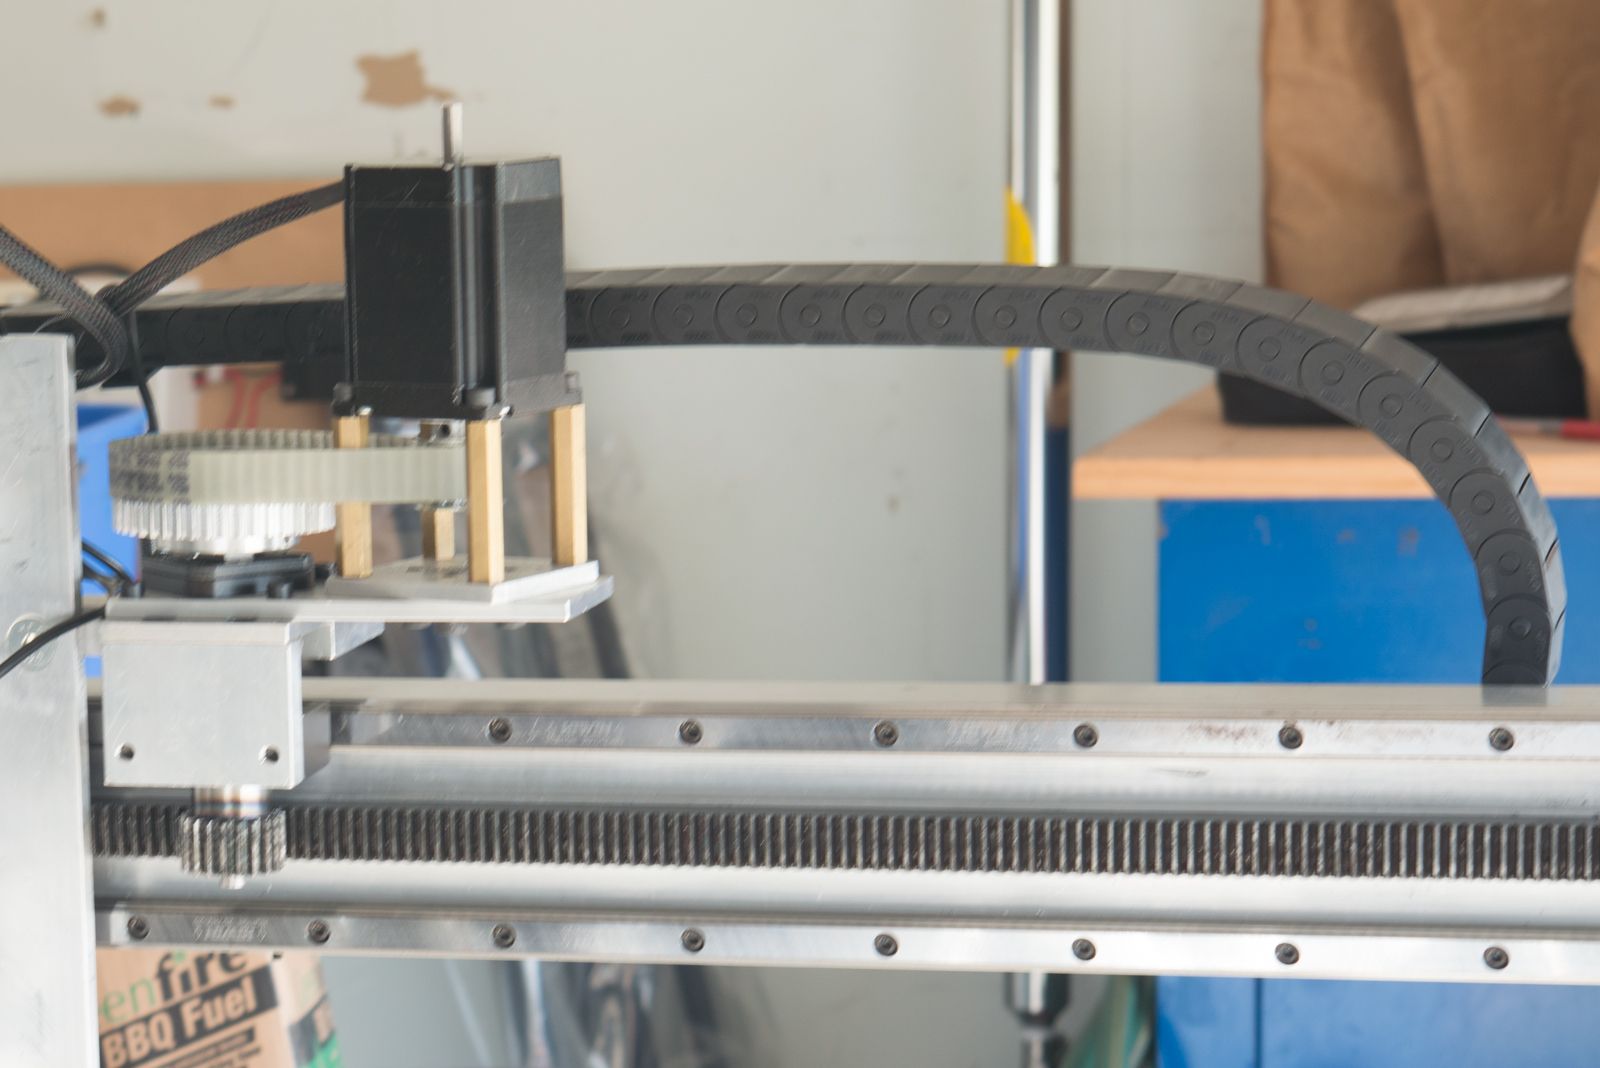
Gantry drive and drag chain
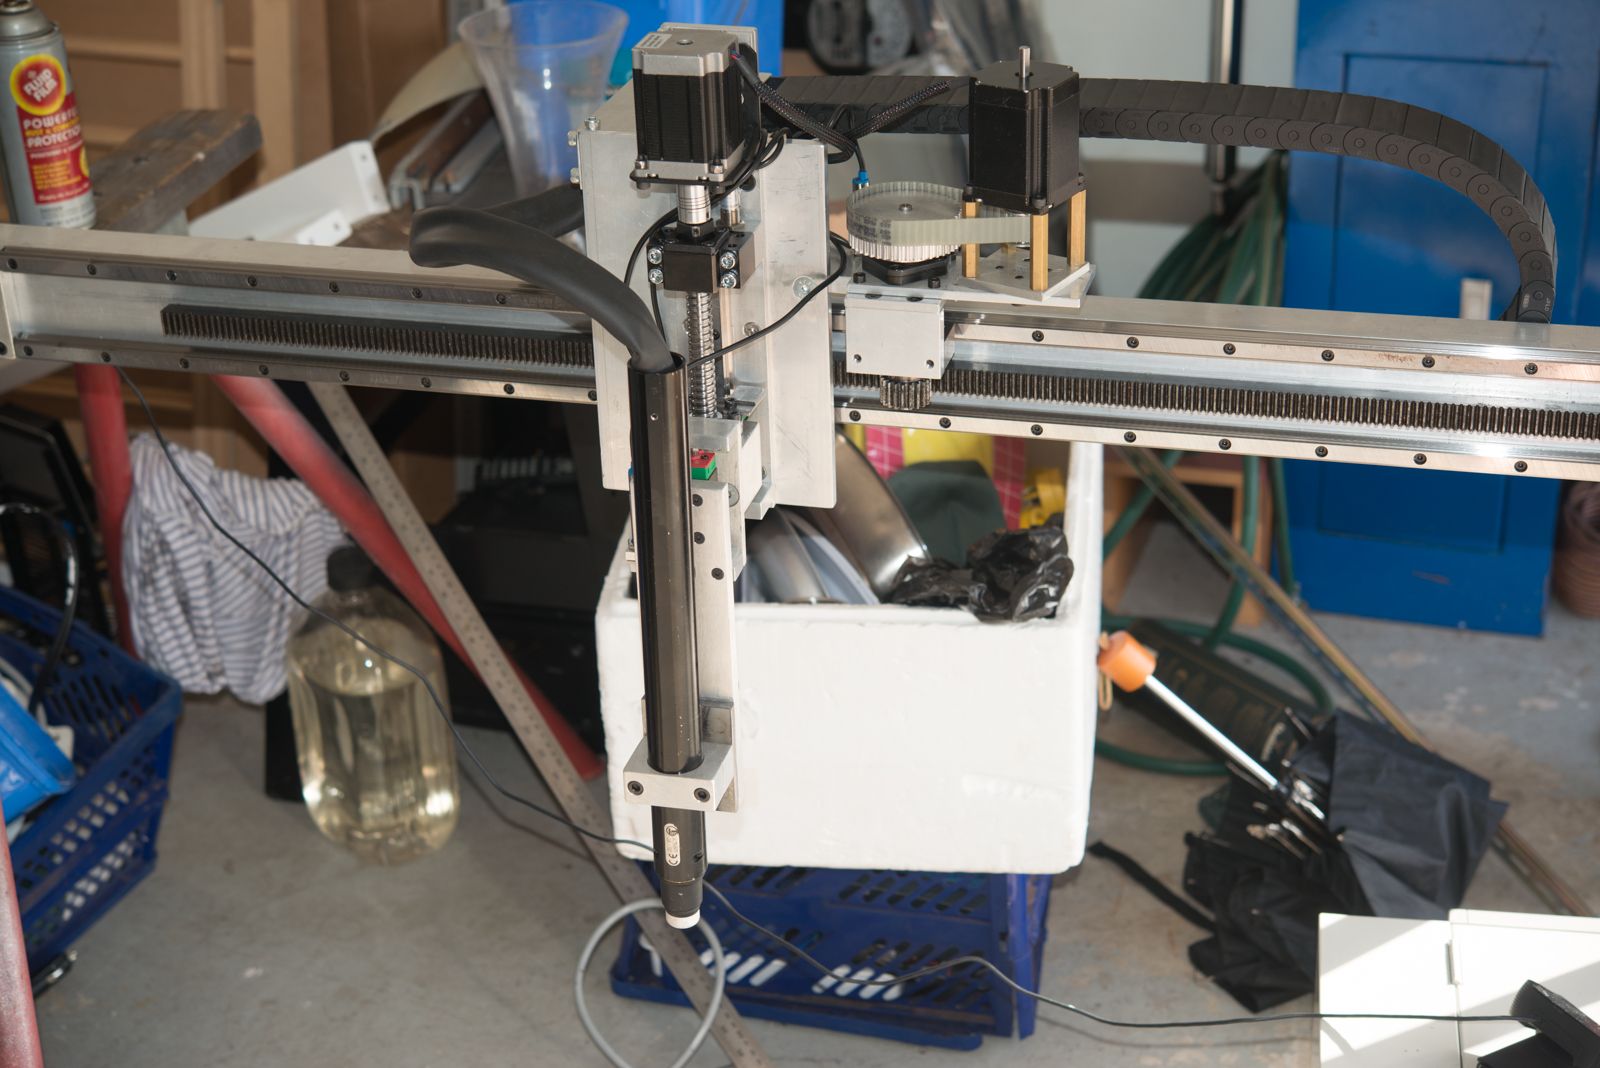
Completed Gantry
Rear of Gantry carriage.
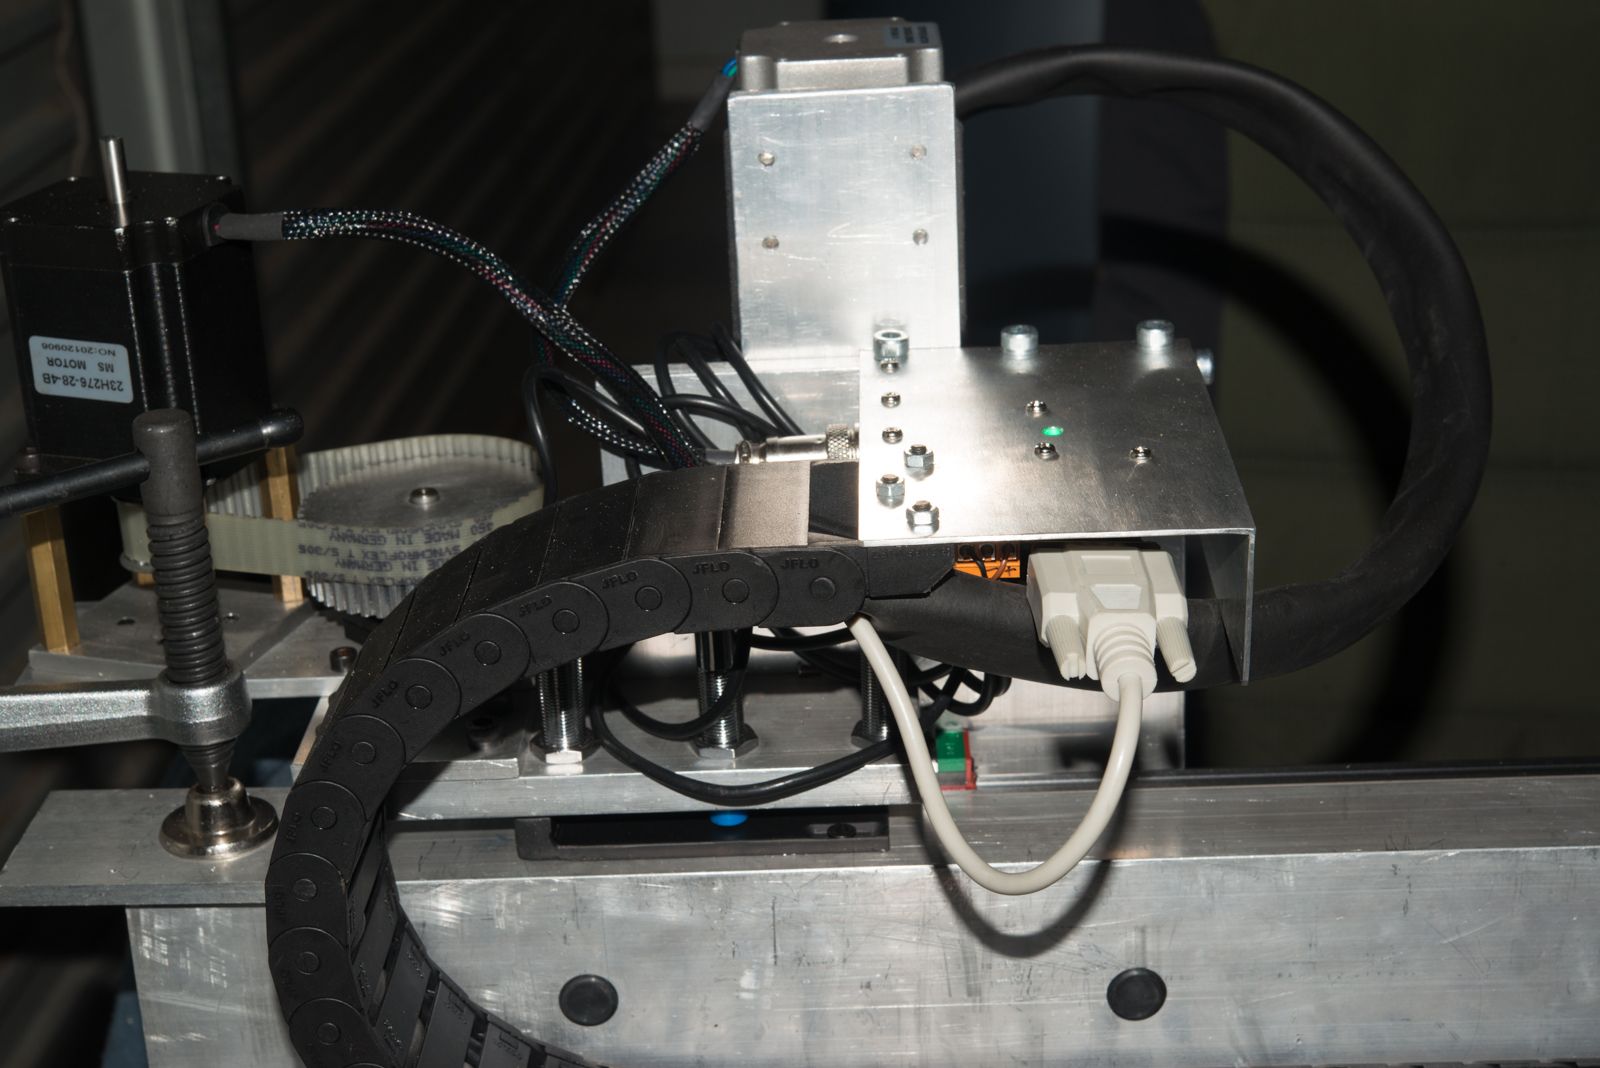
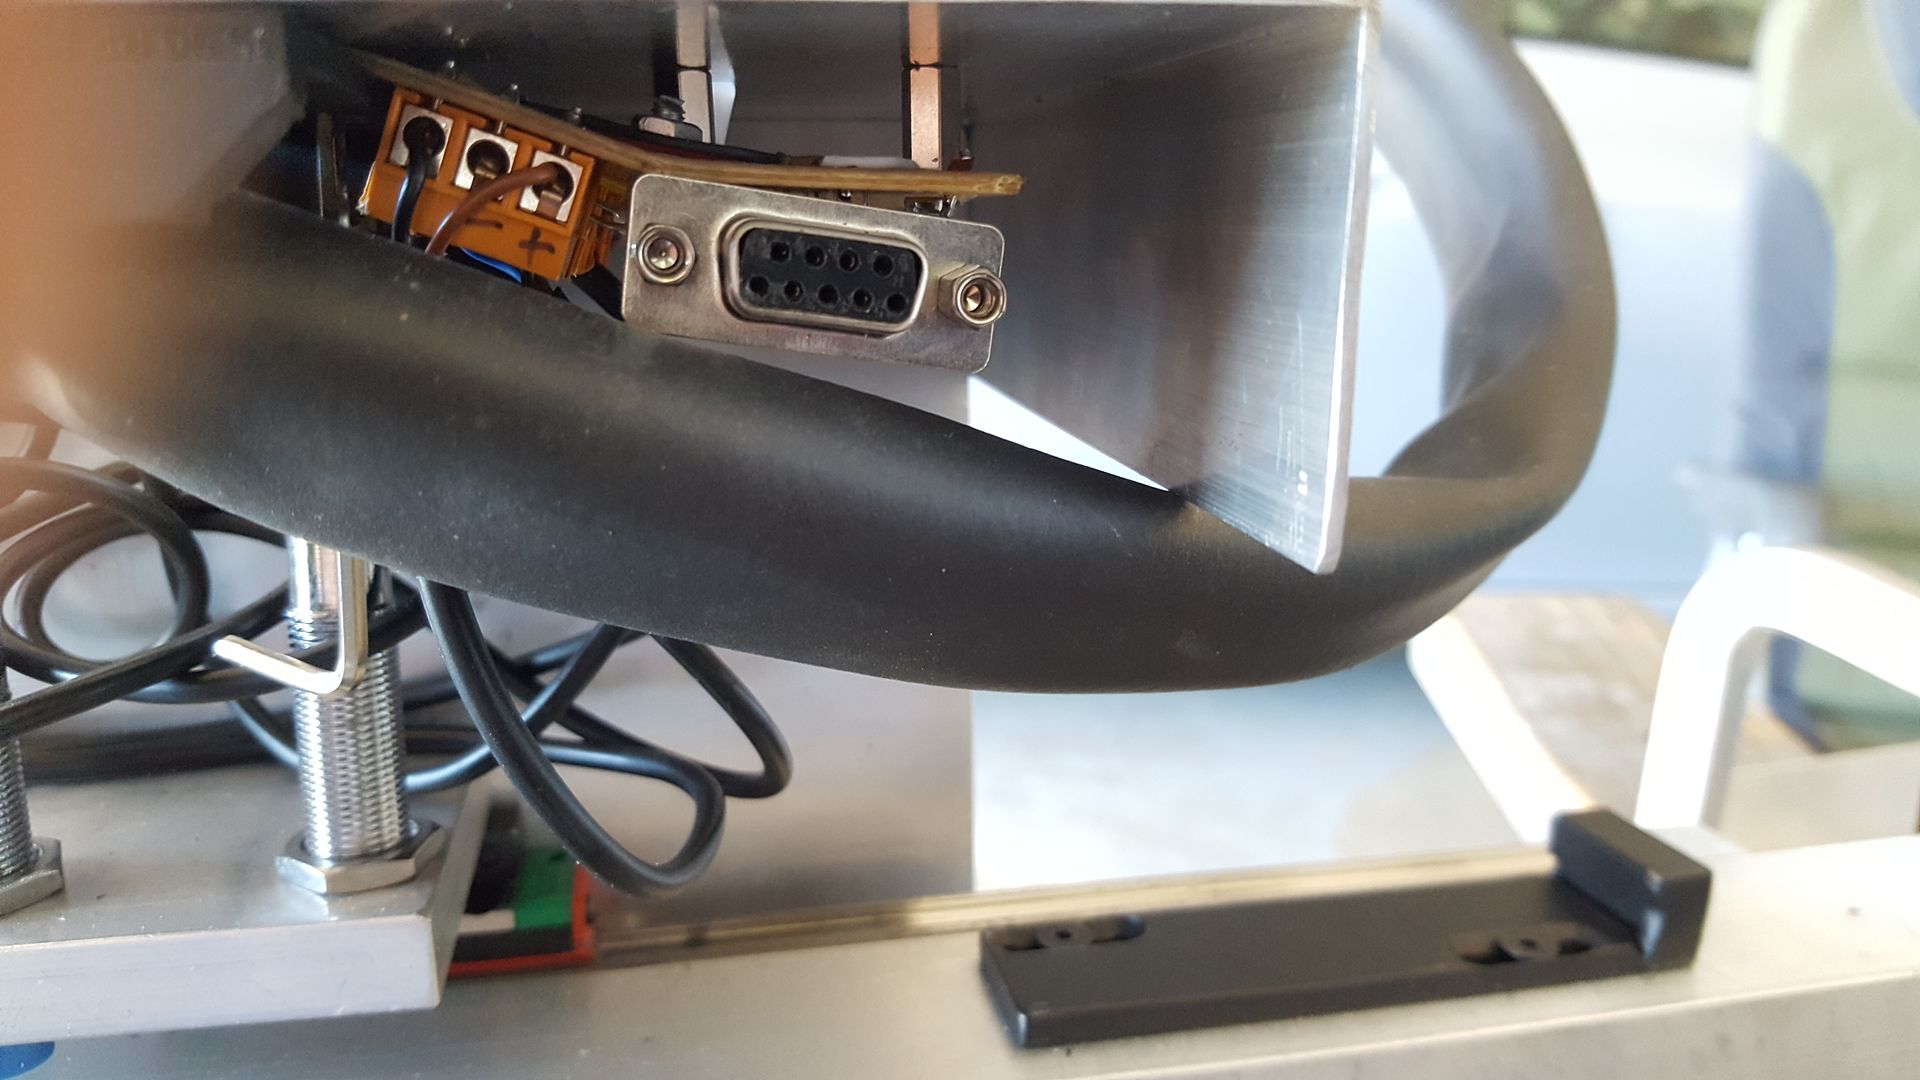
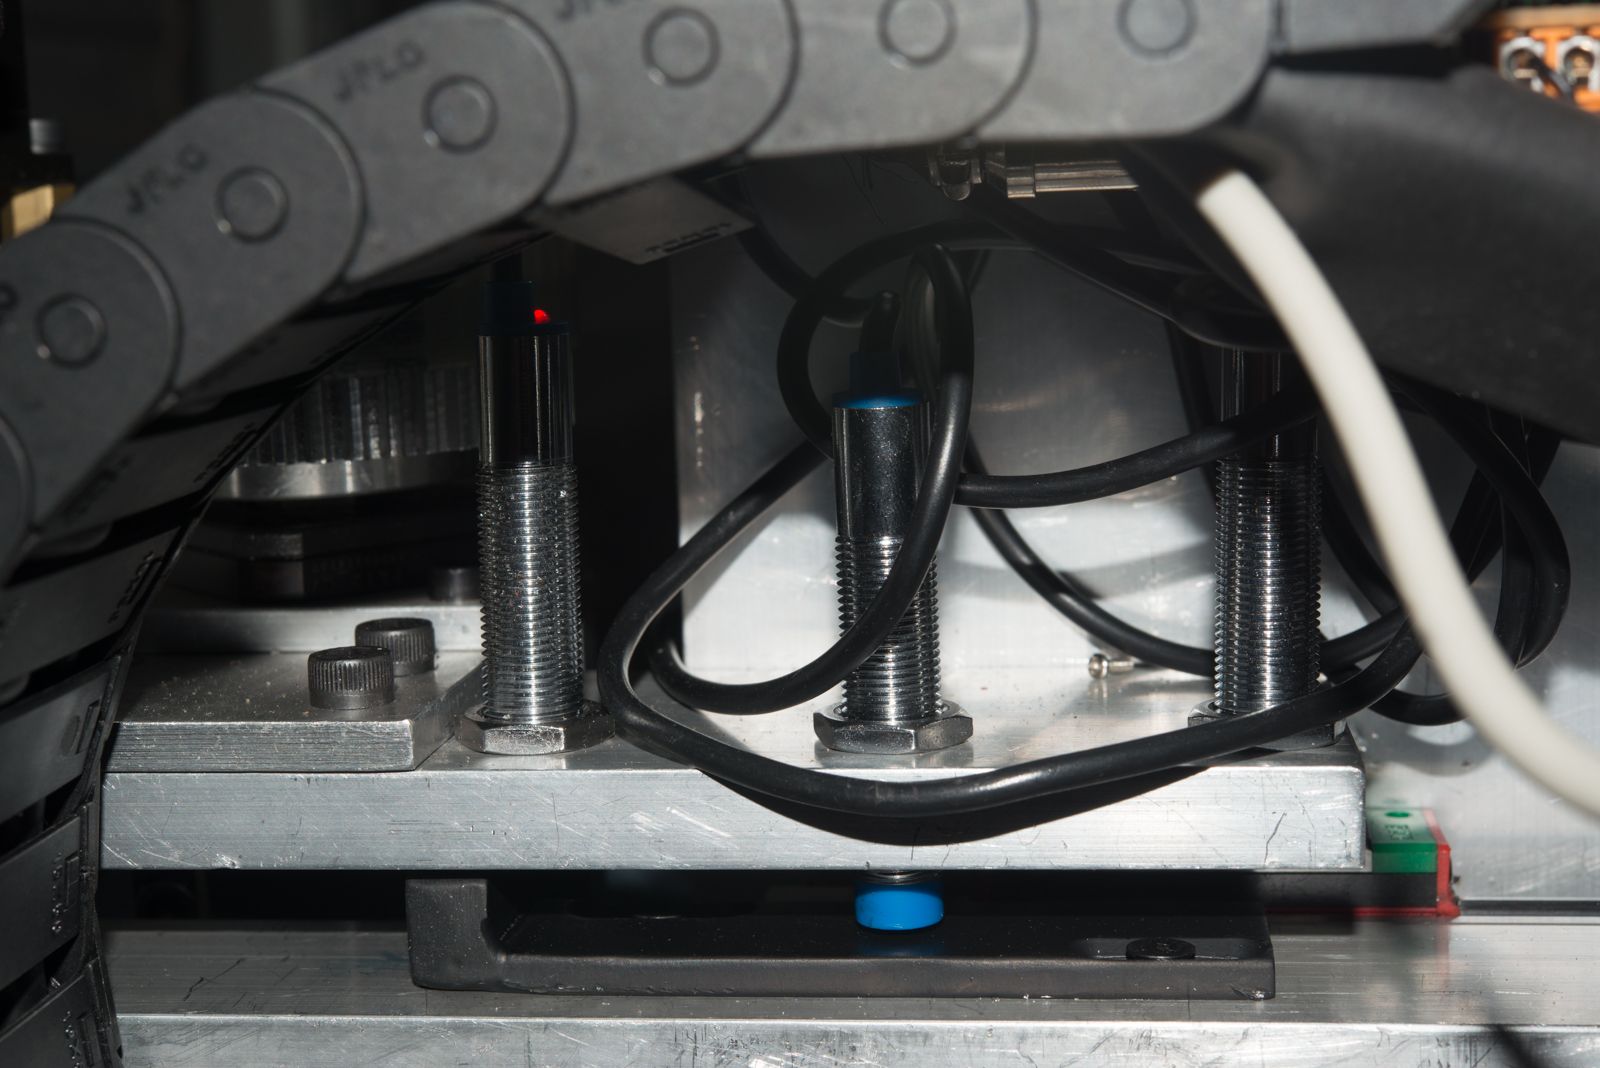
Note 3 x proximity sensors for min limit, max limit and home switch. This ide worked so well, I'm using identical parts on the table limit switches.
.
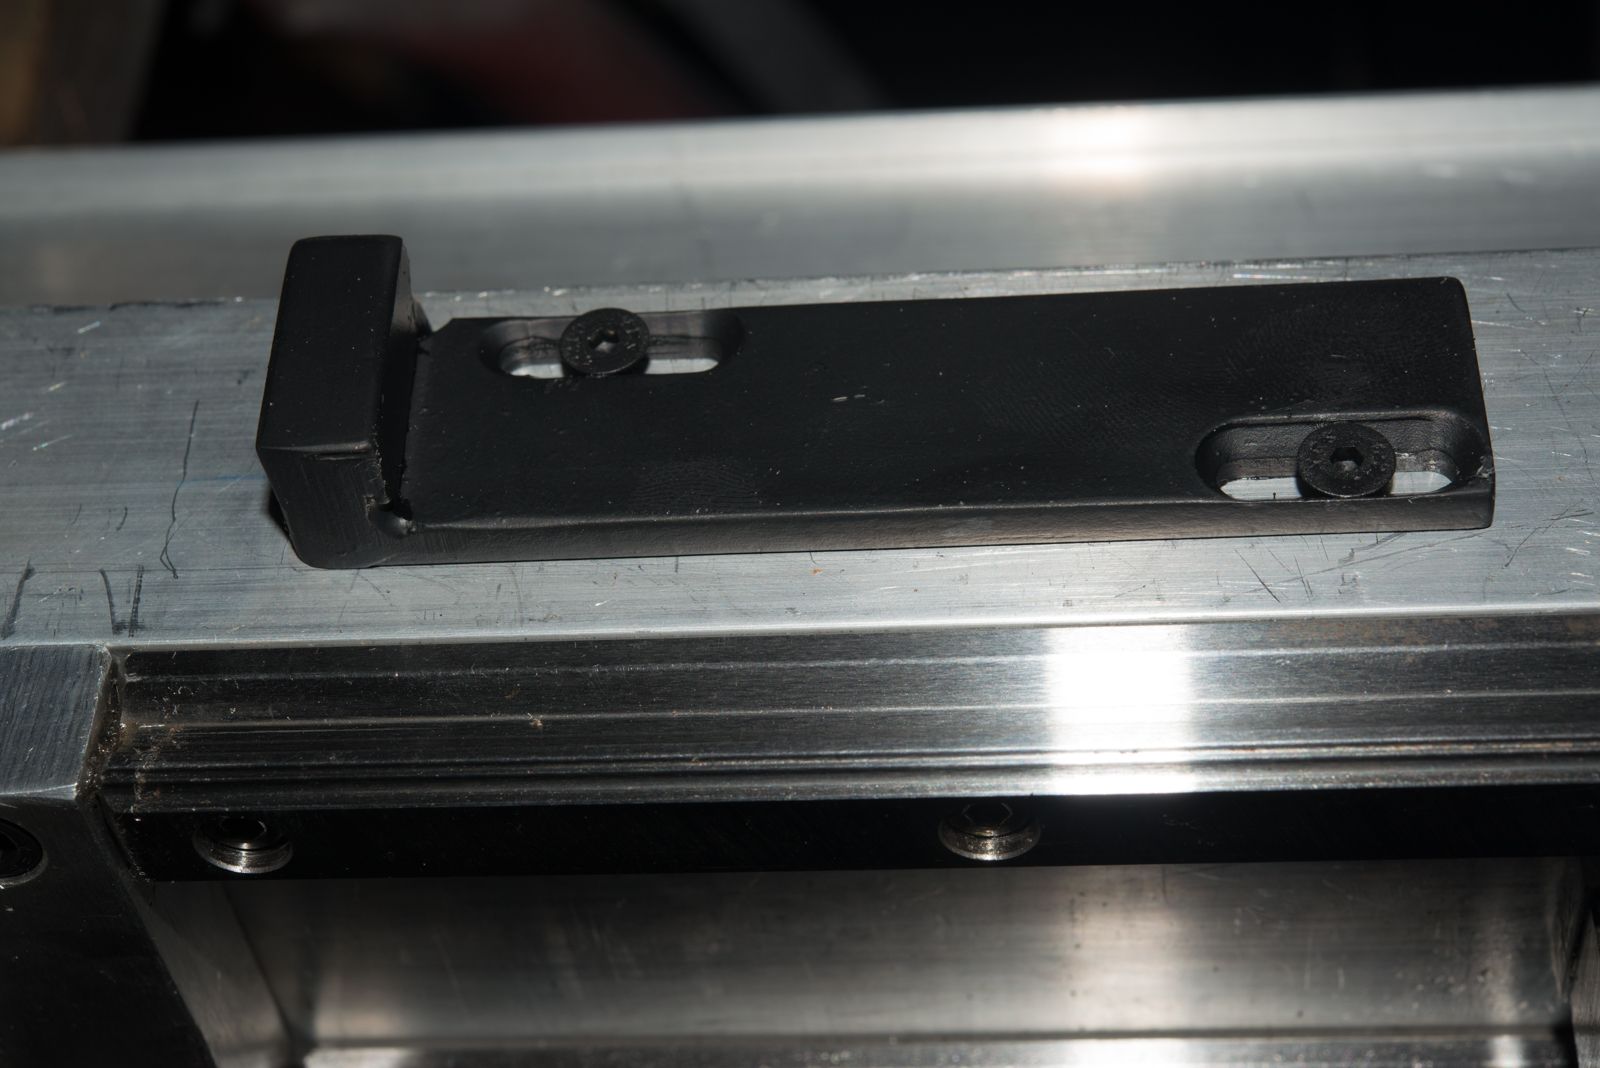
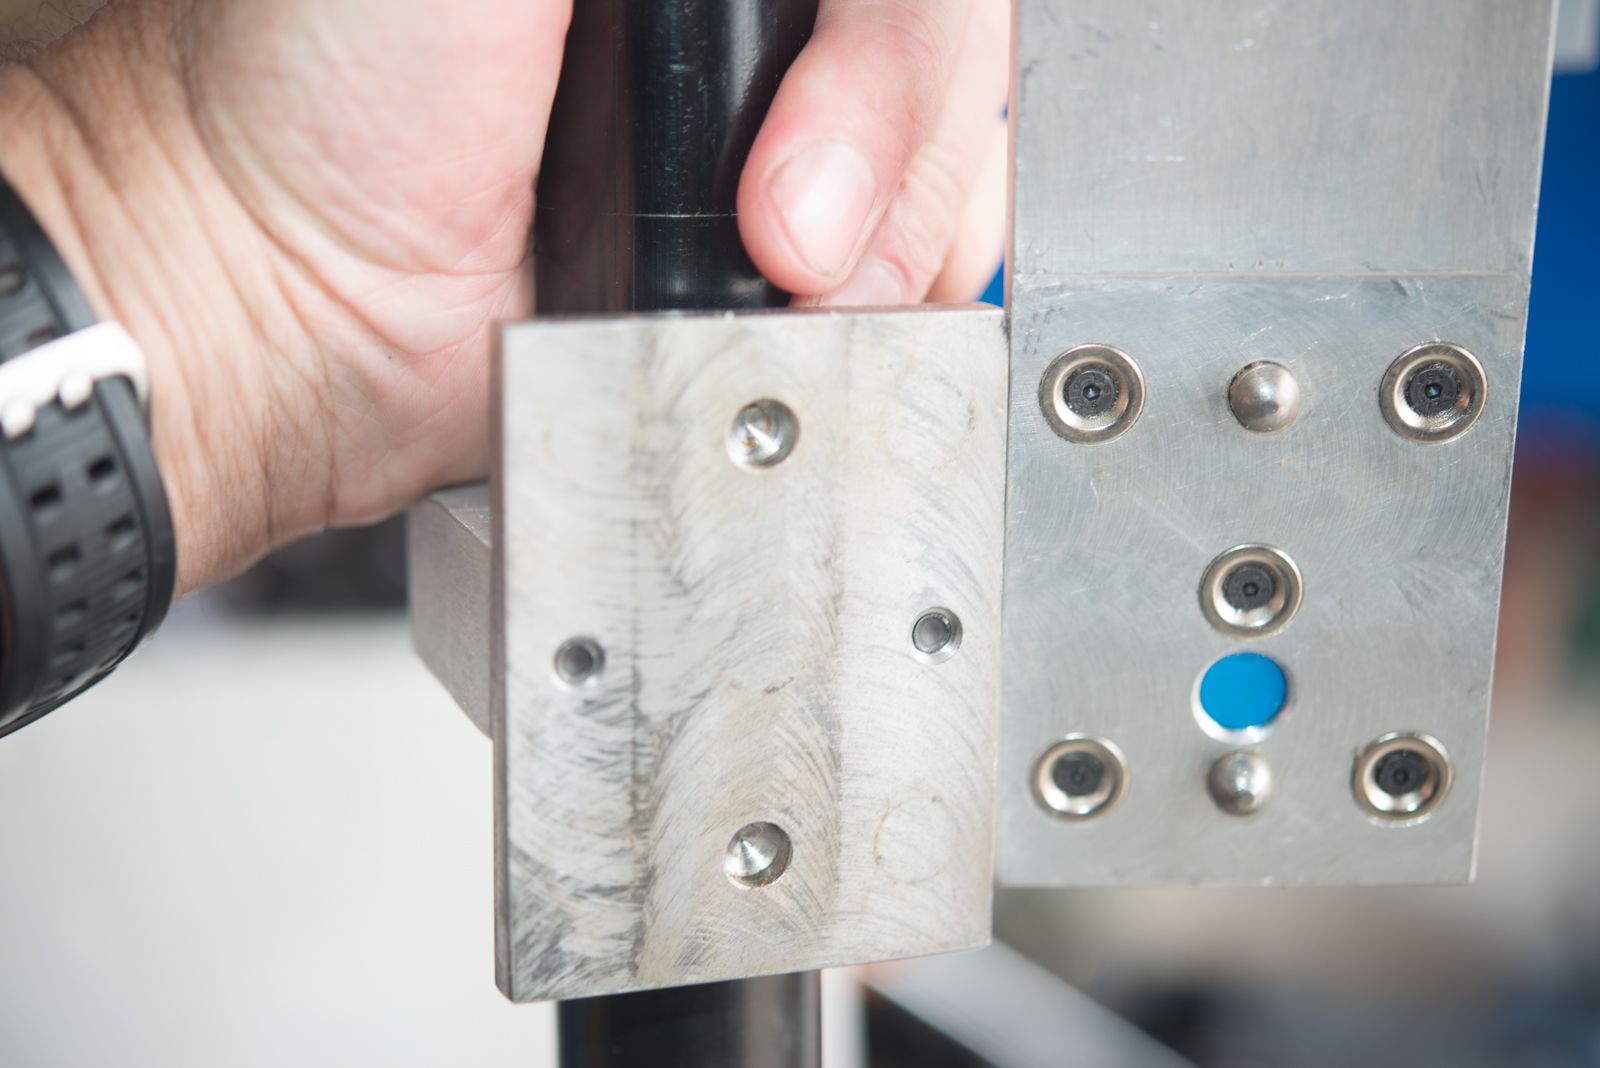
Limit switch sensing plates.
So the limit sensors are on the outside and the home switch is the one in the middle. It is set lower and is triggered by the mounting plate which is long enough for it to slow down. The limit switch see a piece of 10x10mm square bar that the home switch cannot hit due to the position of the hard limit stops.
Magnetic breakaway with proximity sensor to trigger an estop if it falls off.
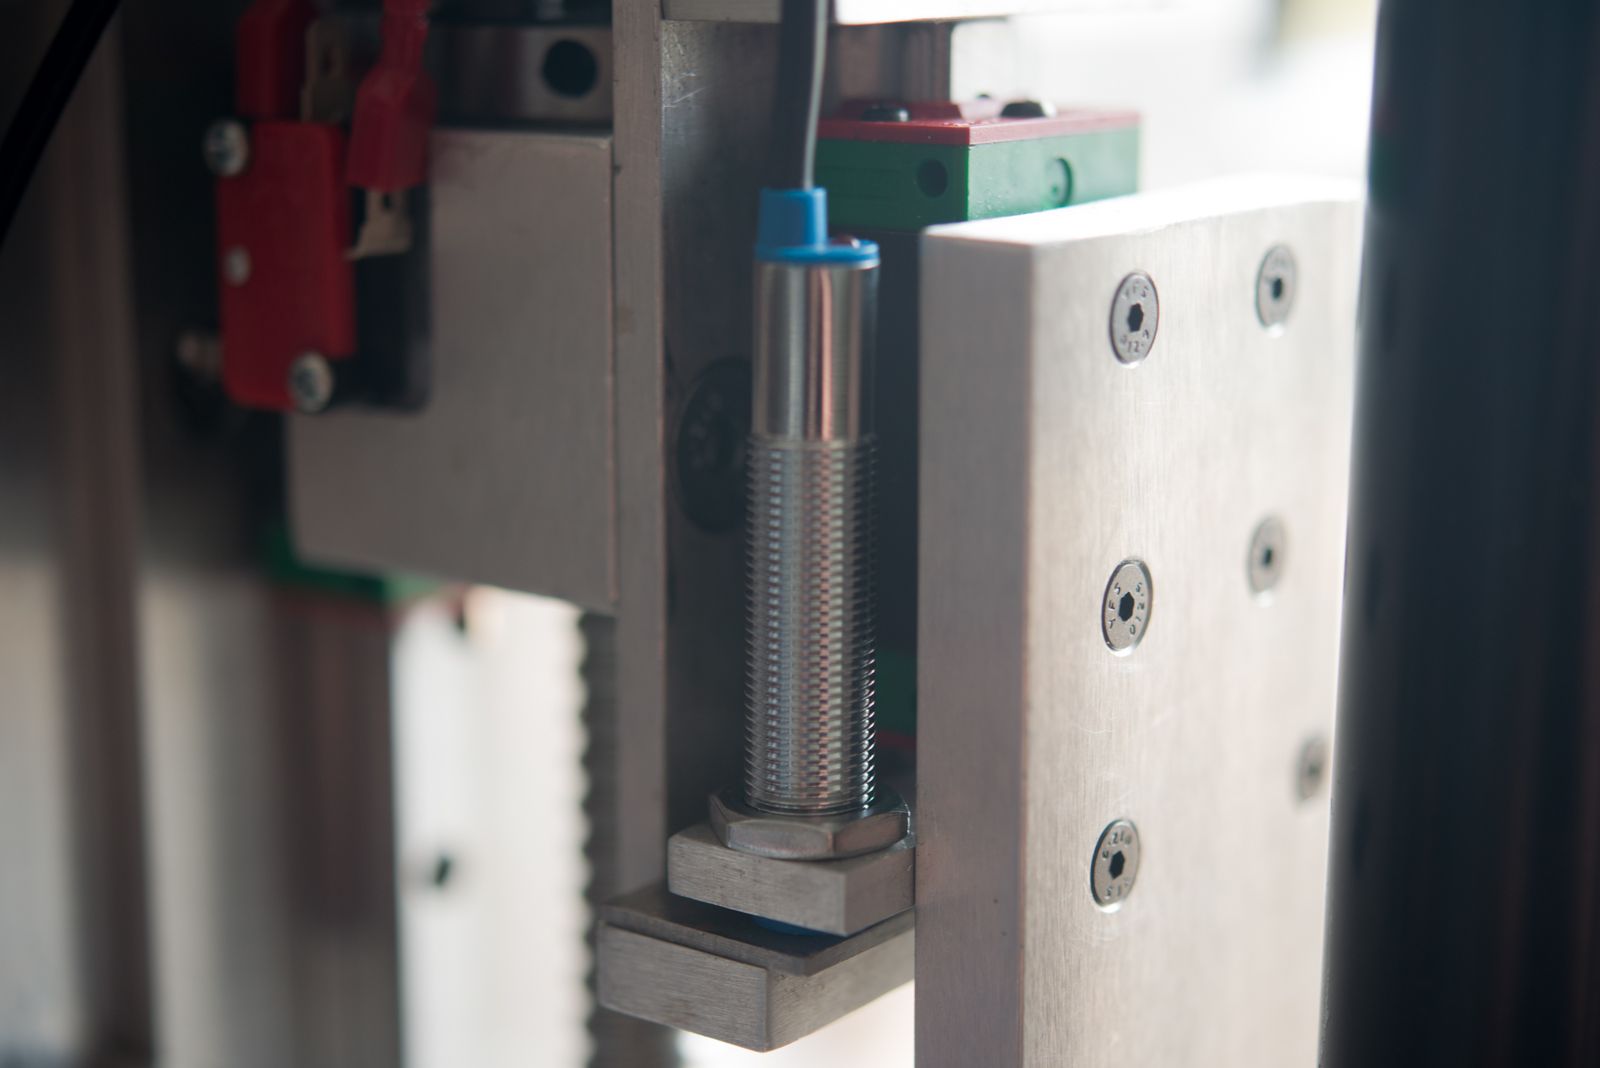
Float switch
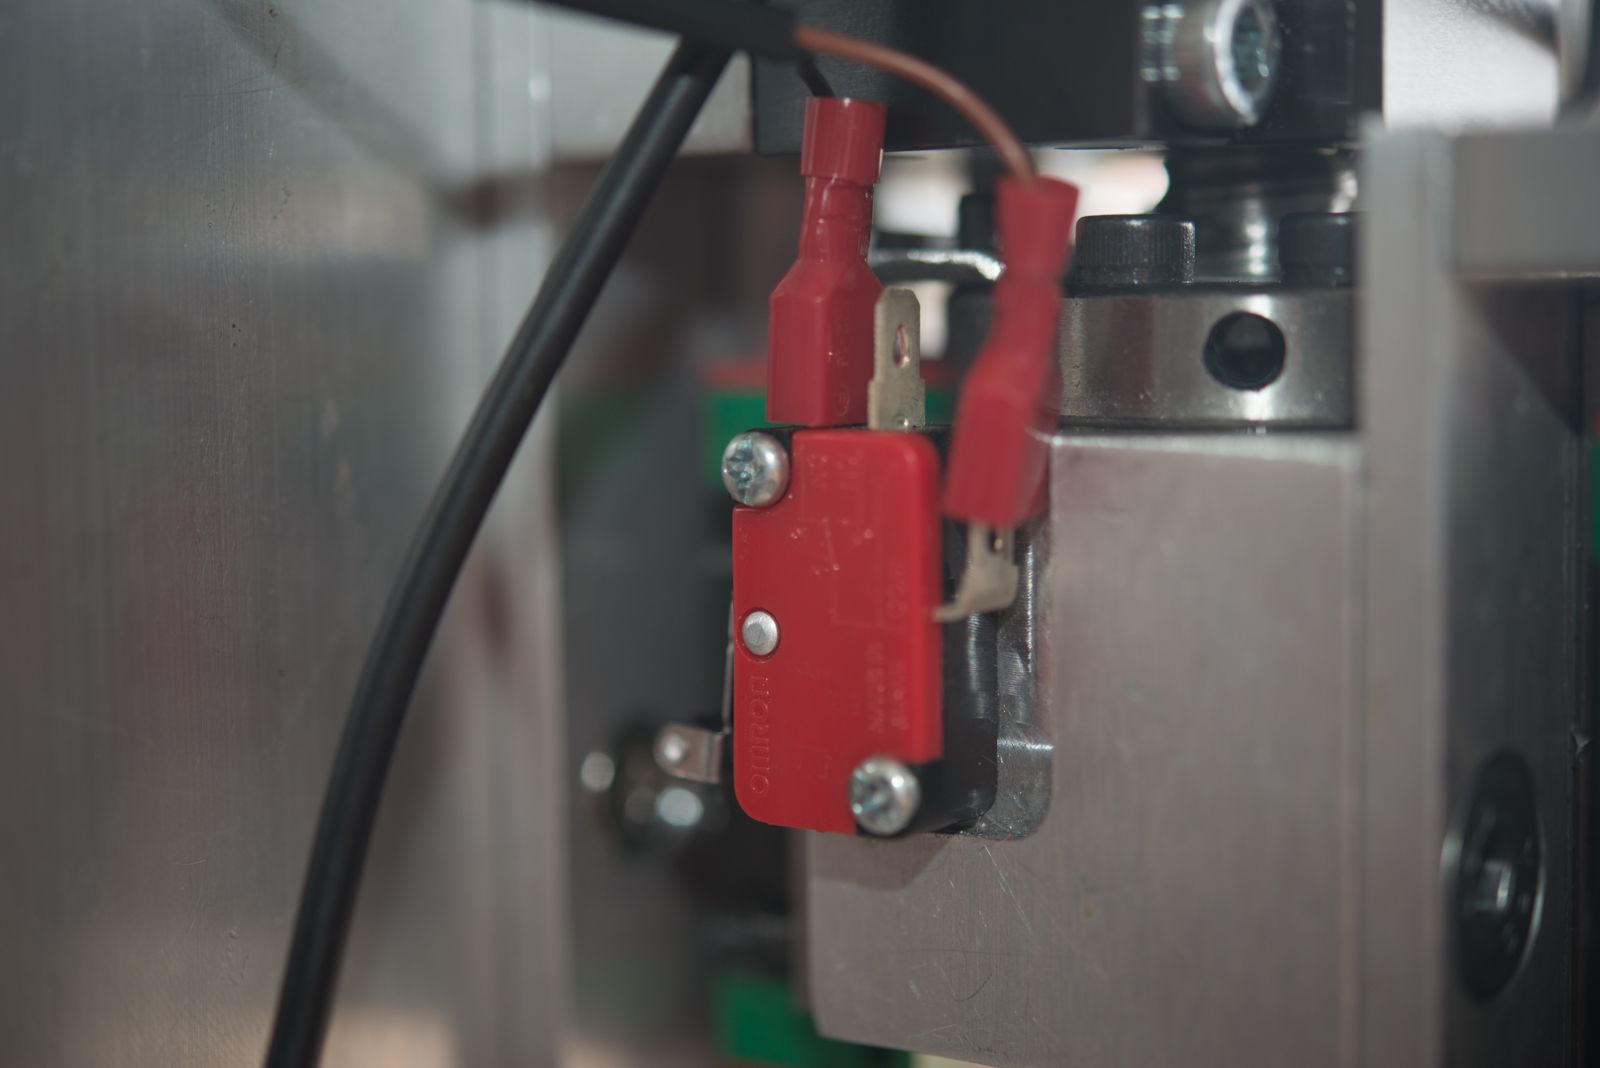
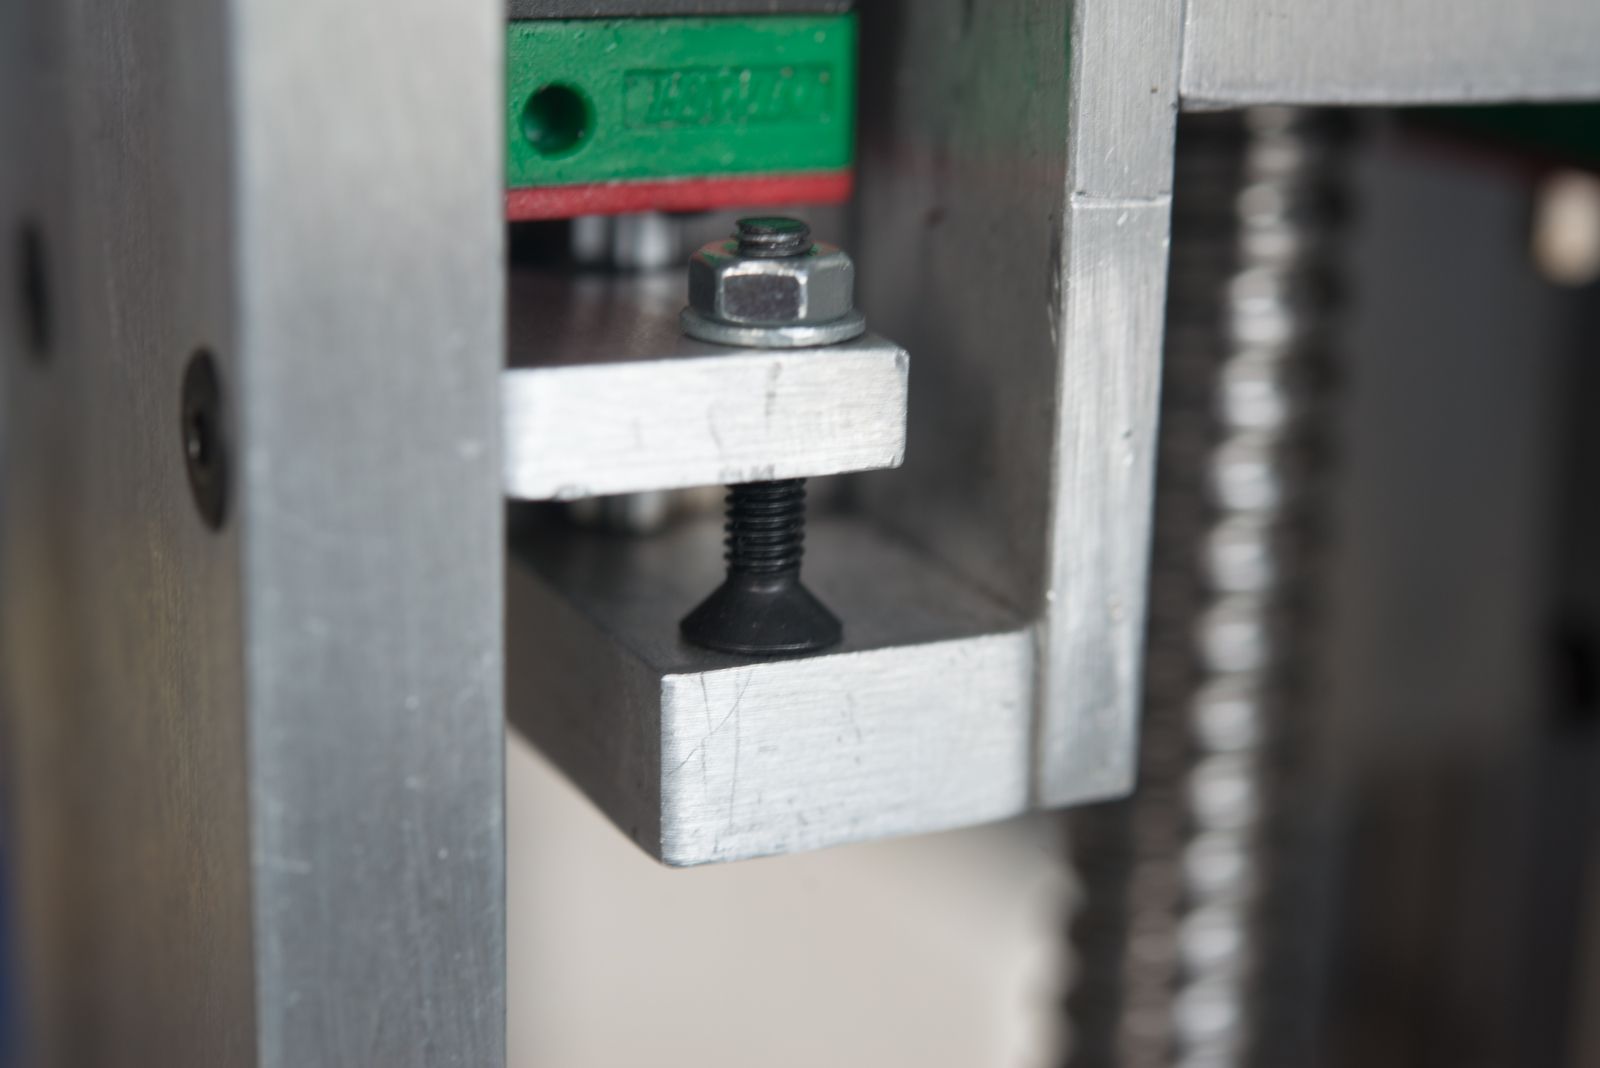
The only mechanical limit switch on the machine, th elower Z axis limit. I figured it should never be triggered so it will have a long service life.
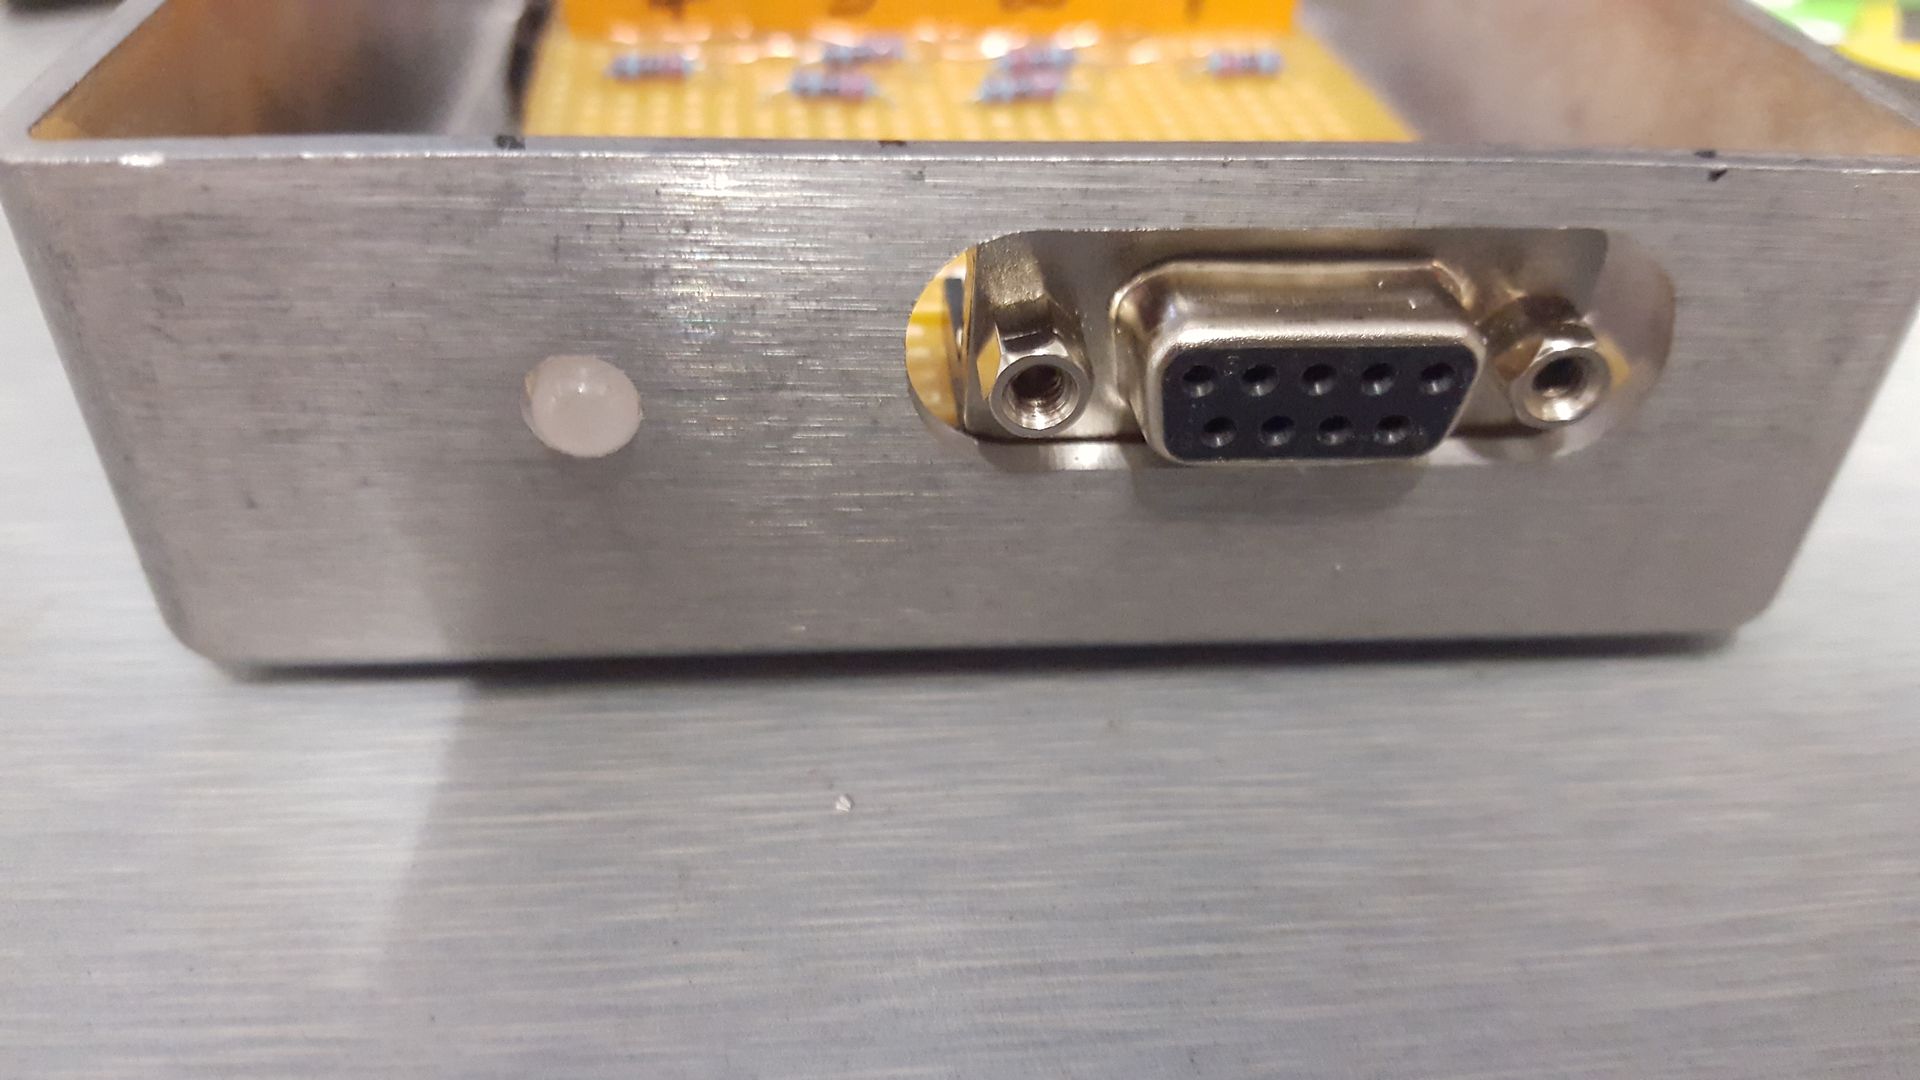
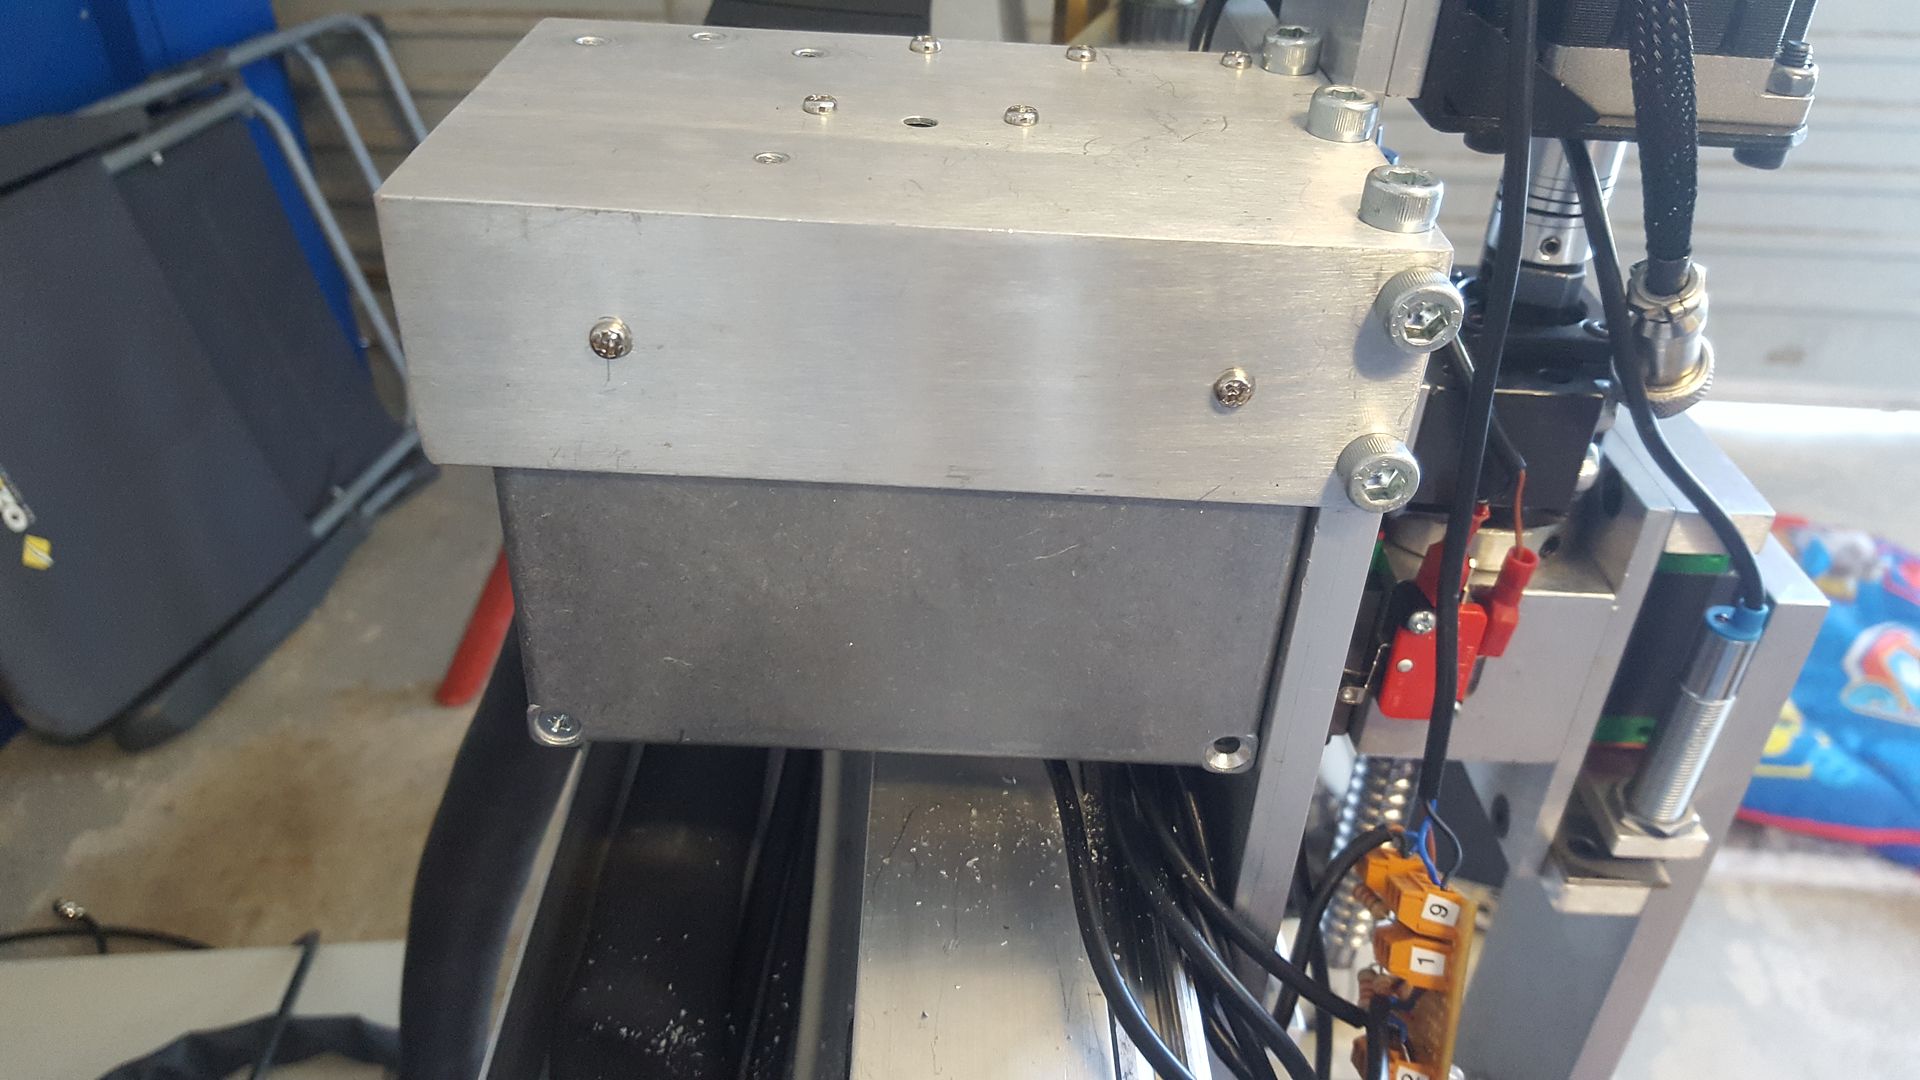
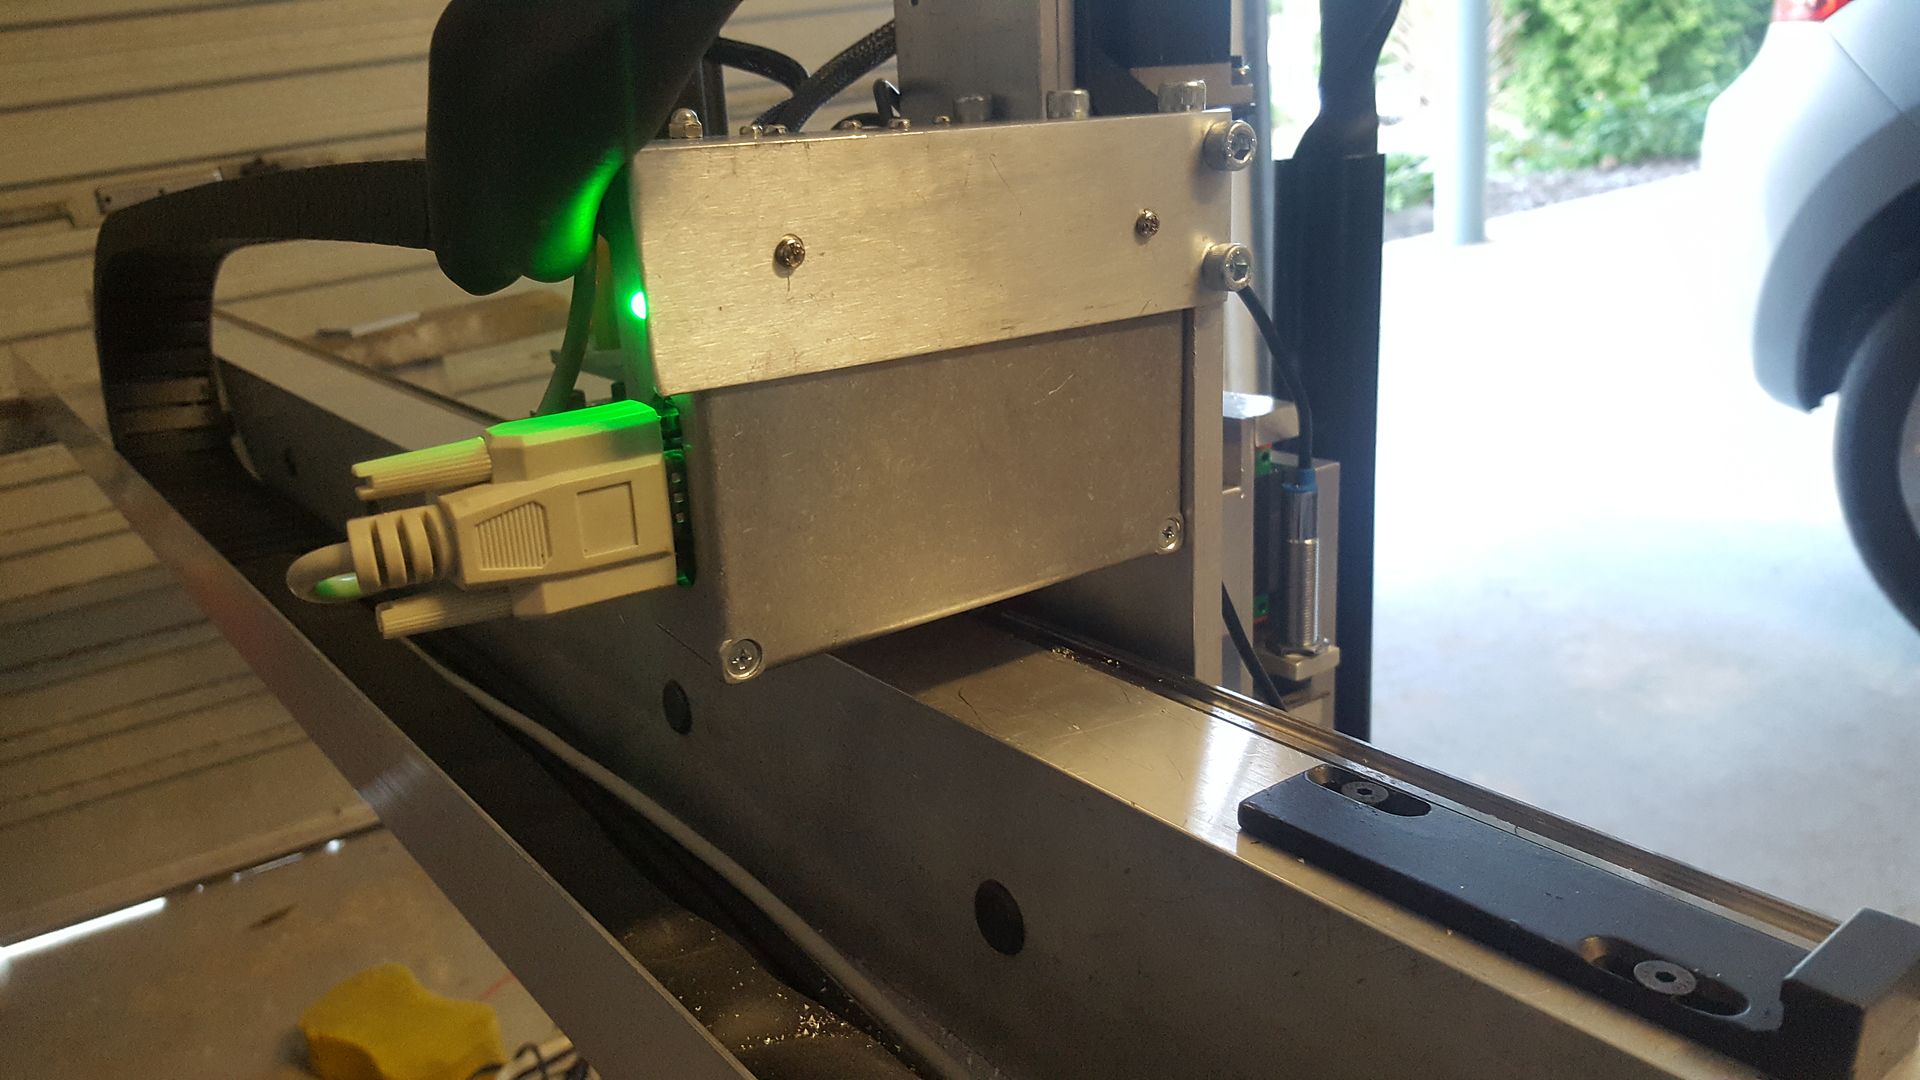
Gantry sensor breakout board
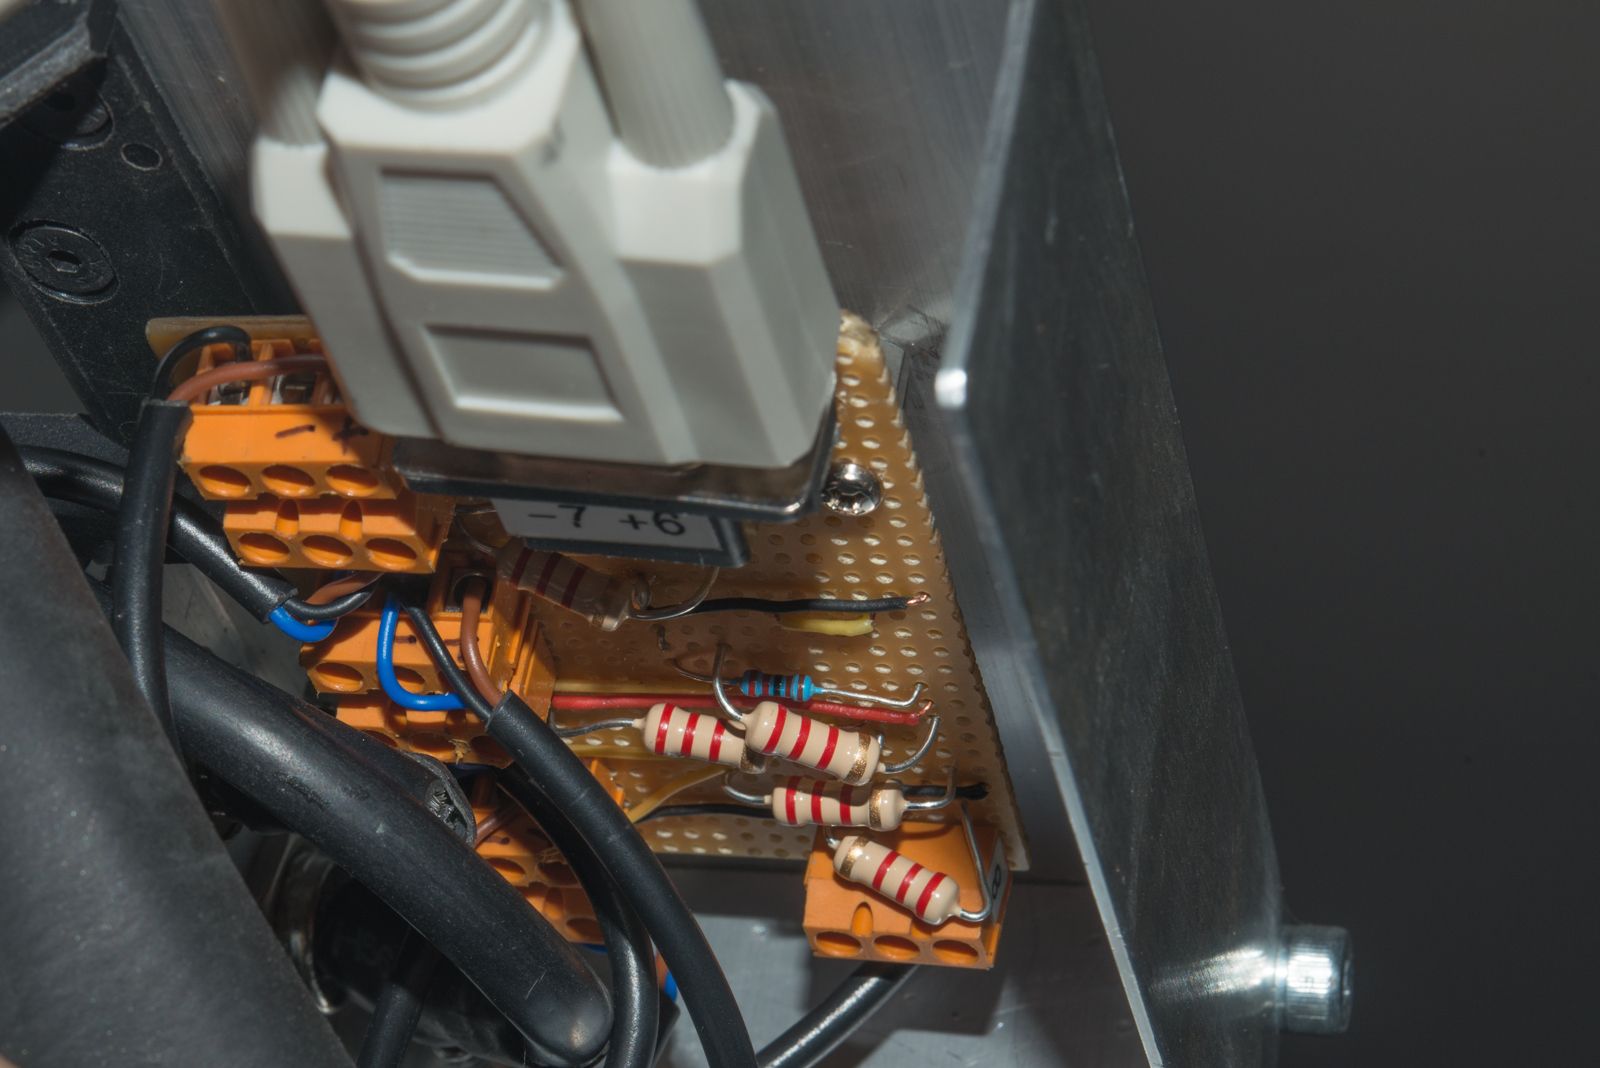
This has worked pretty well with an ordinary DB9 cable. There are 7 sensors up on the carriage.. The upper Z axis sensor is a shared home/limit switch.
A late addition is an adjustment to minimise float switch movement before triggering. One day I will machine a nice little knurled knob, but there is still so much to do, it can wait.
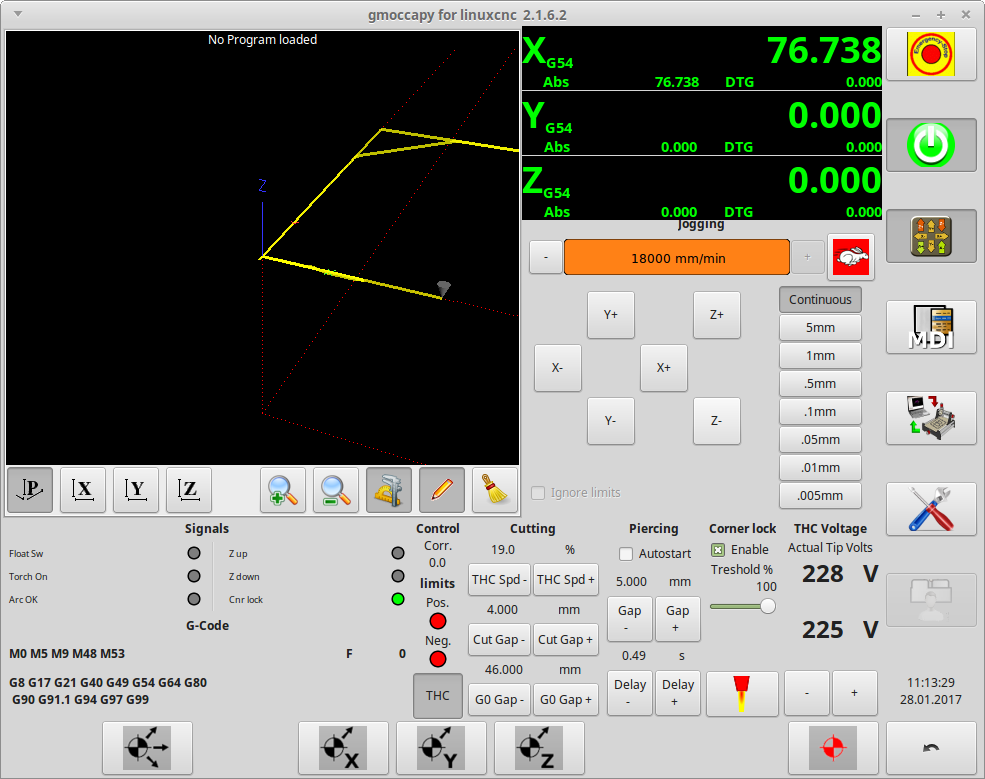
Gmocappy touch screen interface (still needs a bit of work)
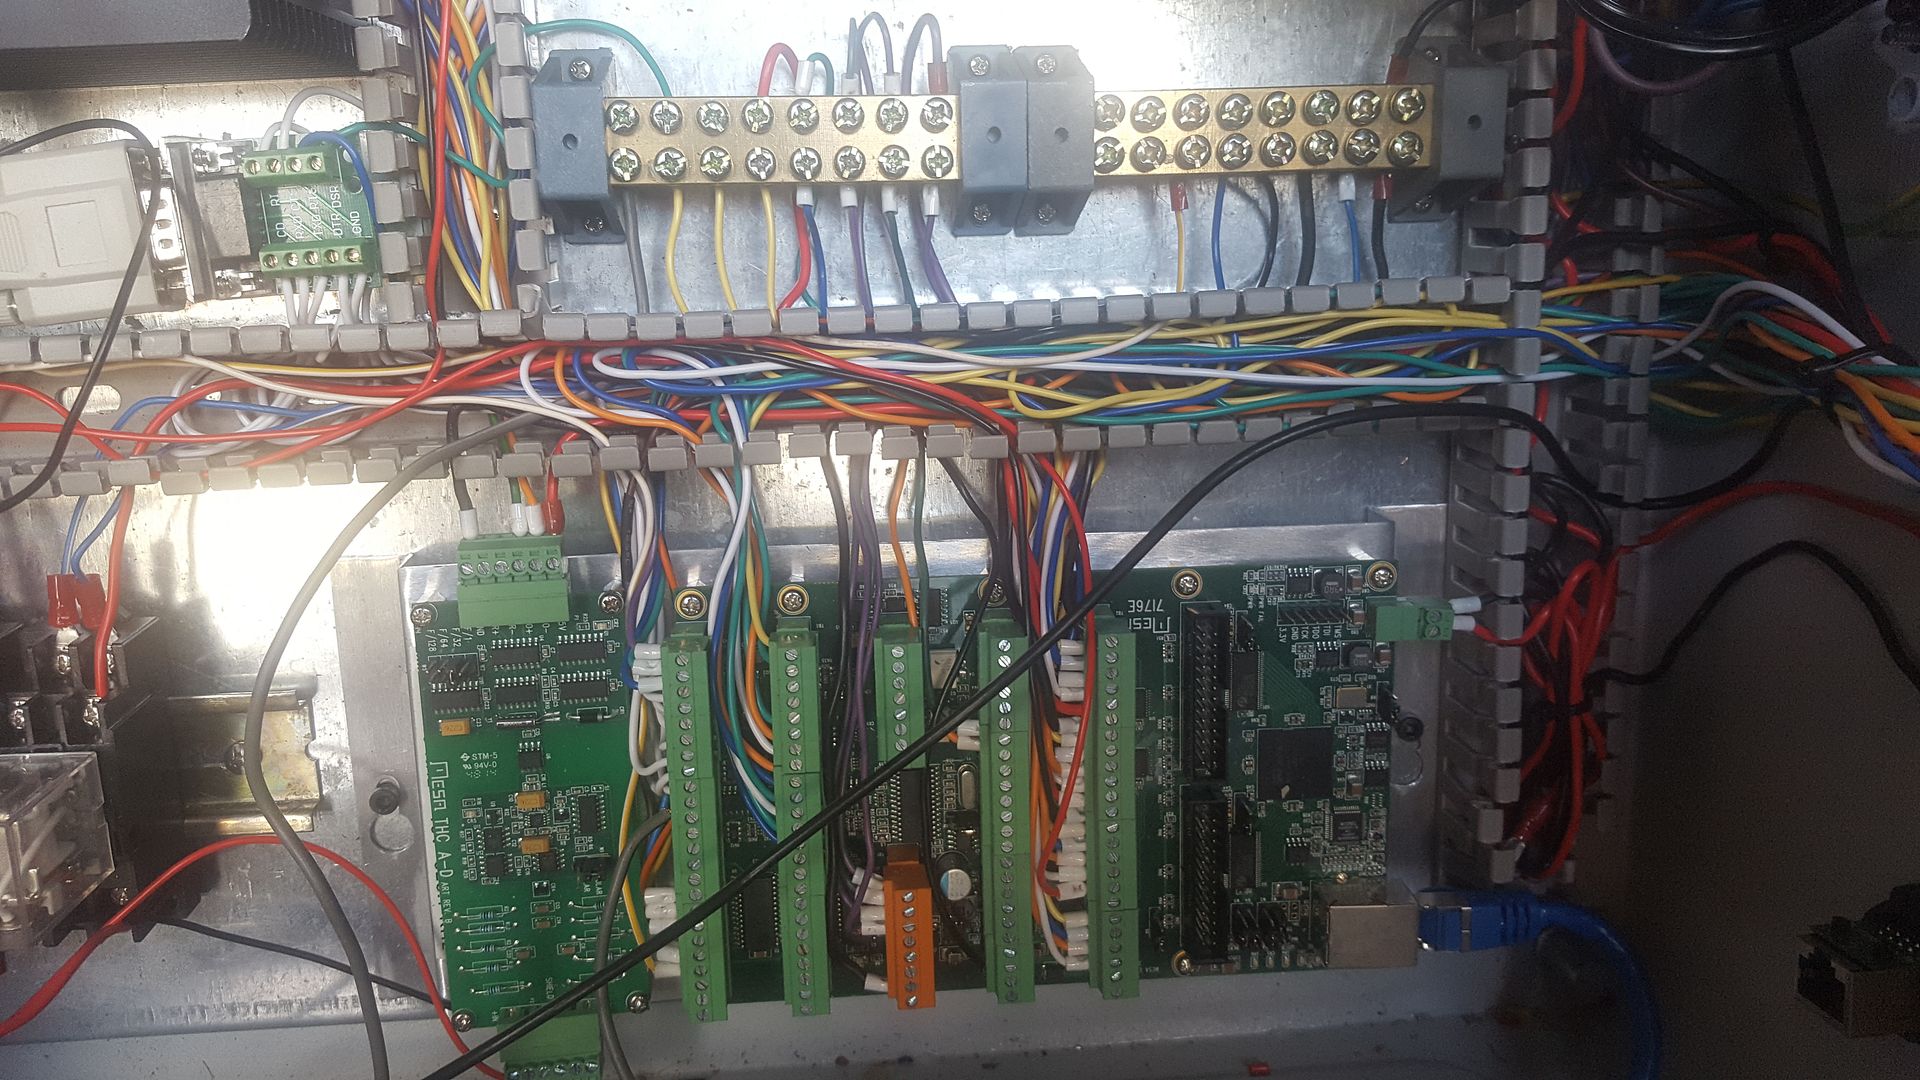
Mesa 7i76e Card that started out once looking so tidy, but wires everywhere testing stuff out.
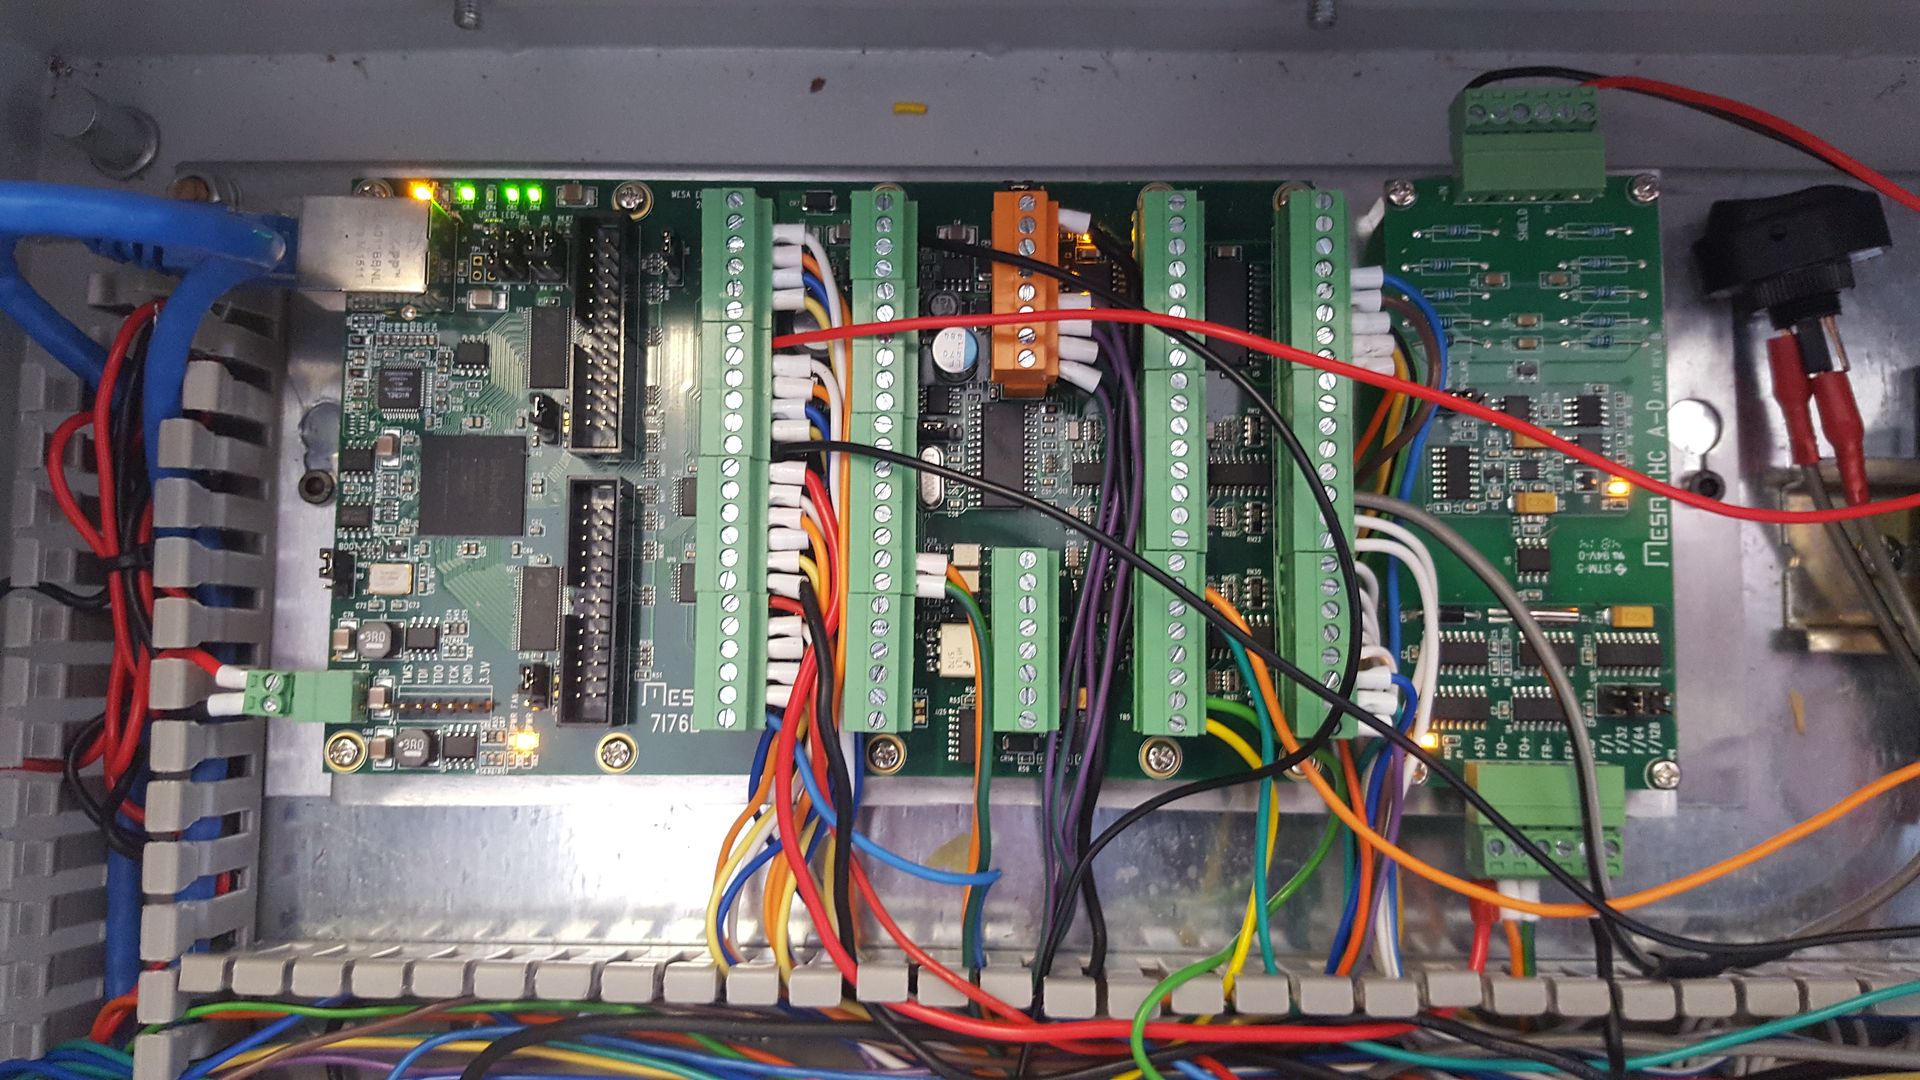
You can see the blue ethernet cable on the left. The small car on the right is the THCAD torch voltage sensor. It converts the voltage to a frequency that connects to the Mesa 7i76e spindle control inputs. Each car dis individually calibrated so the
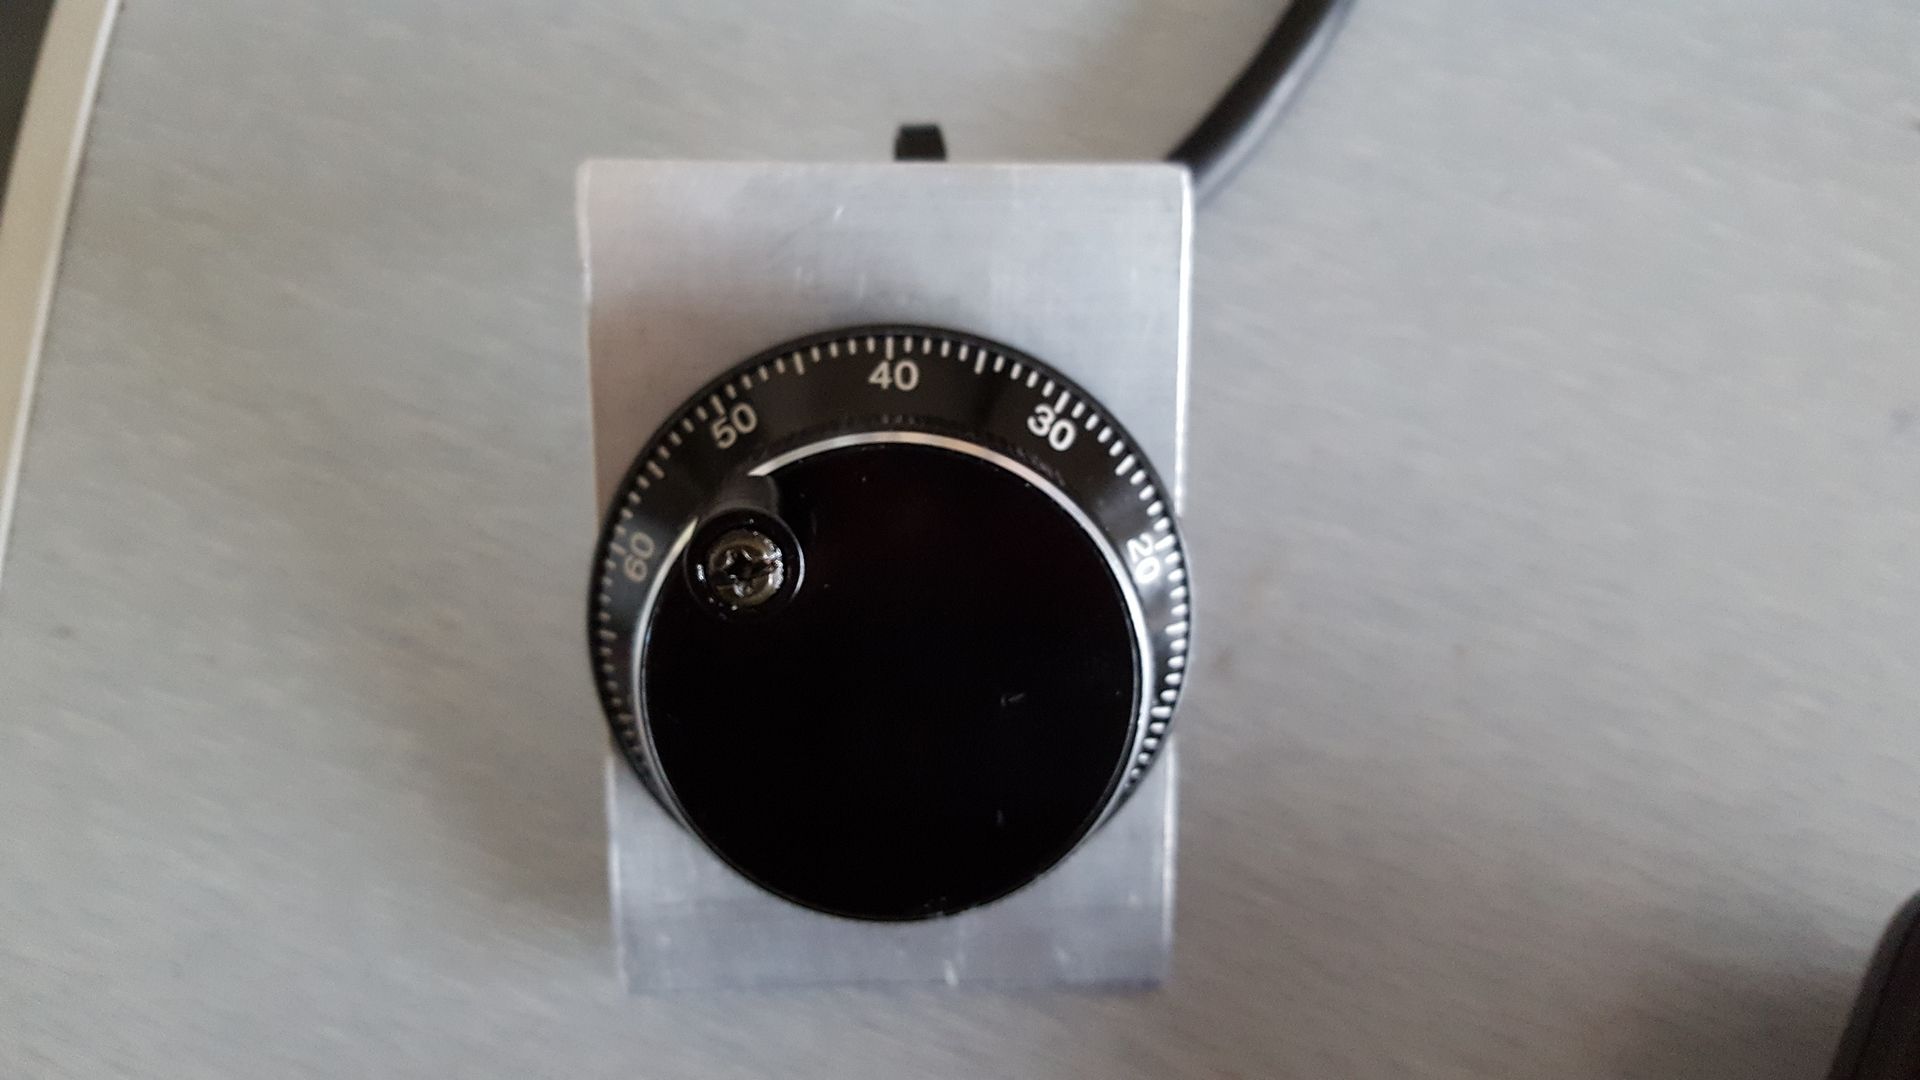
ONe of two MPG encoders that the 7i76e supports
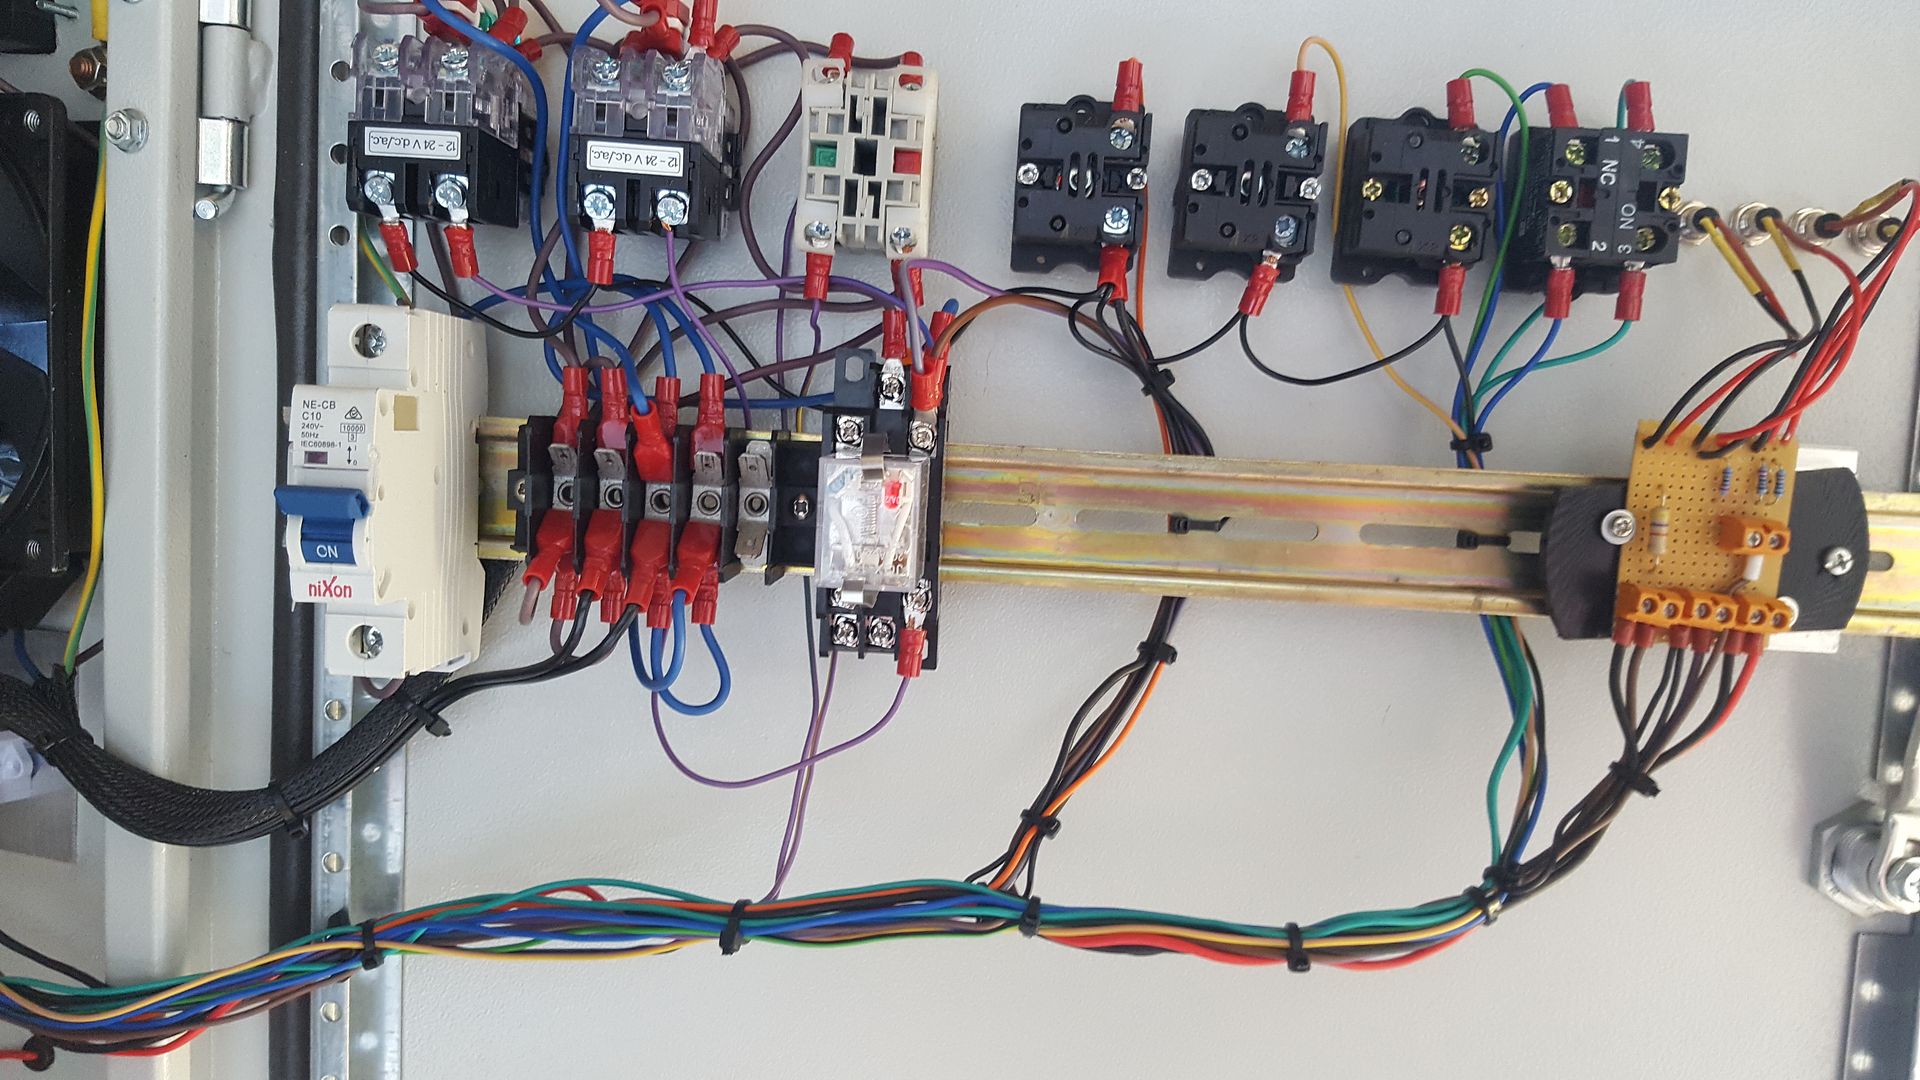
Some of the wiring on the enclosure door. Small circuit board on right just holds some current limiting resistors for LED's to show supply voltage status 5v, 24v, 48v.
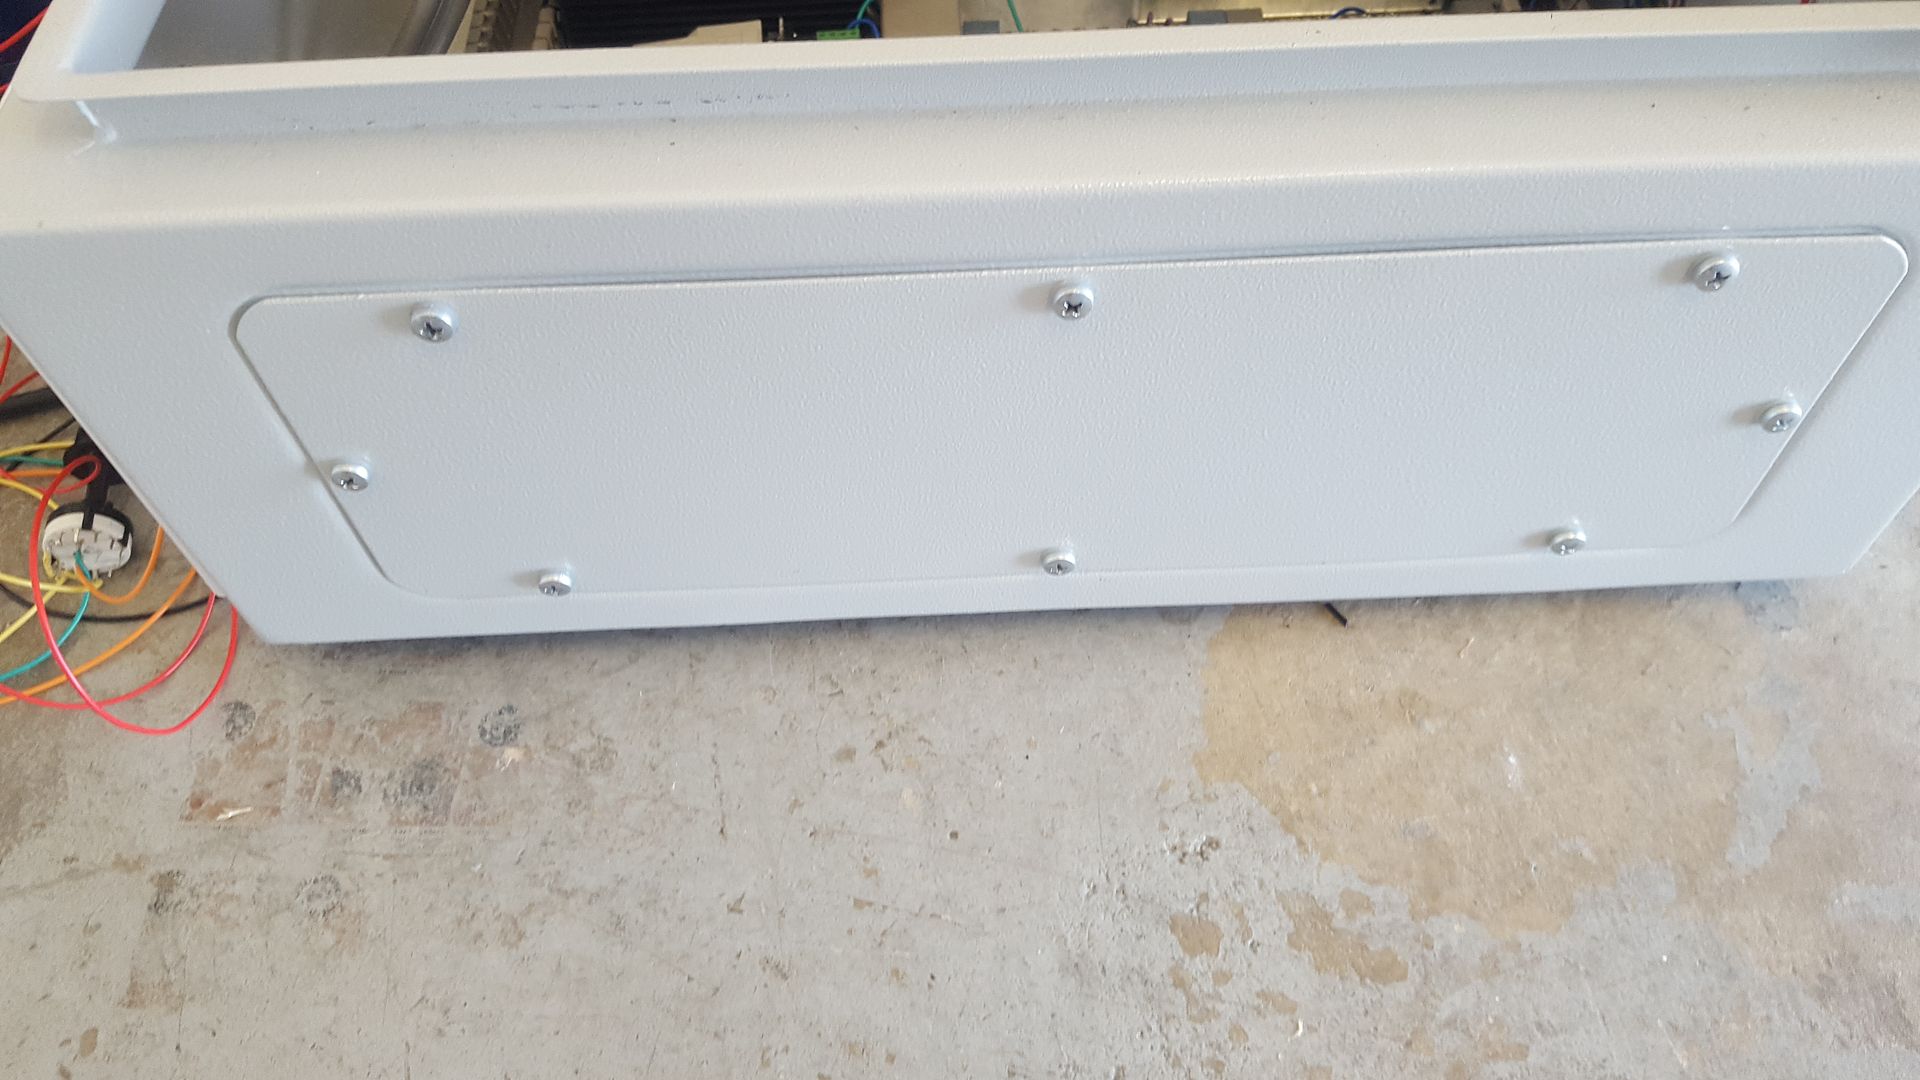
I still have not gathered up the courage to drill all th eholes and mount all of the connectors to the bottom panel of the enclosure.
Power supplies and stepper drivers. The Mes supports 5 axis so I can run the rotary axis for tube.
Some of the laser cut components.
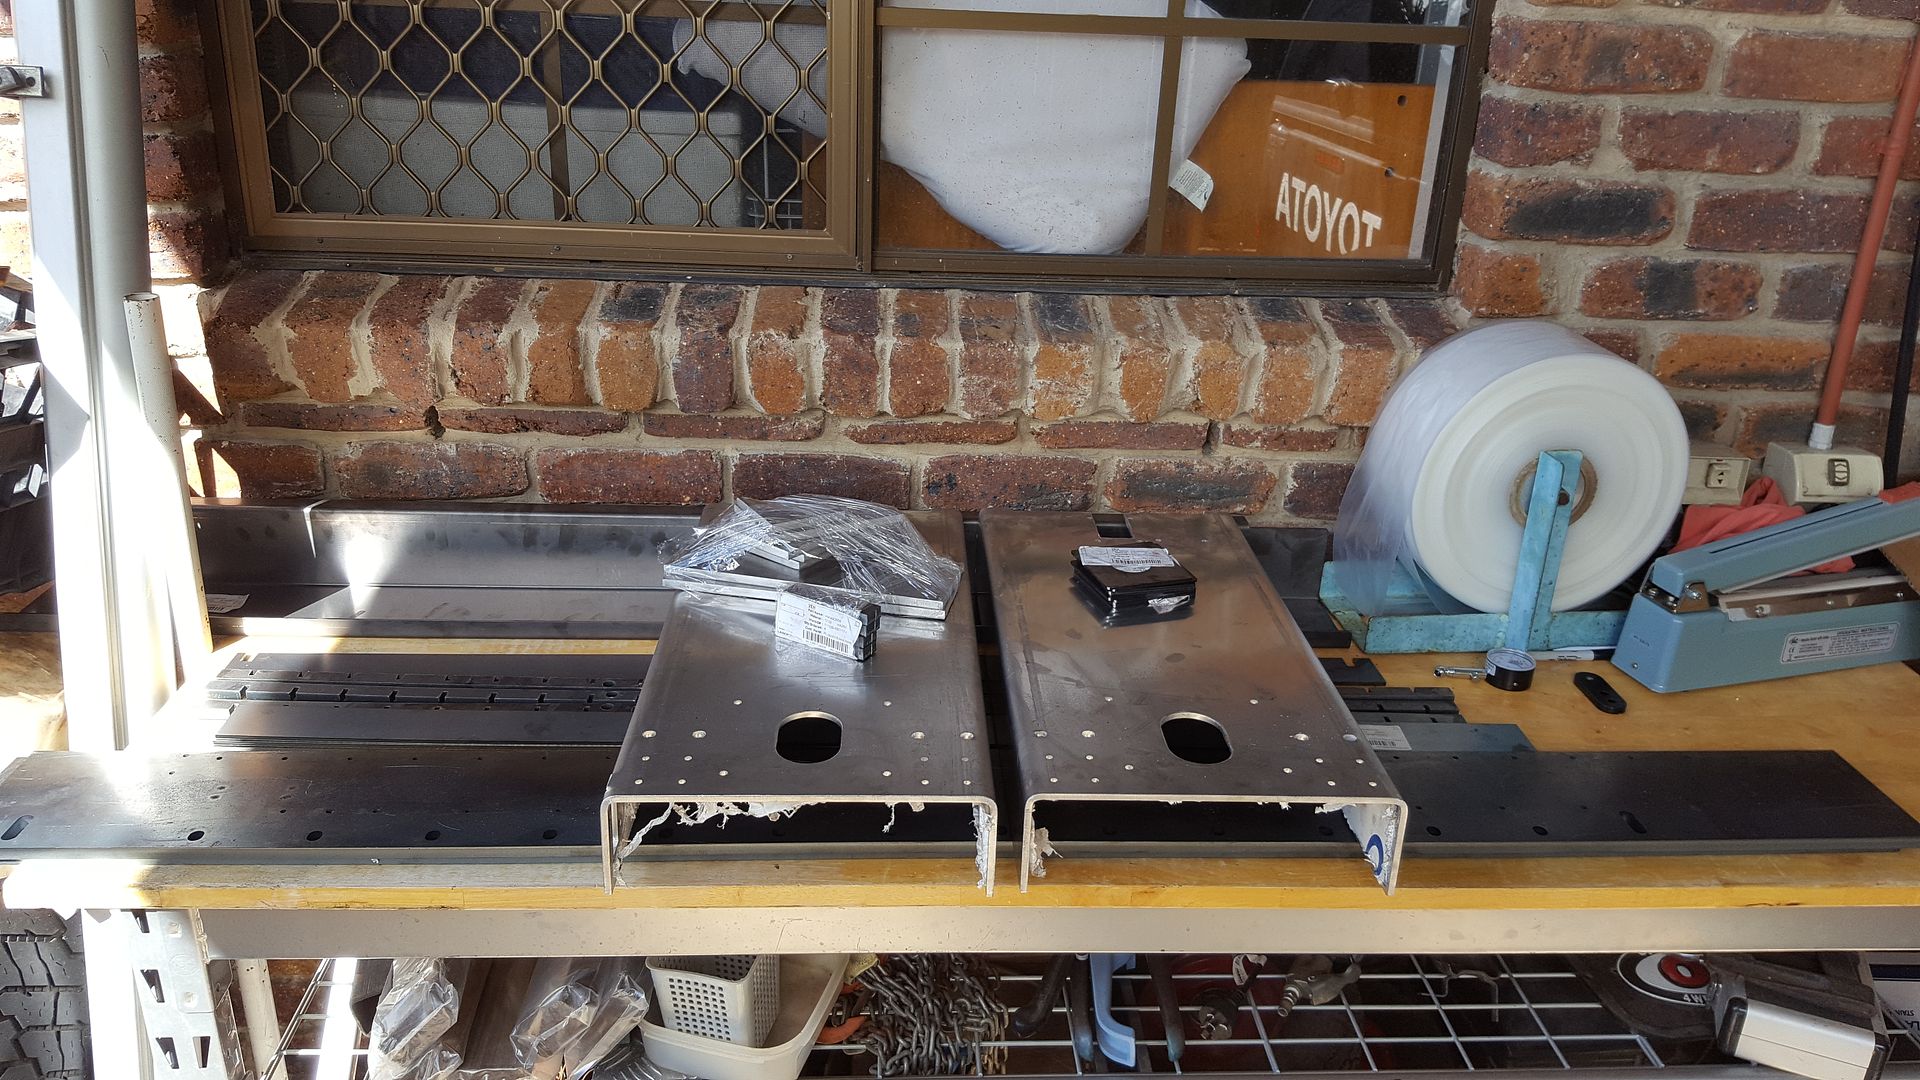
I spent about $1200 all up.
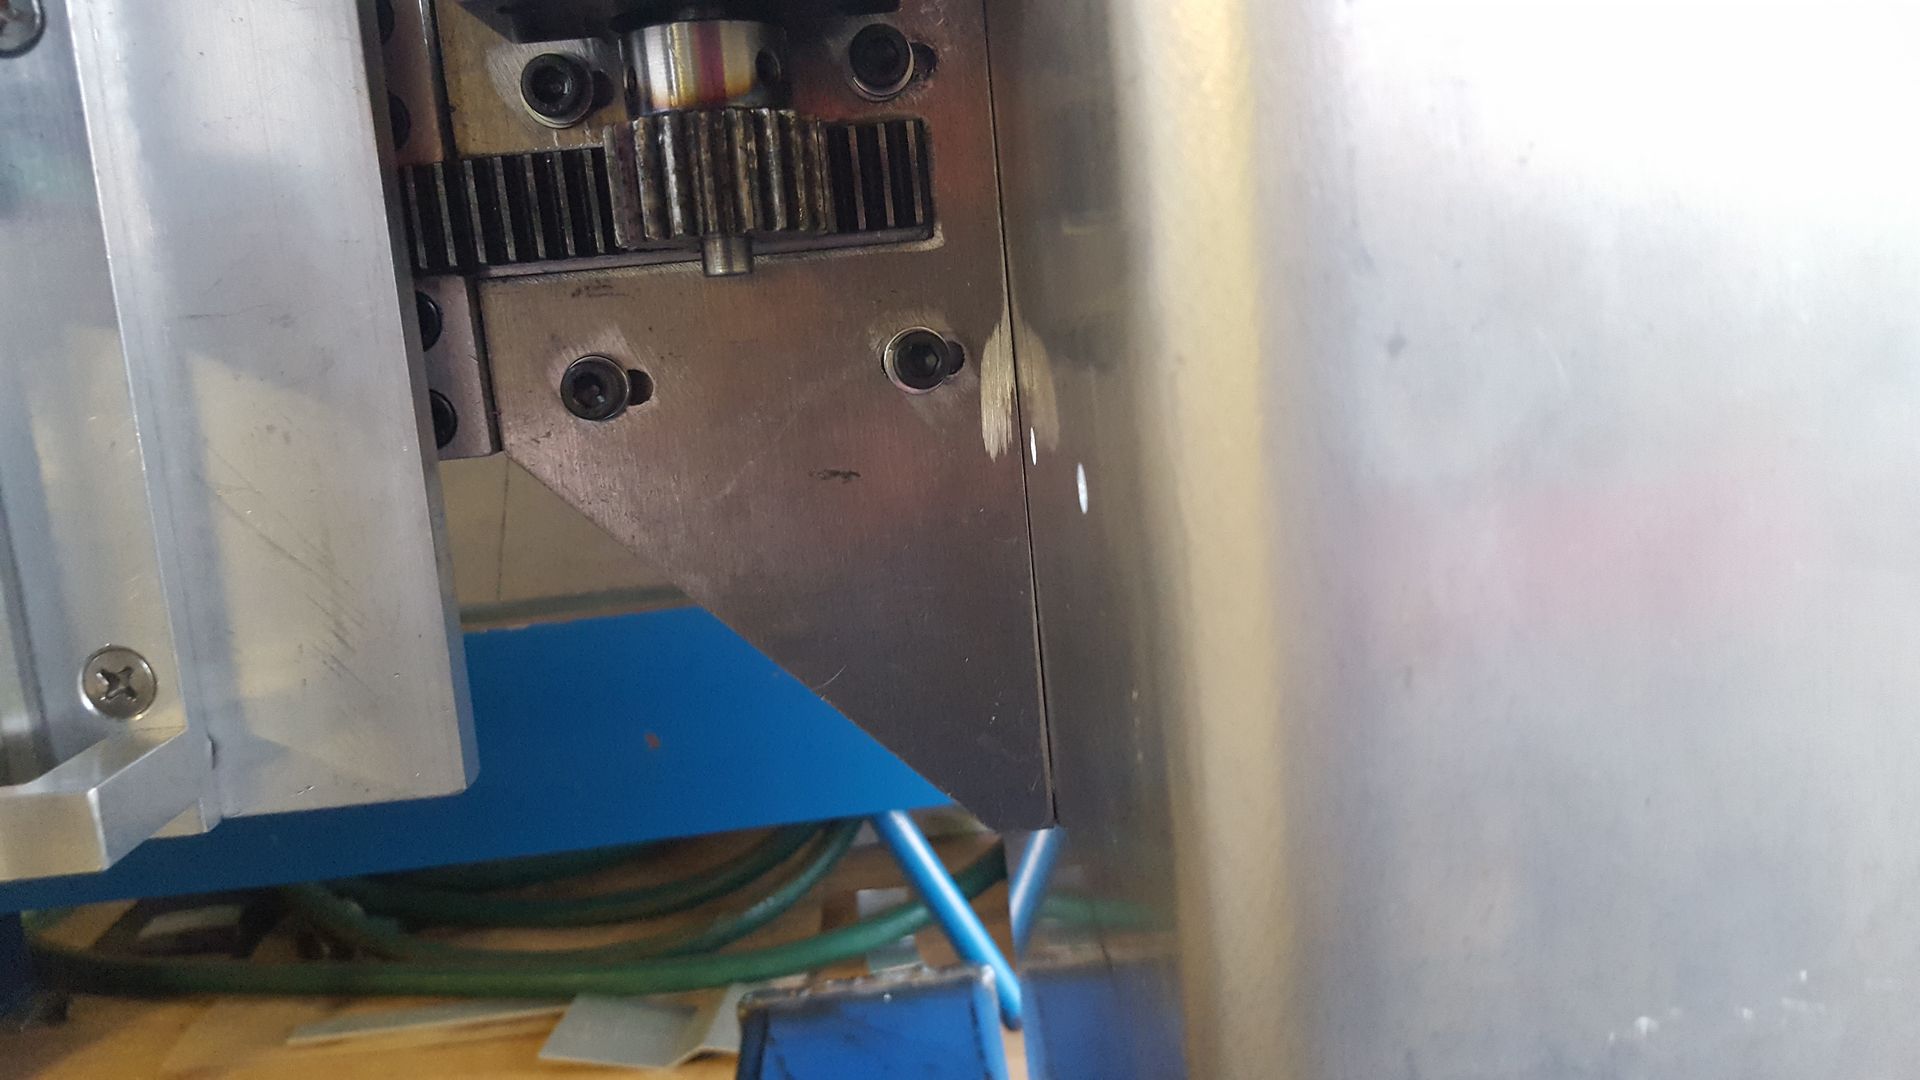
Inside of gantry towers and pinion drive
Laser cut mounting plates for rails and rack. Lots of tapping but at least the holes were drilled for me. I broke 1 M4 tap but luckily, I had a spare hole!
LInear rails, rack and gantry tower in position at last!
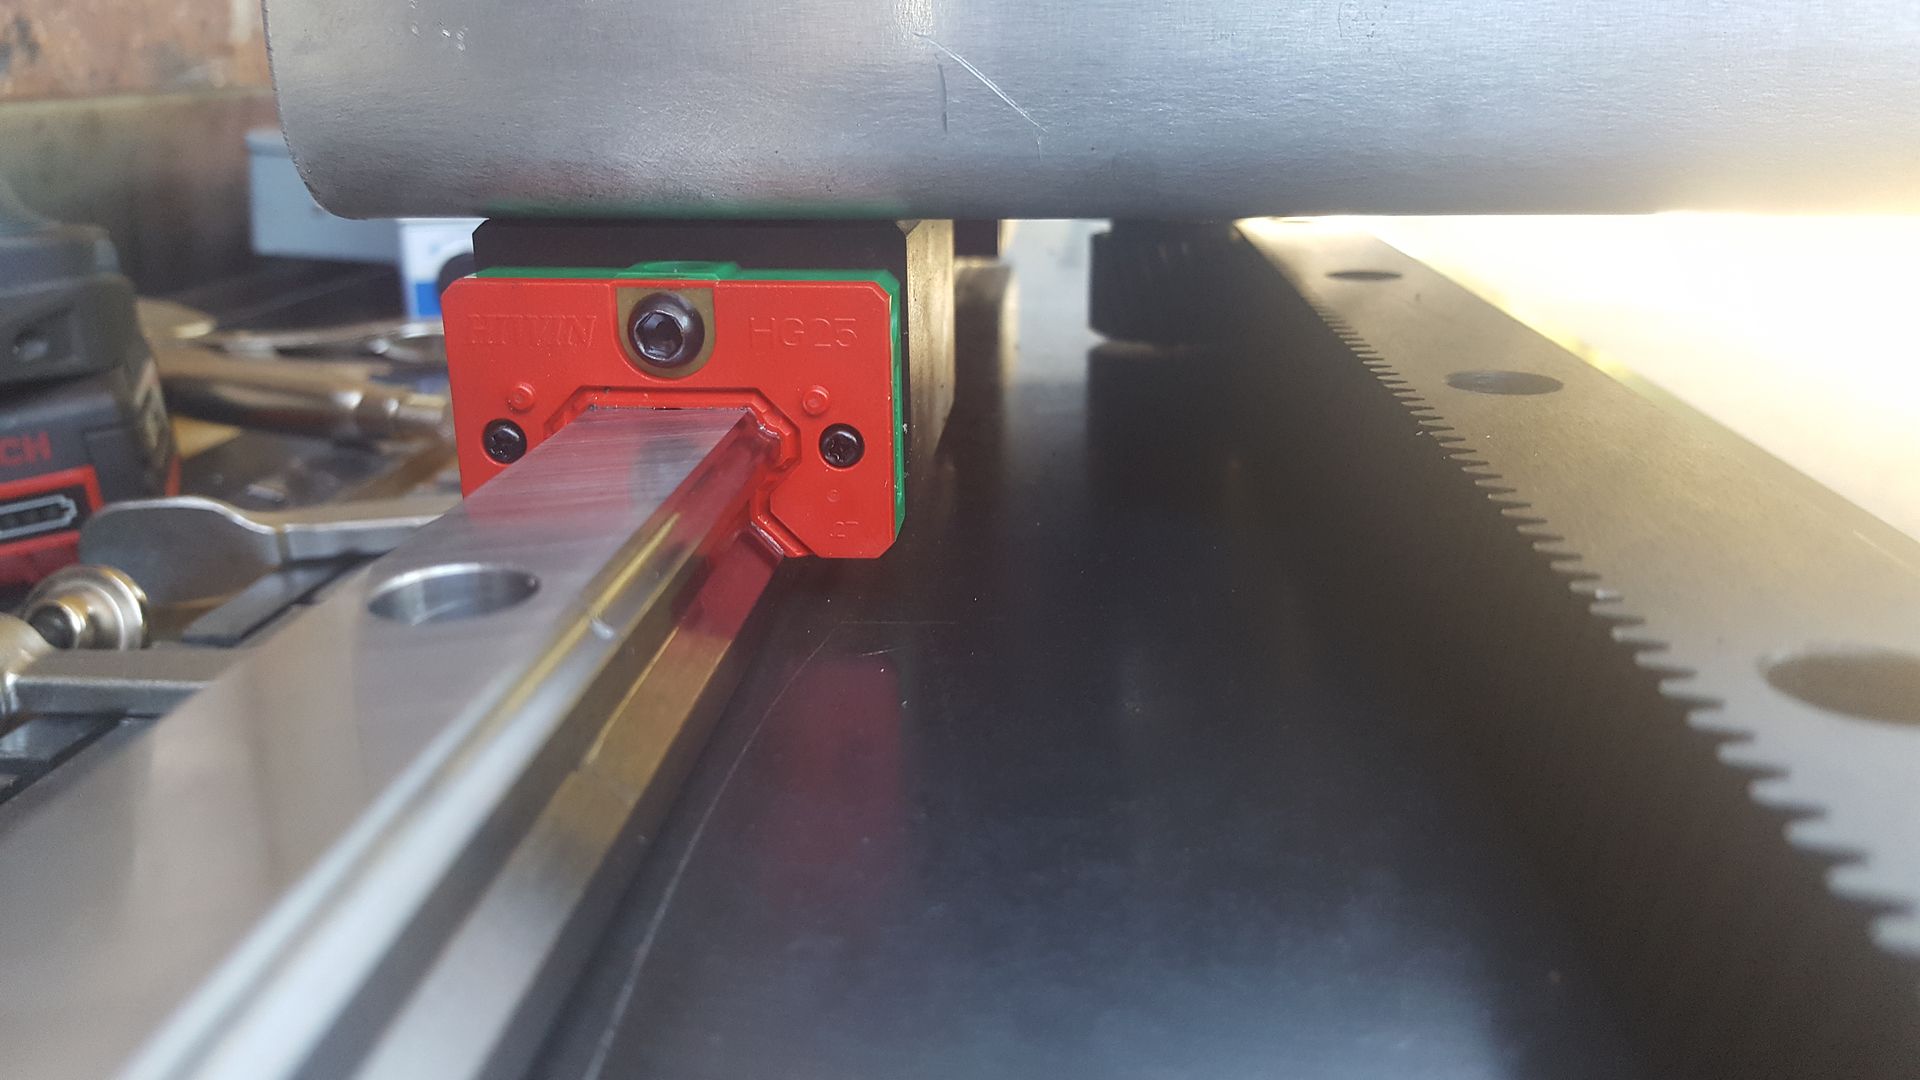
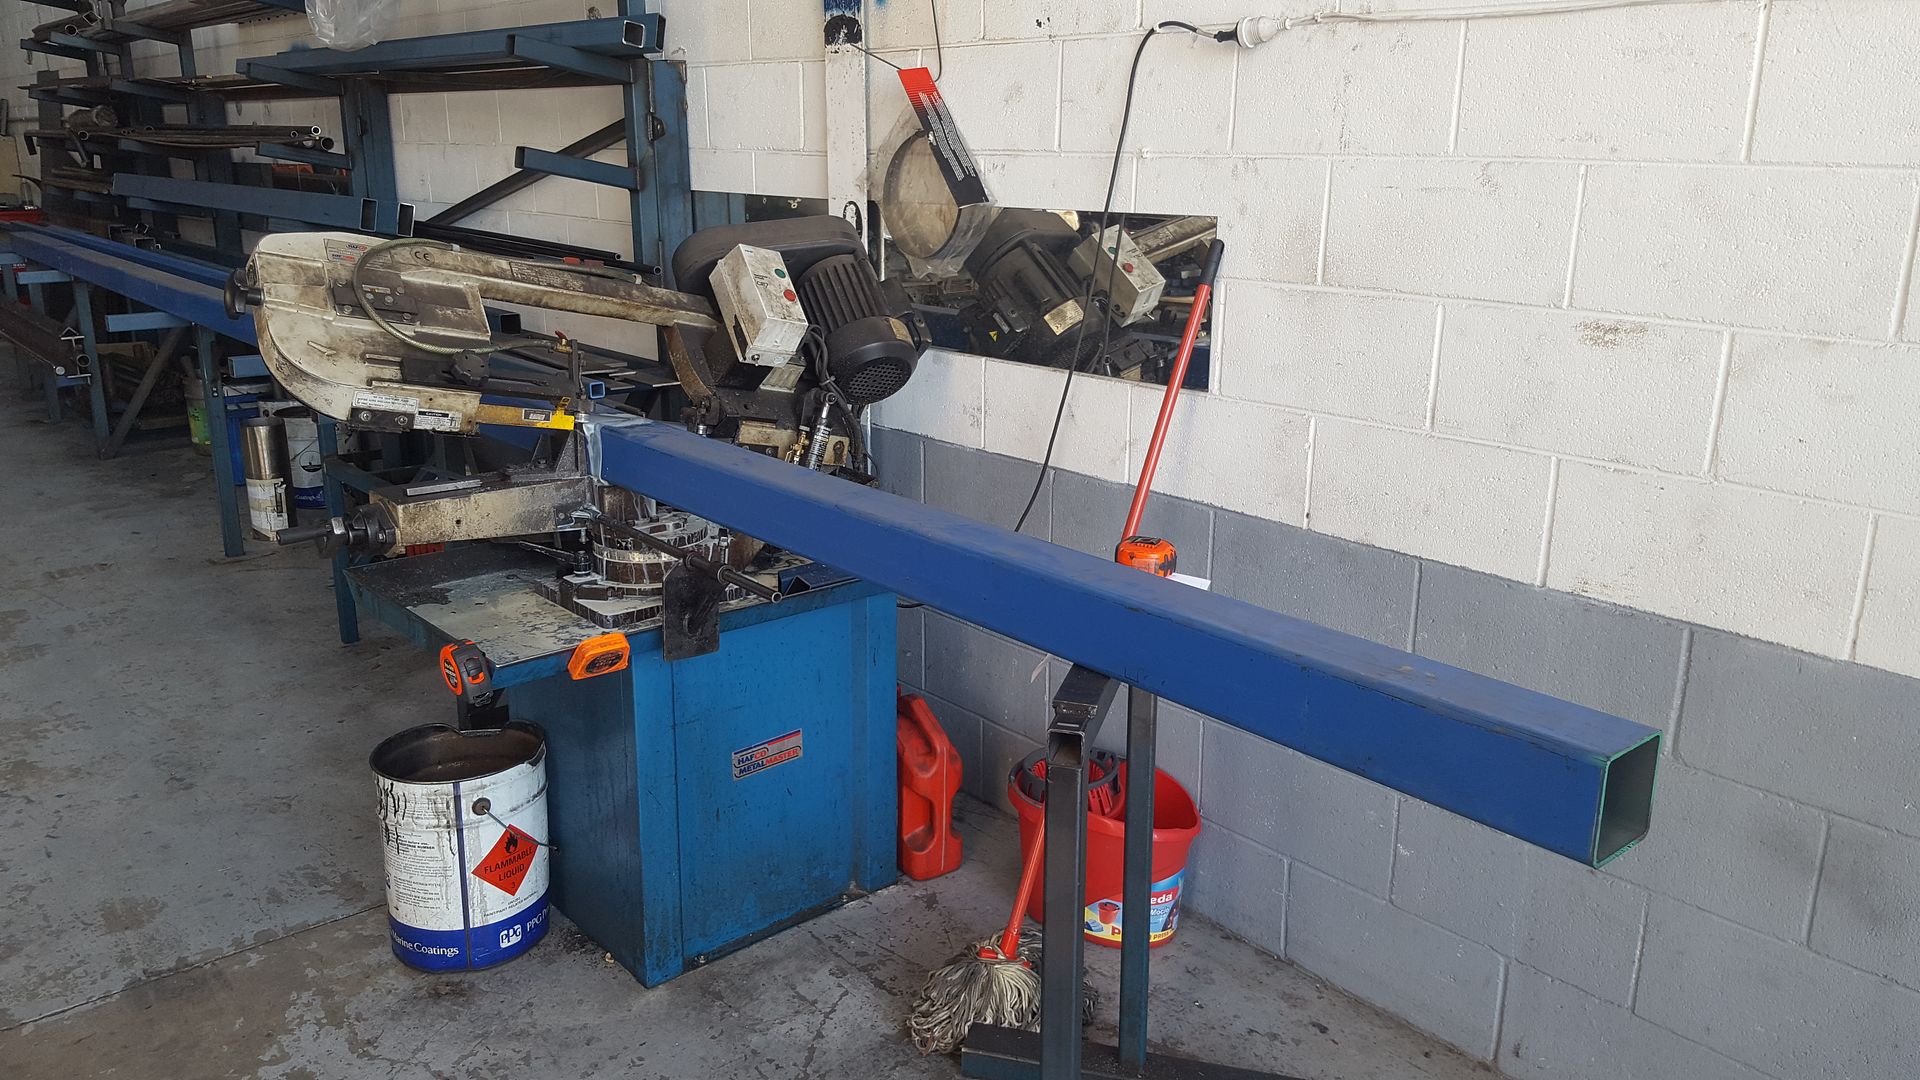
Finally got to cut some stuf ffor the table
Stepper cable connections.
It was a bit tricky to work out where to drill and tap holes to secure the mounting brackets.
Plasma interconnect cable and a shot of the enclosure.
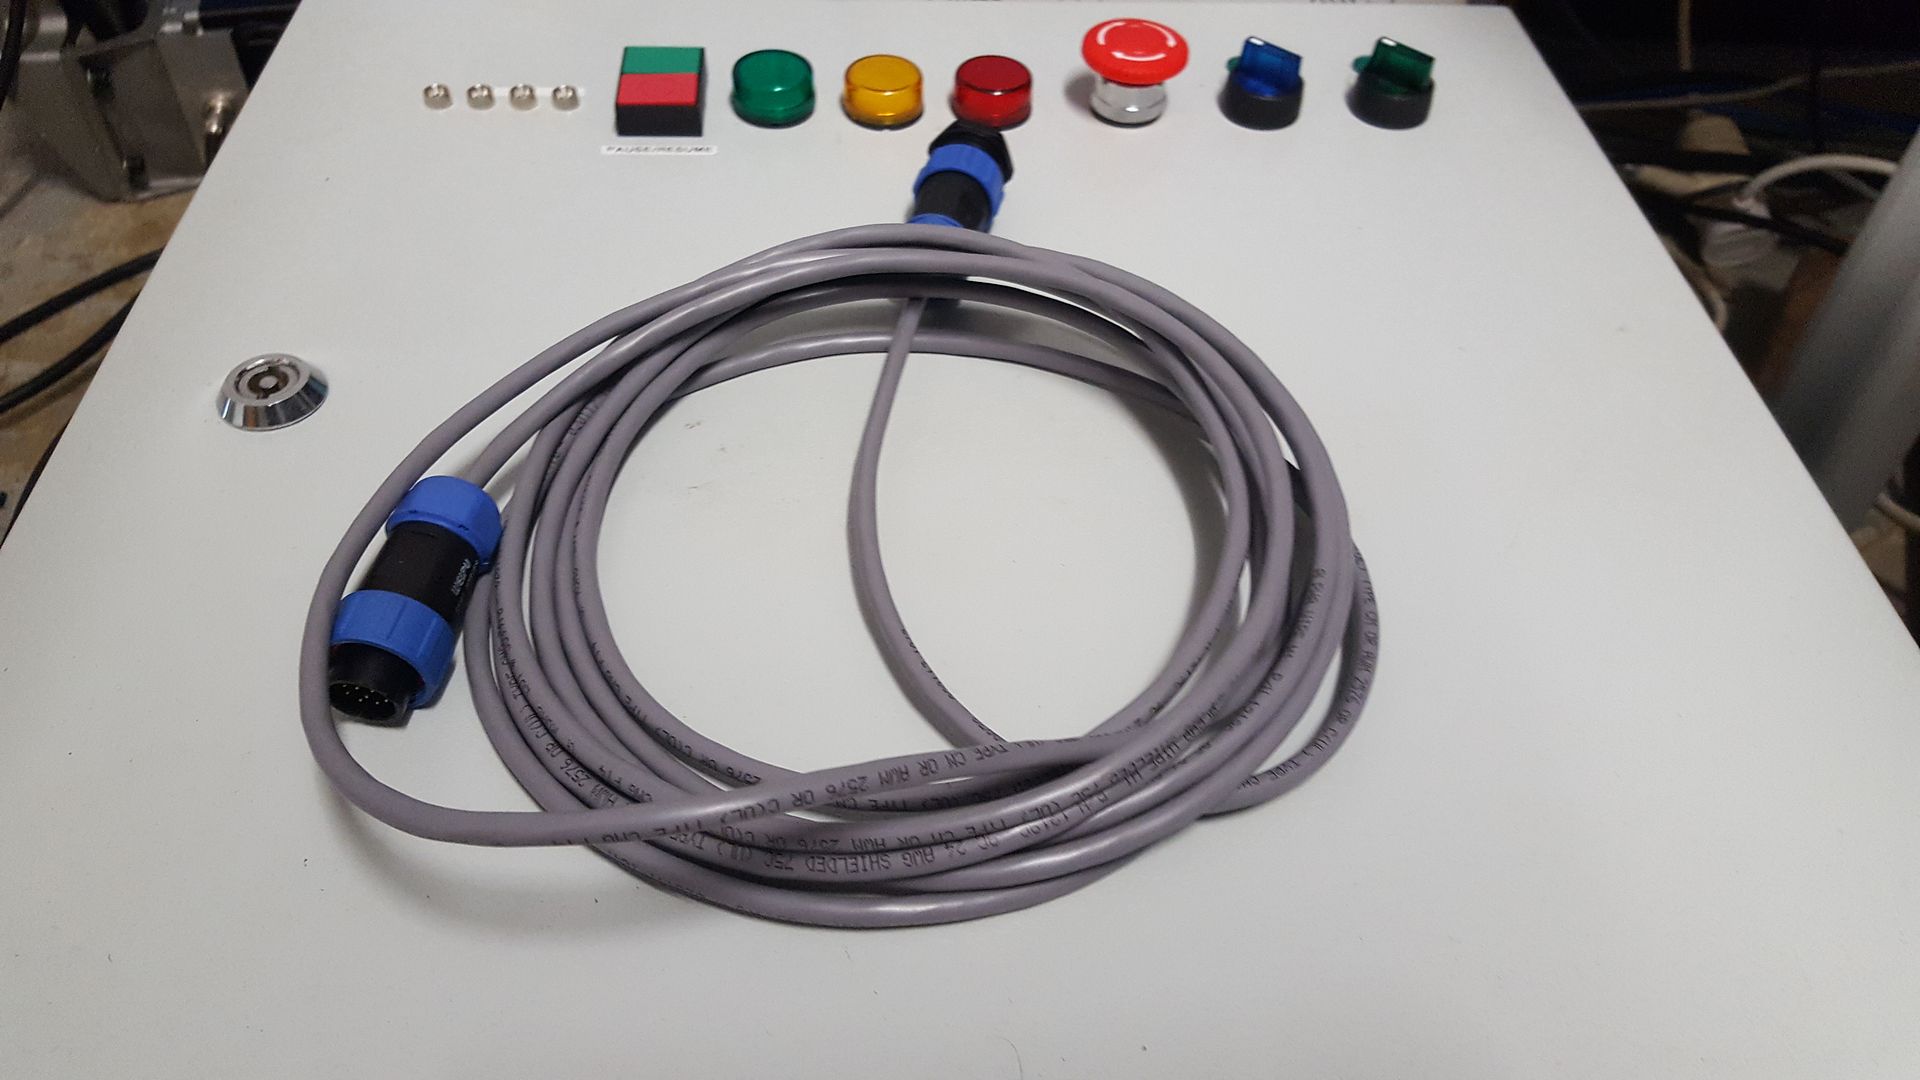
Power circuit LEDs on the right, Run/Step and Hold/resume buttons. 3 warning lights, estop, fan switch and main switch. Neon indicators on the 240 circuits above the last 2 switches are not visible.
Probably worth mentioning that the Mesa 7i76e has 5 stepper interfaces (10 MHz maximum), spindle control, 2 MPG inputs, RS422 interface, 2 expansion slots compatible with normal parallel port breakouts and a range of Mesa Daughter boards. It has 32 inputs and 16 outputsas well as asome analog to digital interfaces. So all in all a very nice bit of kit.
So I'm going to hit submit now and see if I've exceed the maximum number of photos allowed....
-
- 4 Star Member
- Posts: 780
- Joined: Sun Aug 21, 2016 1:49 am
- Location: Brisbane, Australia
- Contact:
Re: Rod's Spaceship Scratch Built Plasma Table
Wow! that worked.
One of the cool features I came up with is some warning lights in conjunction with the run/step hold/resume buttons. Here's how they work
https://youtu.be/5NYhmYO4mCs
The other thing which was a right pain in the but was that the helical racks which I was told were module 1.25 were nothing like it and I had a lot of trial and error to dial in the NEMA 34's. Anyway after 20 metres up and down the gantry, they were out by 0.02mm so I did not bother trying to get it any more accurate.
Here's the video
https://youtu.be/r8YuW3JrFNE
and here's the end result.
The only other thing that I might say is that while originally I thought there was good support in LinuxCNC for torch height control, the component they had was not startling. In the last couple of months the developers have been working on an external offset for an axis which has great potential for plasma torch height control becasue the height adjustment can be fed in as an offset to the axis and from that point, LCNC thinks that is the actual coordinate on that axis and the full features of the trajectory planner and PID control become available. So 4 days ago, they released an update which included a simulated Torch height control using these external offsets, and including PID control for the first time in a LinuxCNC THC module. Anyway, I will be a very early adopter of that feature.
I'm already running their unstable development version becasue it contains a cool upgrade to homing of axes that have more than one stepper motor on them (like a gantry). So I've learnt to checkout a development branch and now have this new code compiled and ready to go.
The other thing I'd like to have a go at is to write a touch off routine to replace a gcode routine currently used. If I can achieve that, I should be able to add some much more sophisticated features in the material sense/piercing and experiment with voltage sampling. Anyway, thats enough for one night.
Feel free to ask any questions, I am sure I'll have a lot of my own in the coming months.
-
- 4 Star Member
- Posts: 780
- Joined: Sun Aug 21, 2016 1:49 am
- Location: Brisbane, Australia
- Contact:
Re: Rod's Spaceship Scratch Built Plasma Table
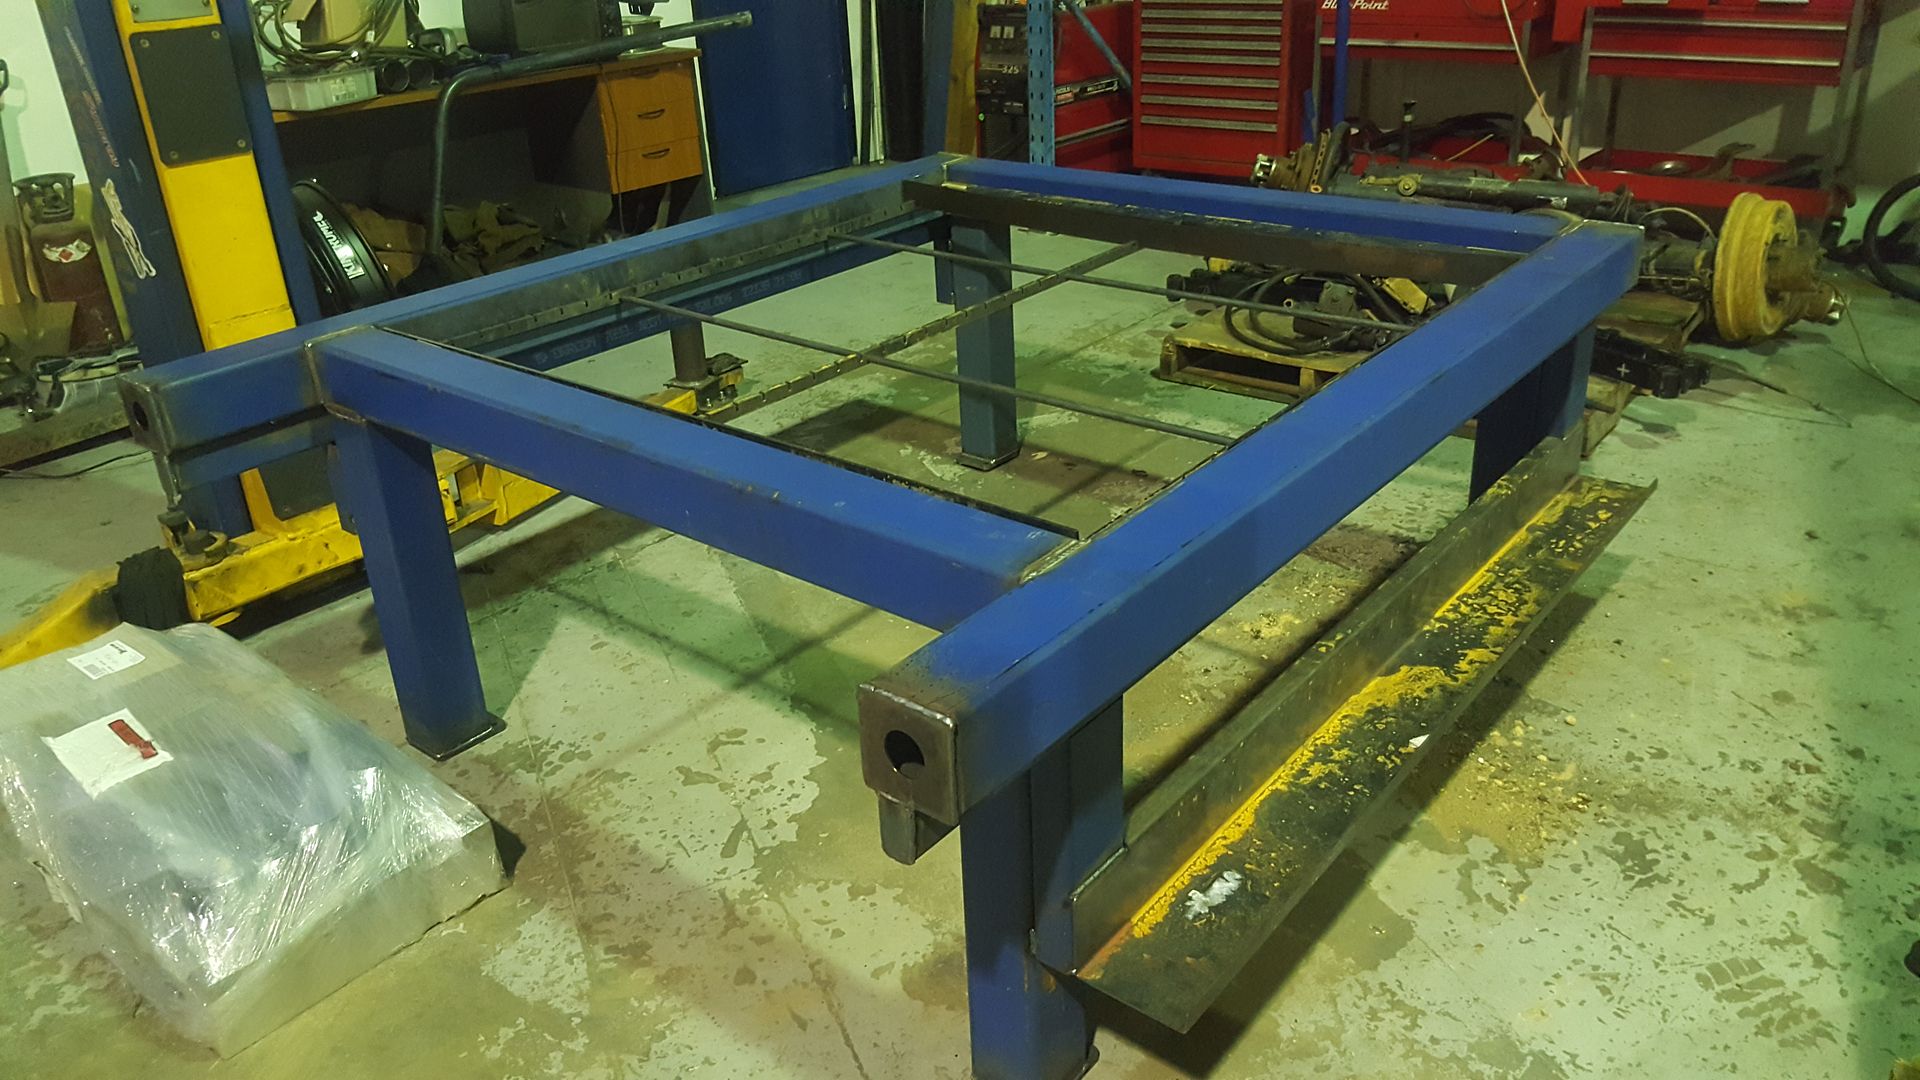
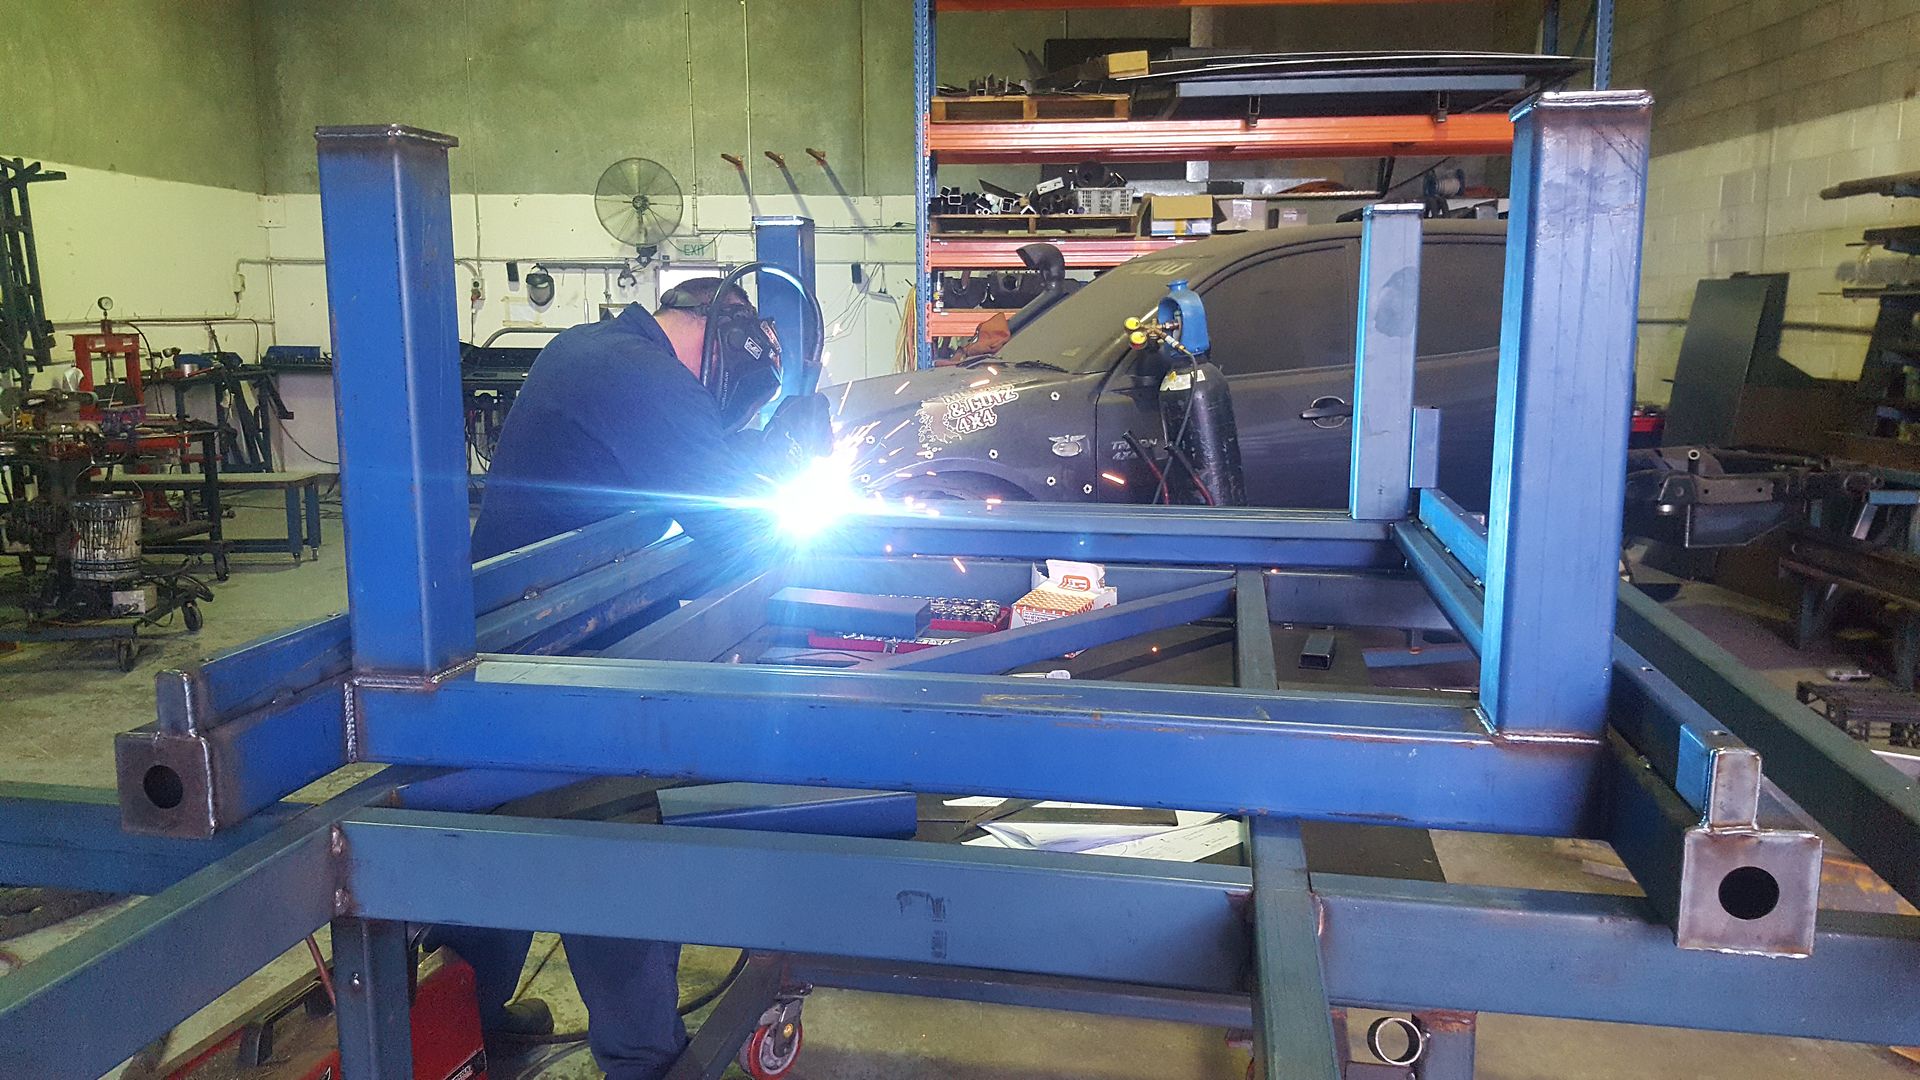
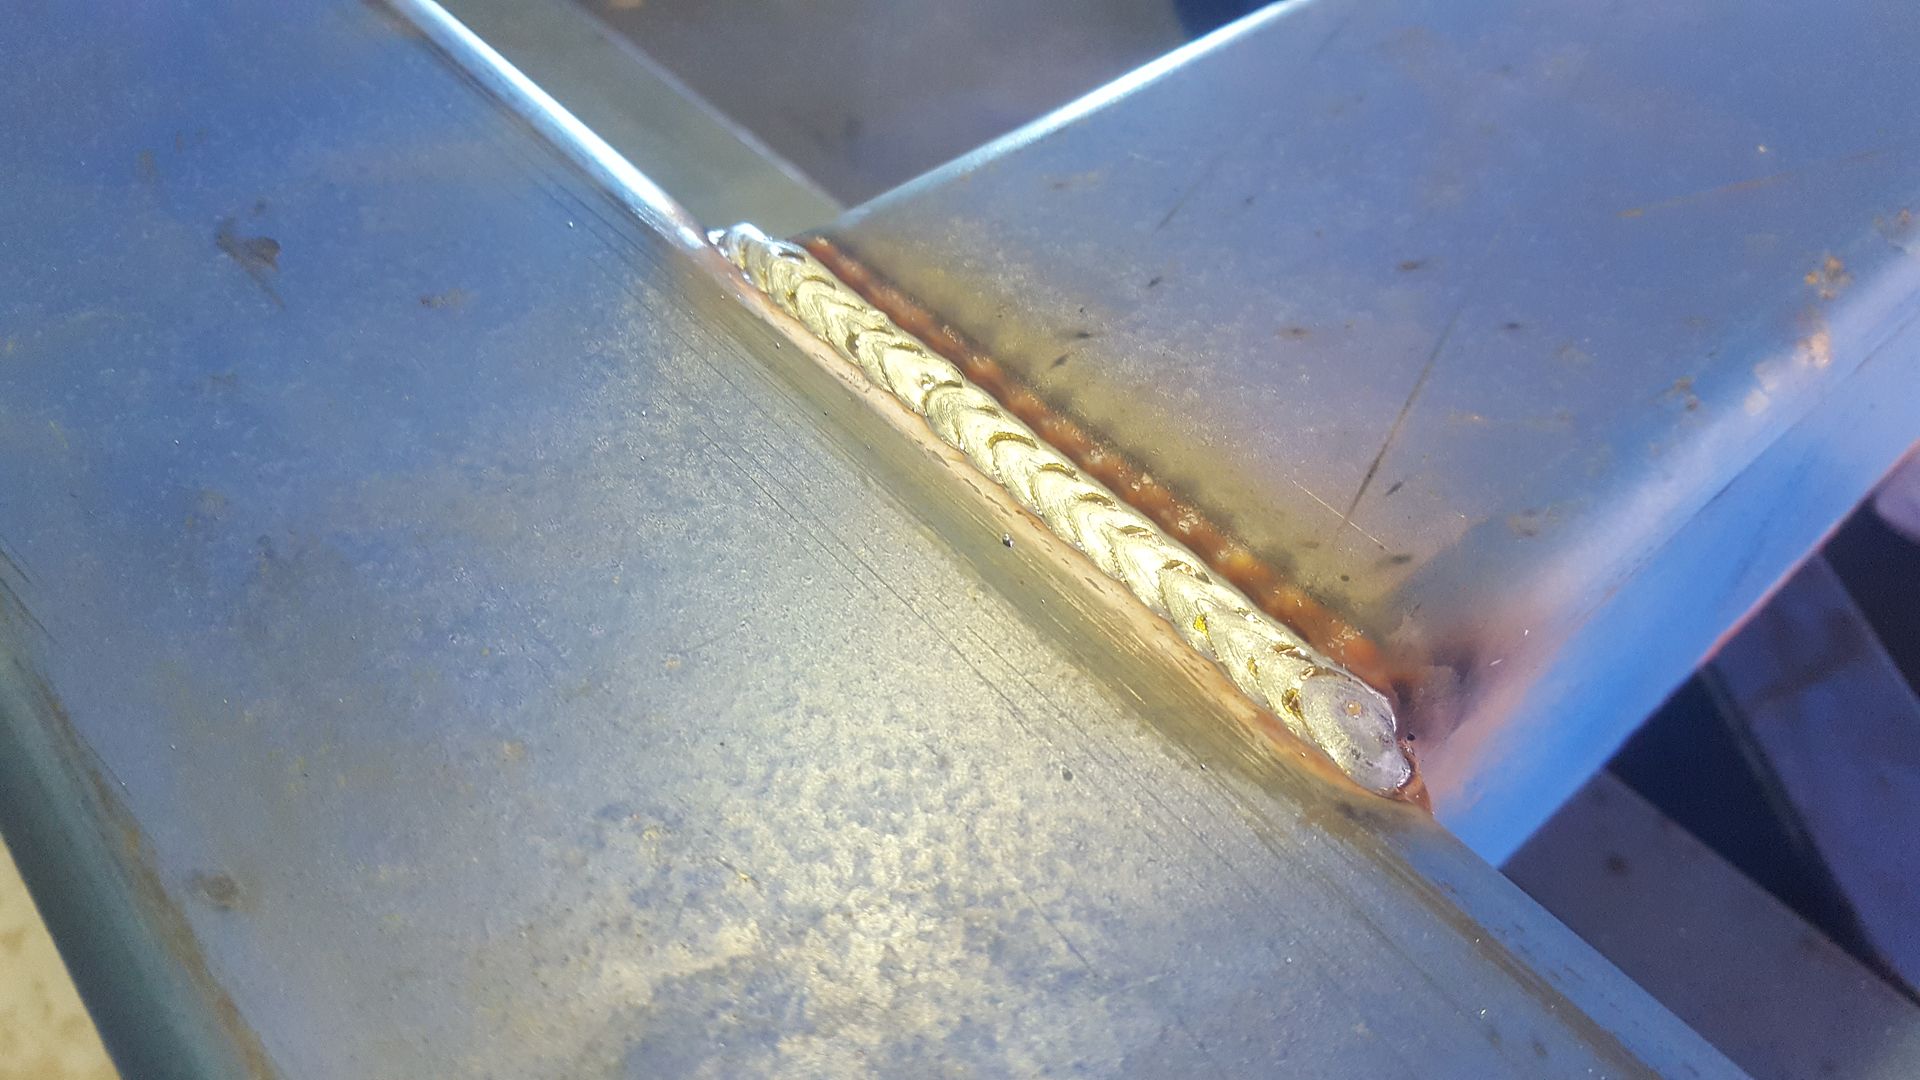
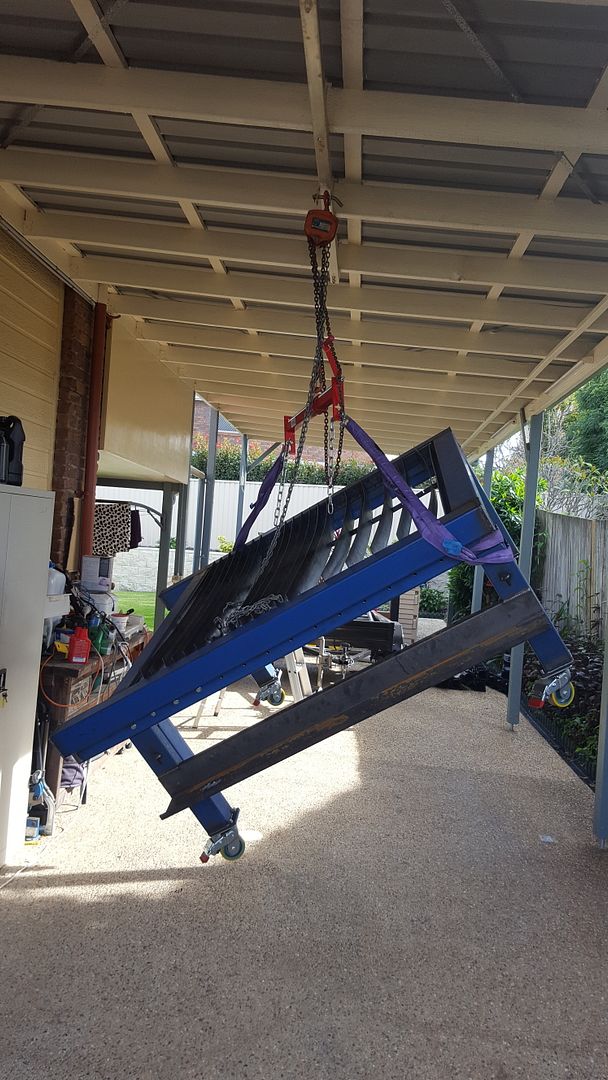
Well, finally, getting to the bit that most tables I have seen start. Welding up the table!
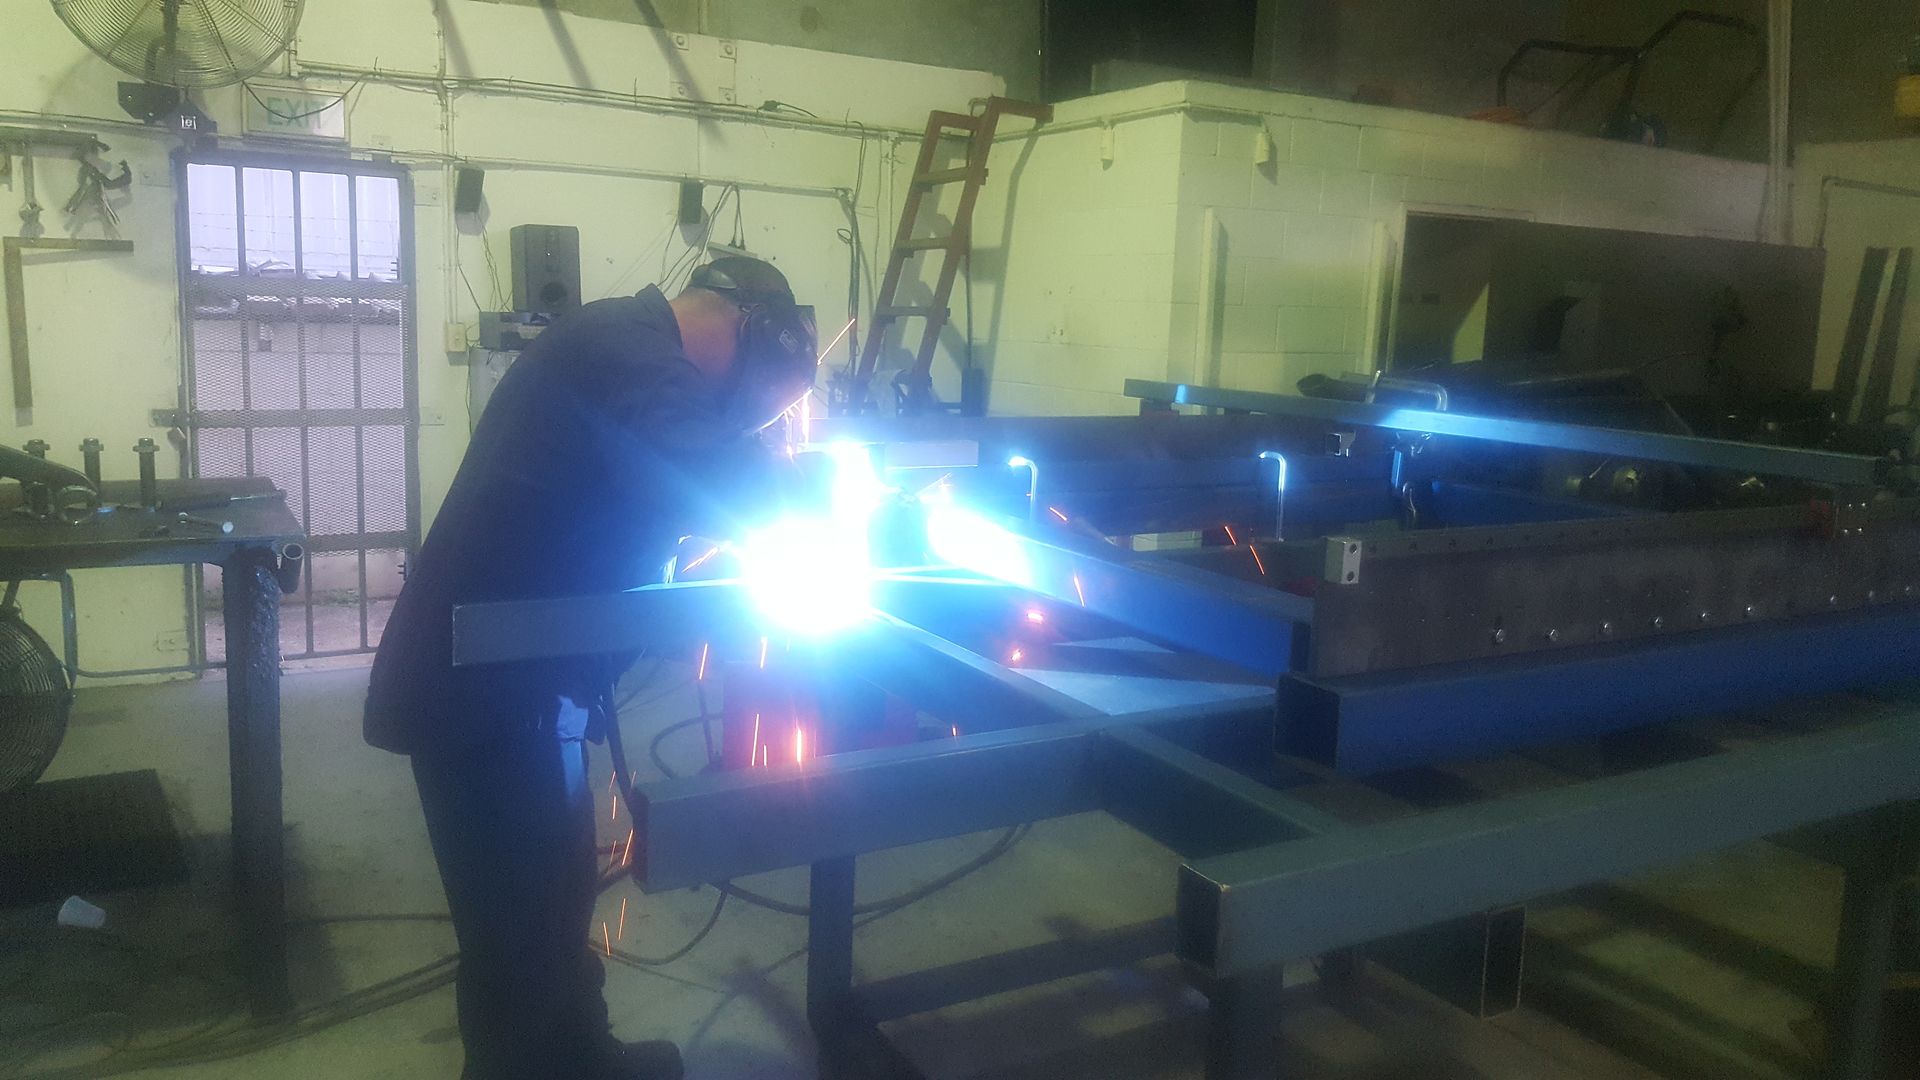
We are using a large jig we have to make sure the table is square and most of the hard stuff is all tacked up so later in the week, we should have the legs on and the table right way up by the end of the week. You can see a temporary crossmember which is bolted to a linear carriage on both sides of the table. We used this to make sure the rails were parallel and I could push it along with one finger so I was very happy at that.
-
- 2 Star Member
- Posts: 54
- Joined: Tue Jan 17, 2017 3:54 pm
Re: Rod's Spaceship Scratch Built Plasma Table
Looking good Rod
4x4 DIY Plasma Table
Hypertherm PM45
Purelogic THC
Mach3
Sheetcam
Inkscape
Hypertherm PM45
Purelogic THC
Mach3
Sheetcam
Inkscape
-
- 1/2 Star Member
- Posts: 9
- Joined: Tue Mar 04, 2014 5:04 pm
Re: Rod's Spaceship Scratch Built Plasma Table
I wish I would have thought about adding the rail and doing the temporary cross member to check for parallel. I used a tape and level. Lots of checking and rechecking until it was all together. While my way worked I had it all welded up before I knew if it would work. I could have had a bunch of scrap tubing if it hadn't.
Looking good Rod!
Looking good Rod!
-
- 4 Star Member
- Posts: 780
- Joined: Sun Aug 21, 2016 1:49 am
- Location: Brisbane, Australia
- Contact:
Re: Rod's Spaceship Scratch Built Plasma Table
You guys must think I'm a bit rude ignoring you. For some reason I did not get subscribed to this thread. Hopefully I have that sorted now.
I've recently been plagued by spurious limit switch error when it has been very stable previously. I think I found the problem today.
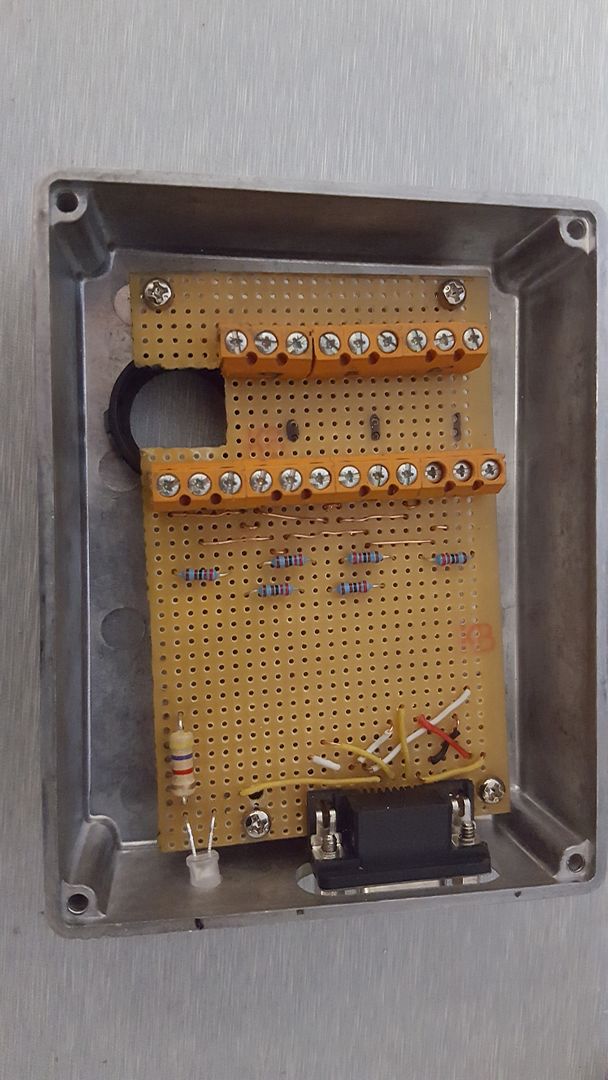
Circuit boards are meant to be flat and mine isn't! This board carries all my limit switch connections and pullup resistors on the gantry head. I have to rethink how to do this in a more robust way.
In the meantime, there have been some exciting things in the LinuxCNC code base for plasma torch height control and I've been writing a few other components to simplify how it all links together. Finally, LinuxCNC will have PID based torch height control and corner lock built right into the trajectory planner. There is a few of us lining up to test it but none of us have been able to yet.
Andrew, thanks for the encouragement. I know you had something to start with and I didn't but we are on the same journey.AndrewMawson wrote:Looking good Rod
Frank, Believe it or not the idea came to me while driving to work to take the parts in to get them welded up. As its shown, the table is upside down. Unfortunately, Lee has not had time to do any more to my table which I'm finding very frustrating.Frank W wrote:I wish I would have thought about adding the rail and doing the temporary cross member to check for parallel. I used a tape and level. Lots of checking and rechecking until it was all together. While my way worked I had it all welded up before I knew if it would work. I could have had a bunch of scrap tubing if it hadn't.
I've recently been plagued by spurious limit switch error when it has been very stable previously. I think I found the problem today.
Circuit boards are meant to be flat and mine isn't! This board carries all my limit switch connections and pullup resistors on the gantry head. I have to rethink how to do this in a more robust way.
In the meantime, there have been some exciting things in the LinuxCNC code base for plasma torch height control and I've been writing a few other components to simplify how it all links together. Finally, LinuxCNC will have PID based torch height control and corner lock built right into the trajectory planner. There is a few of us lining up to test it but none of us have been able to yet.
-
- 1/2 Star Member
- Posts: 9
- Joined: Tue Mar 04, 2014 5:04 pm
Re: Rod's Spaceship Scratch Built Plasma Table
I don't get to this site all that much and stumbled on your build because I was searching for something, like I am today. It's cool to see how others have went about building their tables. I wish I was more tech savvy but after you said Linux you lost me. I need plug and play. Haha.
My build took nearly a year before I made any cuts and it wasn't a lack of money as so much as time. It took another 6 months to get to where I was comfortable with software. You'll get there just keep at it.
-
- 2 Star Member
- Posts: 95
- Joined: Tue Sep 22, 2015 4:23 am
Re: Rod's Spaceship Scratch Built Plasma Table
Good day gents. I built mine about 2 years ago, and yes there was much frustration, again not in the build but in the software, setup and calibration. I had no drawings just built it from scratch and only stuffed up the reduction on the 'Z' drive. So not to bad for a beginner. Mine too is a 5 axis setup, but with servo drives, and yes it can wiz along. I have plasma cut and routed on it and all seemed to be fine, however the only problem I have is a faulty operator unit. I have all the bits to extend it now and fit the rotary but time short, so when time permits will do the extensions. I too an in OZ and there are a few here doing or done the same thing. My hardware came from Candcnc as I wanted to reduce the potential problems associated with a build like this. Keep it going you will be quite chuffed when you complete
-
- 4 Star Member
- Posts: 780
- Joined: Sun Aug 21, 2016 1:49 am
- Location: Brisbane, Australia
- Contact:
Re: Rod's Spaceship Scratch Built Plasma Table
Thanks for the encouragement. I do have an external Torch height Control unit but I bought the Mesa THCAD card as it was only USD $69 when I bought my Mesa 7i76e card. I figured I could fall back to the other unit if it went pear shaped but I have not got there yet! I thought there was a pretty mature THC unit built into LinuxCNC but once I got into it, it is pretty basic.hsolve wrote: Keep it going you will be quite chuffed when you complete
We now have a new experimental module that will provide PID based THC embedded into LinuxCNC complete with corner lock, just nobody has used it in anger yet. LCNC has a gcode based touchoff routine but I'm hoping to write a more sophisticated component embedded into LCNC itself.
There are so many decisions to make when building a machine from scratch. I chose to make the Z axis which took me 3 months rather than buy a premade unit. Likewise the torch breakaway (the first version of which went in the bin)..
Anyway, back to the build...
I rebuilt the circuit board and revised the way it mounts up so it won't happen again. I made a stuff up when I bought the proximity sensors when I bought them. I got NPN ones and then found out that the Mesa hardware works best with PNP sensors so I need to run some pullup resistors. I ended up with some spare real estate because I was not sure how much room to leave for the resistors.
And did a quick bit of milling which I was happy with.
Drilled and tapped some holes in the box and it mounted up OK.
And with it all wired up again with 24v diagnostic LED for troubleshooting..
I'm not sure if this was really my problem but it was not going to be very robust if left alone. I think this makes it a lot easier to service as well. I have not tested it properly yet as I ran into some software problems but I'll get to the bottom of it.
- acourtjester
- 6 Star Elite Contributing Member
- Posts: 8183
- Joined: Sat Jun 02, 2012 6:04 pm
- Location: Pensacola, Fla
Re: Rod's Spaceship Scratch Built Plasma Table
Keep going with the build you may stumble a bit but you will know much more then if you just bought a table. There are many here that built their own I can tell you when you done the happy dance last much longer and the feeling make is all worth it.
DIY 4X4 Plasma/Router Table
Hypertherm PM65 Machine Torch
Drag Knife and Scribe
Miller Mig welder
13" metal lathe
Small Mill
Everlast PowerTig 255 EXT
Hypertherm PM65 Machine Torch
Drag Knife and Scribe
Miller Mig welder
13" metal lathe
Small Mill
Everlast PowerTig 255 EXT
-
- 4 Star Member
- Posts: 780
- Joined: Sun Aug 21, 2016 1:49 am
- Location: Brisbane, Australia
- Contact:
Re: Rod's Spaceship Scratch Built Plasma Table
Thanks for the encouragement. Its not so much the dancing at the finish line but the beer that goes with it that excites me!acourtjester wrote:Keep going with the build you may stumble a bit but you will know much more then if you just bought a table. There are many here that built their own I can tell you when you done the happy dance last much longer and the feeling make is all worth it.
-
- 4 Star Member
- Posts: 780
- Joined: Sun Aug 21, 2016 1:49 am
- Location: Brisbane, Australia
- Contact:
Re: Rod's Spaceship Scratch Built Plasma Table
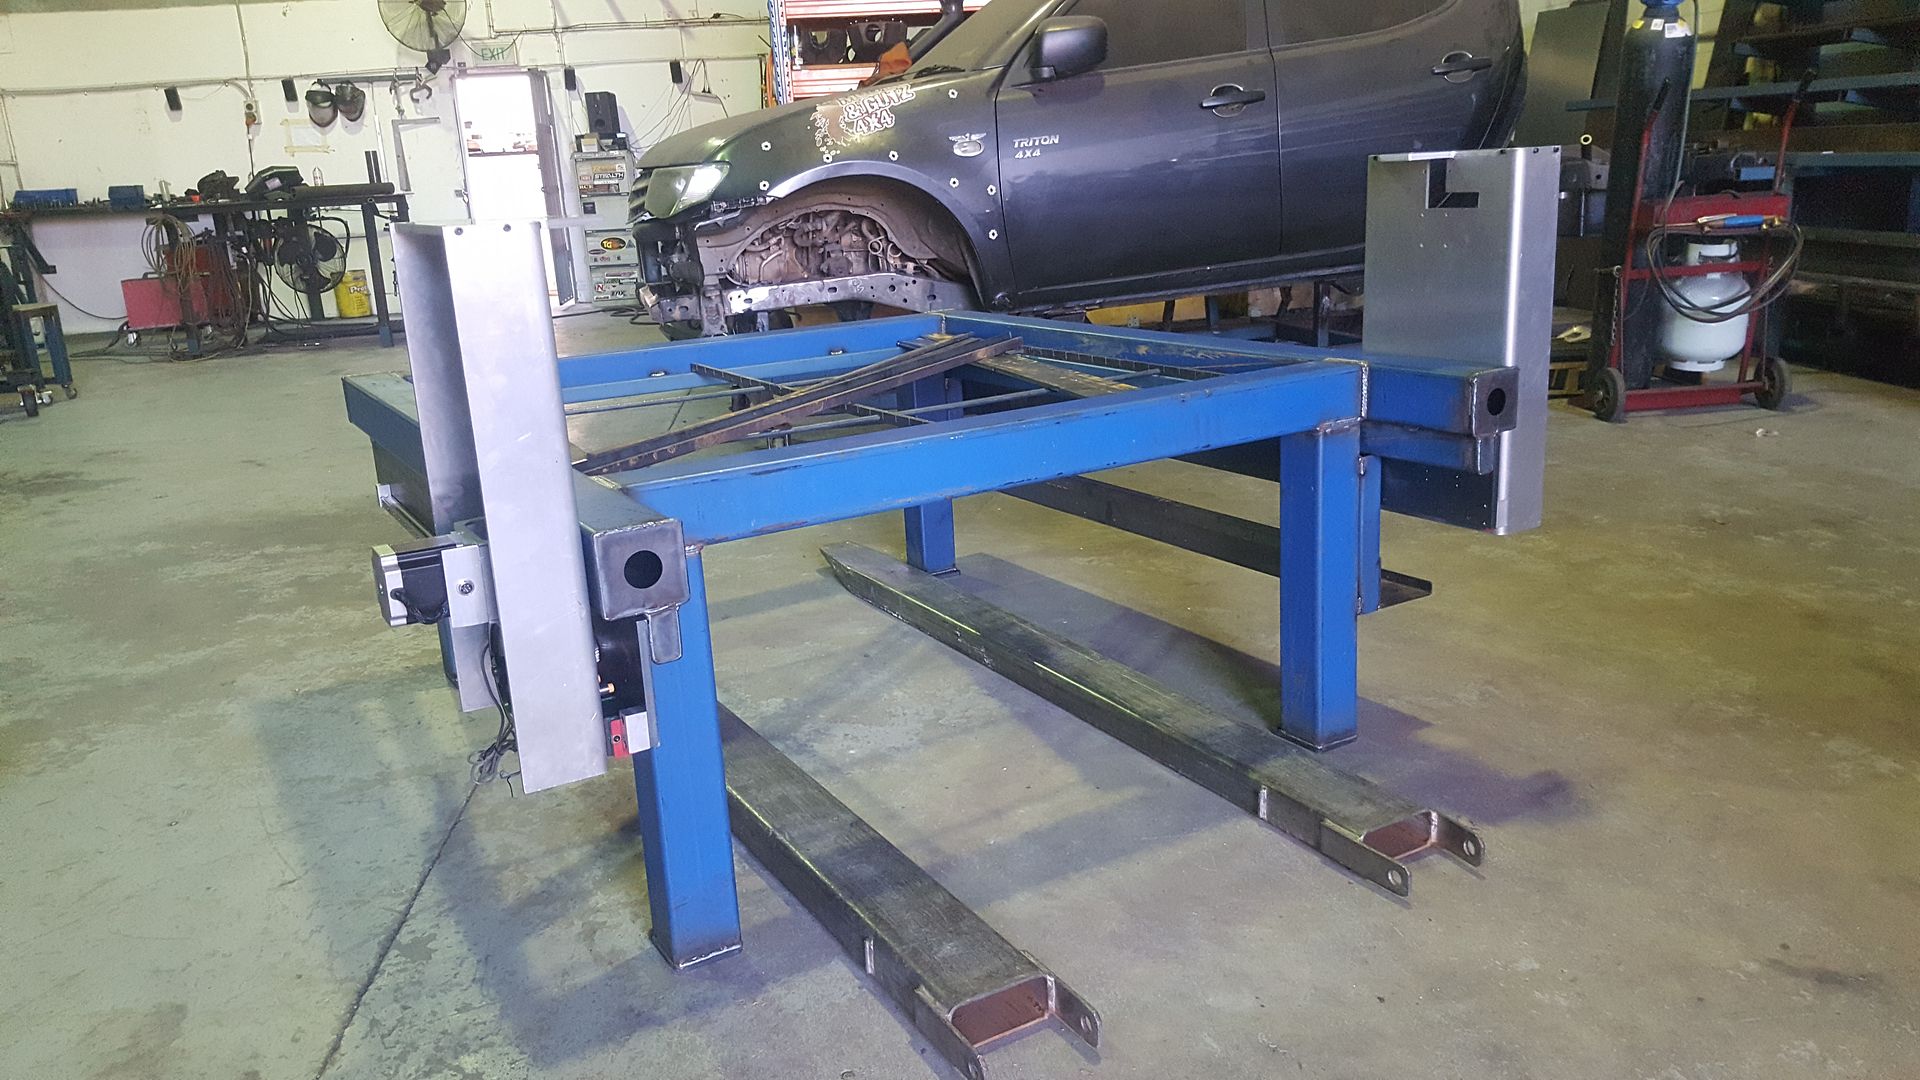
Well, I finally have a table tonight
Thanks to Lee for the welding
And why I did not attempt to weld up something that had to be so precise!.
Thanks to Lee for the welding
And why I did not attempt to weld up something that had to be so precise!.
-
- 4 Star Member
- Posts: 780
- Joined: Sun Aug 21, 2016 1:49 am
- Location: Brisbane, Australia
- Contact:
Re: Rod's Spaceship Scratch Built Plasma Table
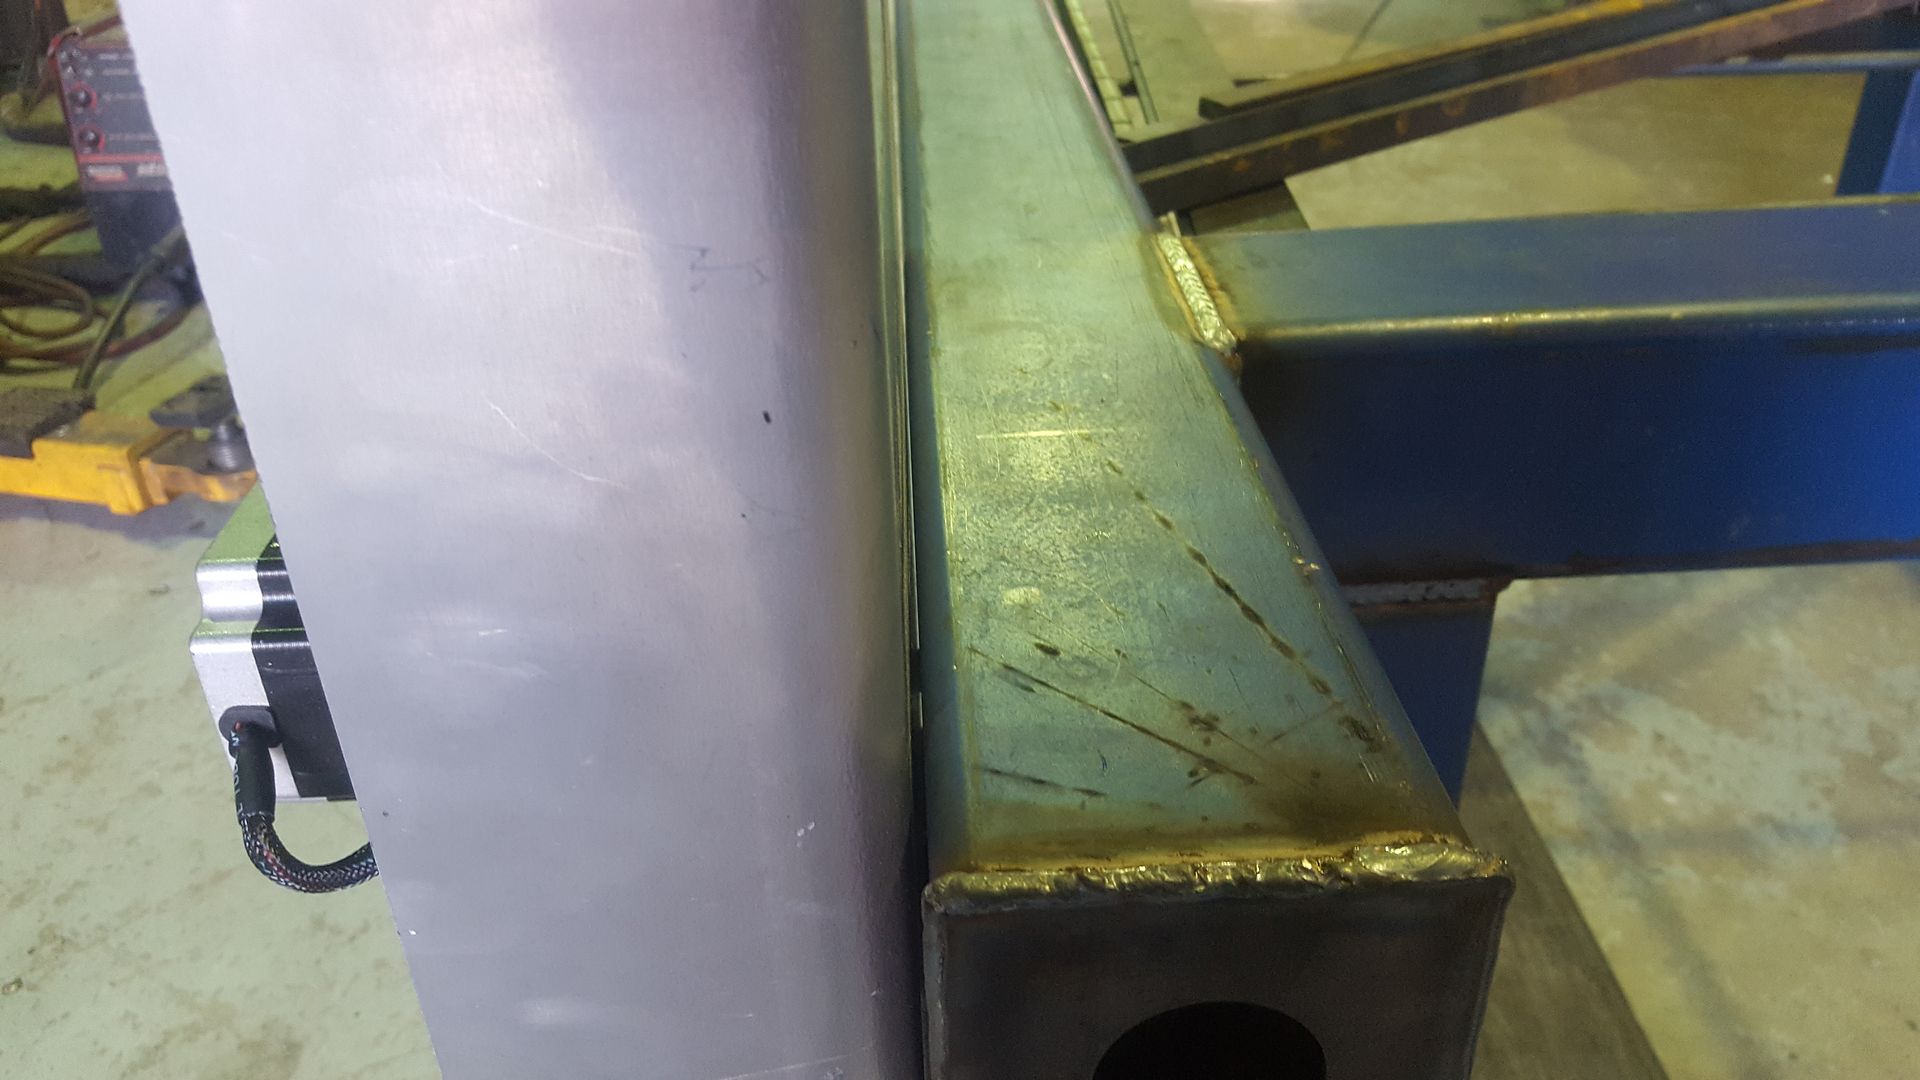
Well, I got some of the table assembled today and the gantry ends are in place
I am happy with the clearance between the gantry ends and the table.
Hopefully, it will help keep the rails clean tucked so far back.
Its kinda funny, when I was looking at the gantry ends, they looked to long but now they are assembled, they look correct and in proportion.
I am hoping I will be able to get a bit more together over the Easter break.
-
- 4 Star Member
- Posts: 780
- Joined: Sun Aug 21, 2016 1:49 am
- Location: Brisbane, Australia
- Contact:
Re: Rod's Spaceship Scratch Built Plasma Table
Well, i have not had much progress on account of a too close encounter between my finger and a milling cutter on Good Friday. This required surgery on Friday night but luckily, it went between the two tendons so it will be interesting to see how its healing under the bandages when I see the doctor the afternoon.
I finally solved a very perplexing issue with my LinuxCNC configuration that has cost me hours and hours of effort. All becasue I had commented out a line of code to implement the THC component and forgot to uncomment it after I later removed the THC.
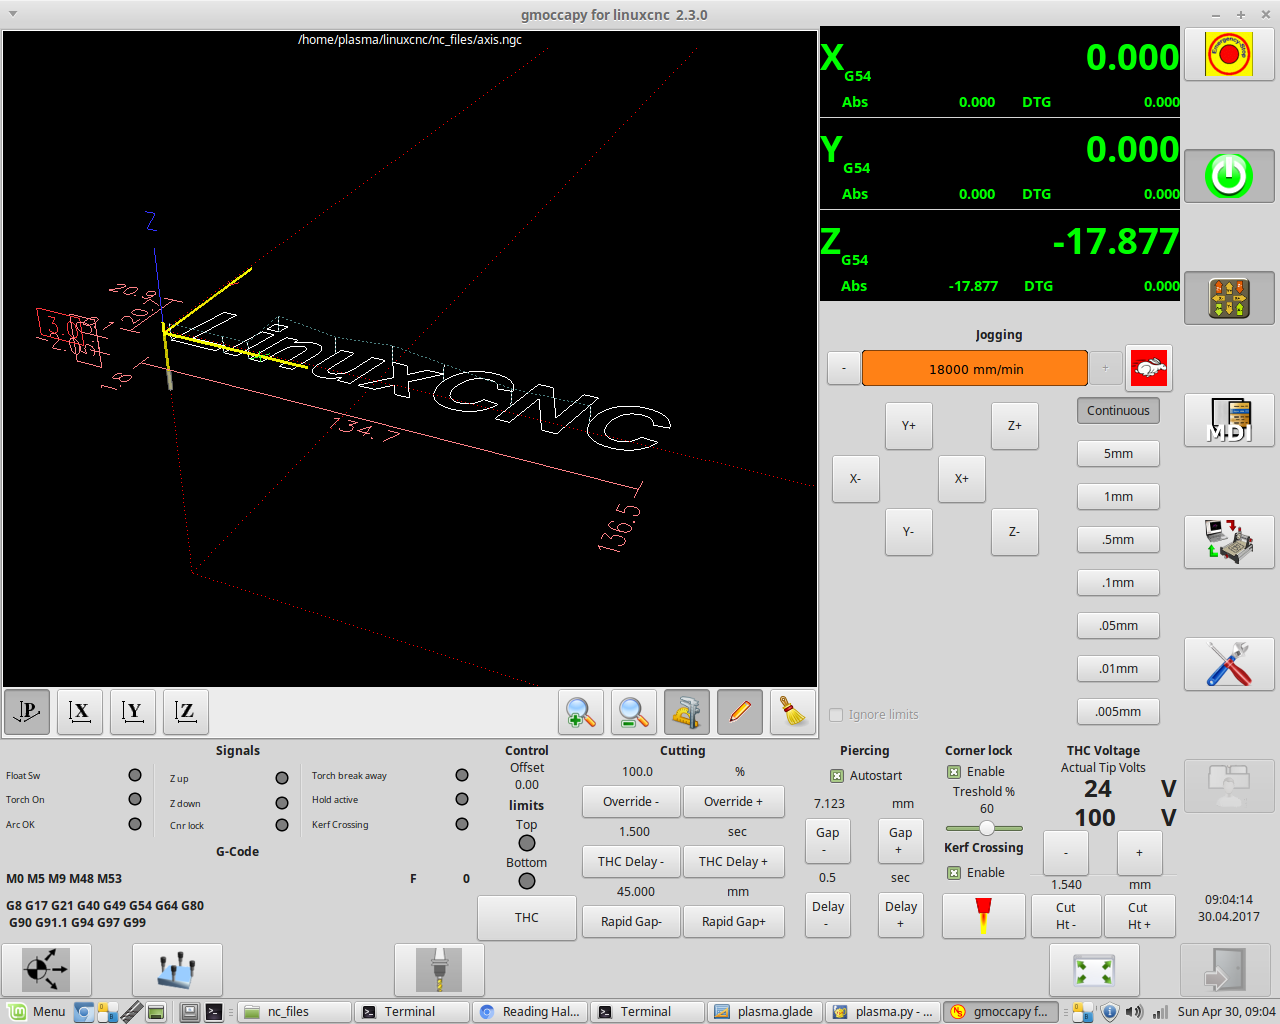
It was too late to do anything last night once I solved this but the exciting news is that I now have implemented the new experimental LinuxCNC eoffset-pid component to manage Torch height control. This embeds THC right within the LinuxCNC trajectory planner using a PID loop and external offsets for height adjustment. I've also written several LinuxCNC components myself to deal with cornerlock, kerf crossing and a couple of other housekeeping components to simplify the configuration and GUI interface. One thing I'd like to work out is how to set variables from both within Gcode and the gui screen. The problem I encountered that LinuxCNC signals (called pins) are either an IN pin or an OUT pin. I need to write to an OUT pin but it is read only. I have a couple of ideas on where to go to get this done. Anyway, its still a work in progress, but here is the touch screen based interface as it now stands.
All of the torch voltage , cornerlock, indicators and overrides are working but I have not implemented the cut height or rapid gap height yet (as these can be set in gcode). Its good to see the software finally catching up!
-
- 2 Star Member
- Posts: 54
- Joined: Tue Jan 17, 2017 3:54 pm
Re: Rod's Spaceship Scratch Built Plasma Table
Ouch !
4x4 DIY Plasma Table
Hypertherm PM45
Purelogic THC
Mach3
Sheetcam
Inkscape
Hypertherm PM45
Purelogic THC
Mach3
Sheetcam
Inkscape
-
- 4 Star Member
- Posts: 780
- Joined: Sun Aug 21, 2016 1:49 am
- Location: Brisbane, Australia
- Contact:
Re: Rod's Spaceship Scratch Built Plasma Table
That's not quite what I said. But 2 weeks on, I've got the stitches out and becasue I had plenty of time inside, I finally finished the software today after squeezing in a couple more features.AndrewMawson wrote:Ouch !
Anybody can post up a screen shot today, but the time is in connecting up all of the backend so the buttons actually do something. So that has entailed learning how to design a screen in something called Glade (which ends up as a XML data file), writing a handler in Python so that a press on a button actually does something and finally connecting everything up within Linuxcnc. One of the things that was poorly documented was how to read a Linuxcnc variable from gcode.I finally worked that out yesterday. LIke this:
Code: Select all
g1 z #<_hal[plasma.rapid.gap]>
To get this far has entailed me writing about 4-5 linuxcnc components. Finally, I think I've got a working system waiting for a table to control. Hopefully, I'll have this all together next weekend and be working on the calibration stuff.
- Capstone
- 4 Star Member
- Posts: 1015
- Joined: Fri Sep 13, 2013 8:42 am
- Location: Washington D.C. Metro
- Contact:
Re: Rod's Spaceship Scratch Built Plasma Table
Very impressive. I respect the effort and attention to detail. I do however fear that you are chasing perfection past good enough to the point that you will be very disappointed in the final cutting results. Plasma tables will never replace milling, waterjets or laser cutter; it's simply a cost effective "good enough" solution with an ROI that beats the first three in a lot of situations.
Good Luck.
Good Luck.
Phil
It's all relative...
CNC Metal Design
Instagram CNC Metal Design
JD Squared 4x8
HT PM45, Miller 251 MIG
It's all relative...
CNC Metal Design
Instagram CNC Metal Design
JD Squared 4x8
HT PM45, Miller 251 MIG
-
- 4 Star Member
- Posts: 780
- Joined: Sun Aug 21, 2016 1:49 am
- Location: Brisbane, Australia
- Contact:
Re: Rod's Spaceship Scratch Built Plasma Table
Thanks, I'm not sure I agree with you. Initially this was going to be a ghetto home build but where I work now, a plasma table would be very handy so I went for linear rails and my guess of commercial quality. That has not added that much to the costs. We have about 3000 parts that we outsource to various profile cutters on laser, flame and plasma. To see how accurate a HD plasma can be on 32mm plate steel is pretty amazing. Why restrict your world to air plasma?Capstone wrote:Very impressive. I respect the effort and attention to detail. I do however fear that you are chasing perfection past good enough to the point that you will be very disappointed in the final cutting results. Plasma tables will never replace milling, waterjets or laser cutter; it's simply a cost effective "good enough" solution with an ROI that beats the first three in a lot of situations.
Good Luck.
The long and the short of it is that there is a certain feature set I believe plasma requires and I have supported what is required. Yes, some of the buttons displayed on screen are redundant when using sheetcam but as most of them were there, I was faced with a choice of enabling them or deleting them. I chose to enable them. But then the values need to be accessible by gcode. I also see a lot of cut quality threads where the motion hardware is the root cause. I'm hoping that won't be the case for mine.
I'm much more interested in excellence rather than time wasting perfection. Having said that, I had no idea how much work would be involved in setting up the software.That task got a bit larger because the LCNC developers added some features that are designed with plasma in mind. But it is done now and hopefully in a couple of weeks I'll find out if it is going to work as well as I think it will. But there is still much to do to finish it off and get it tuned.
Of course I could of taken the easy way and use an external THC. They are not easy to come by in our country. I have one here as a fallback but I hope I won't need to install it.
-
- 2.5 Star Member
- Posts: 123
- Joined: Fri Jan 20, 2017 3:25 am
Re: Rod's Spaceship Scratch Built Plasma Table
Any updates?
Bulltear 4x8
PN200 Pendant
Linux Command CNC
Hypertherm PM 85
C&CNC Bladerunner Servo
DTHC IV Feather Touch
HyT-Connect DCP-01
Sheetcam Inkscape QCAD
PN200 Pendant
Linux Command CNC
Hypertherm PM 85
C&CNC Bladerunner Servo
DTHC IV Feather Touch
HyT-Connect DCP-01
Sheetcam Inkscape QCAD
-
- 2.5 Star Member
- Posts: 123
- Joined: Fri Jan 20, 2017 3:25 am
Re: Rod's Spaceship Scratch Built Plasma Table
"Gigabyte Celeron J1900 USFF PC that fits in the palm of your hand"
Do you have a link for that, and how is it working out?
Bulltear 4x8
PN200 Pendant
Linux Command CNC
Hypertherm PM 85
C&CNC Bladerunner Servo
DTHC IV Feather Touch
HyT-Connect DCP-01
Sheetcam Inkscape QCAD
PN200 Pendant
Linux Command CNC
Hypertherm PM 85
C&CNC Bladerunner Servo
DTHC IV Feather Touch
HyT-Connect DCP-01
Sheetcam Inkscape QCAD
-
- 4 Star Elite Contributing Member
- Posts: 1513
- Joined: Tue Feb 28, 2012 6:47 pm
Re: Rod's Spaceship Scratch Built Plasma Table
You are welcome. When we started our Linuxcnc development (late 2015) we quickly realized that their main focus has been milling and not gantry type machines. We had to add the dual switch touch off branch. It will be interesting to see if the hardware will support the added overhead of the PID loop and corner lock in that J1900. Real time Kernel is pretty touchy about latency.I'm already running their unstable development version becasue it contains a cool upgrade to homing of axes that have more than one stepper motor on them (like a gantry). So I've learnt to checkout a development branch and now have this new code compiled and ready to go.
We elected to take the THC control outside the motion processor and deal with the PID loop there. It gets squirrelly because of the loop timing and needs a method to change tuning and set things like the "dead zone" and separate up and down velocity under THC control. While looking at the toolpath and determining if the THC needs to lock its often better to measure the actual velocity and use that in real time. The trajectory planner is so much better in LCNC and gives precedence to tracking of the toolpath over keeping a high velocity, so Velocity Anti-Dive works a treat.
-
- 4 Star Member
- Posts: 780
- Joined: Sun Aug 21, 2016 1:49 am
- Location: Brisbane, Australia
- Contact:
Re: Rod's Spaceship Scratch Built Plasma Table
Sorry guys, I have been pretty crook for a while and have had a couple of day trips to hospital. Fr some reason I've never been able to get notifications from this thread.tylerd wrote:Any updates?
Anyway, I took the table home so I could work on it about a month ago
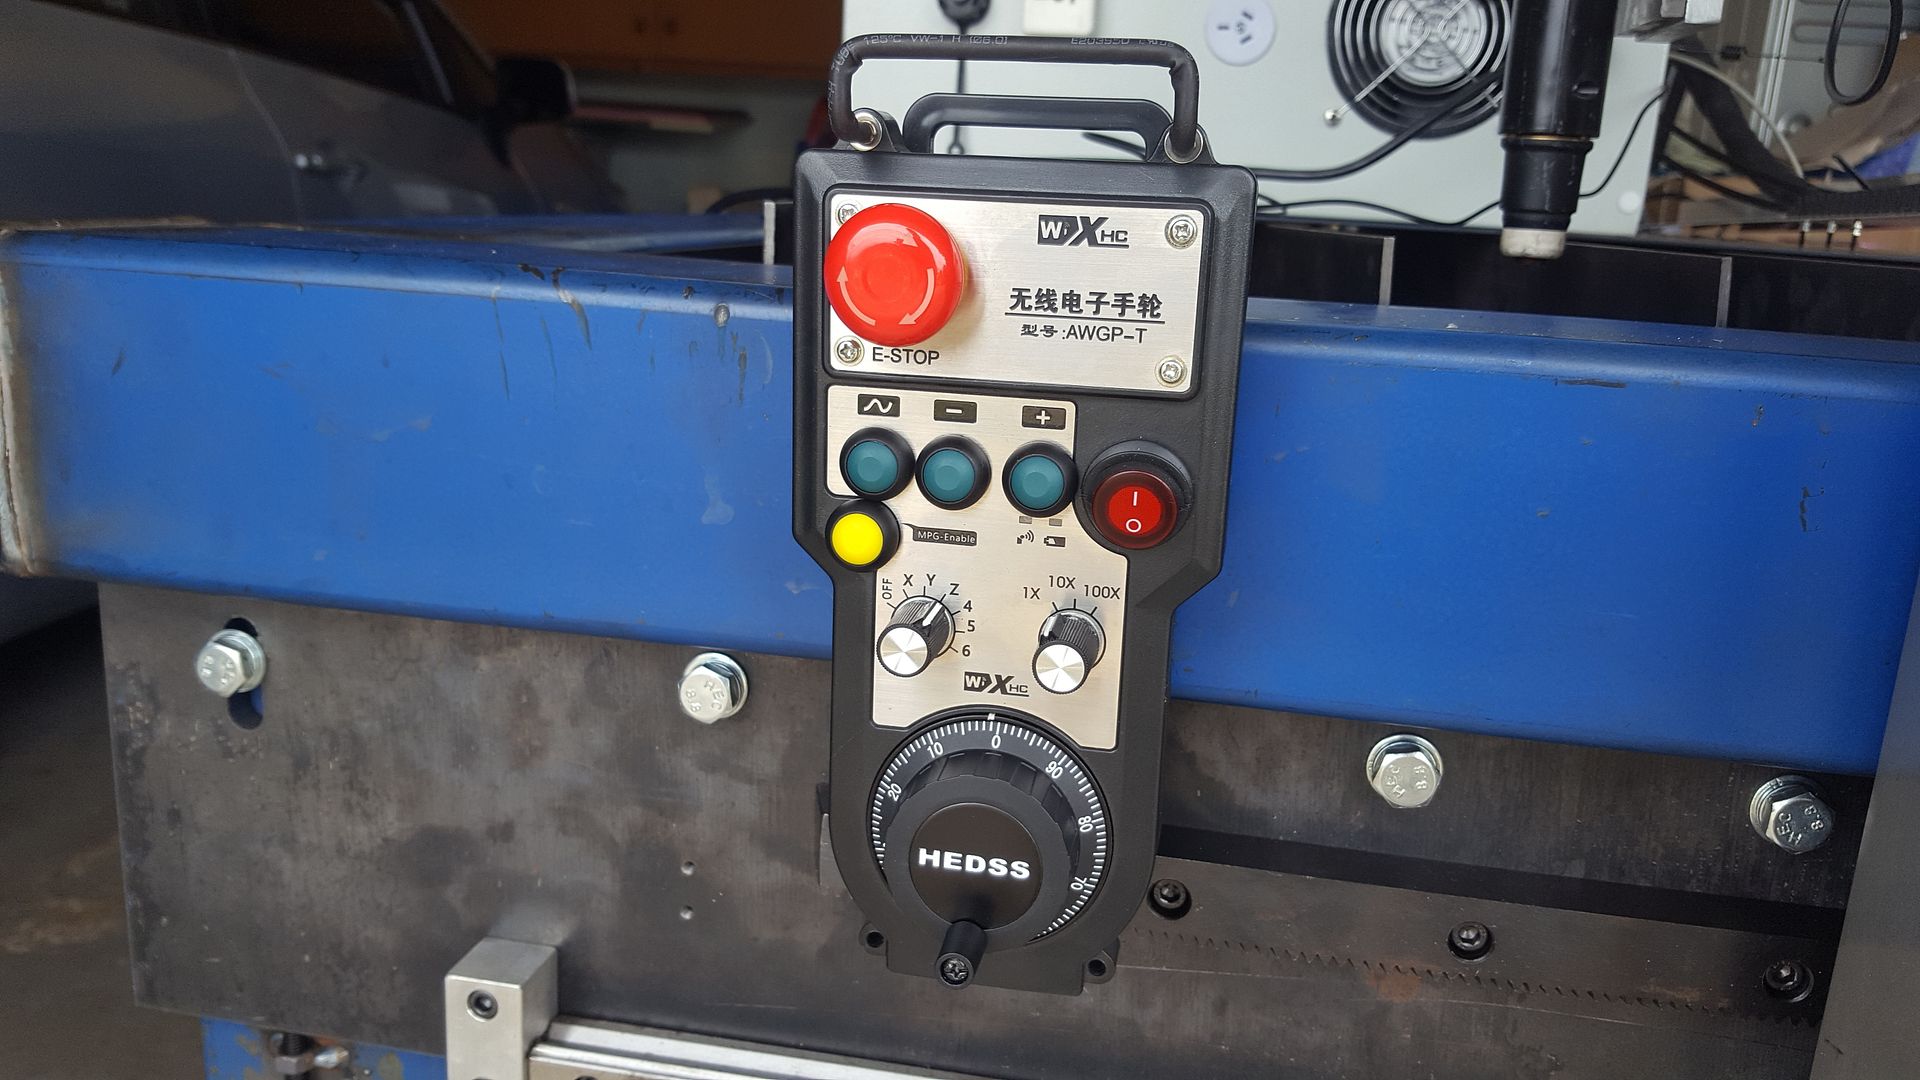
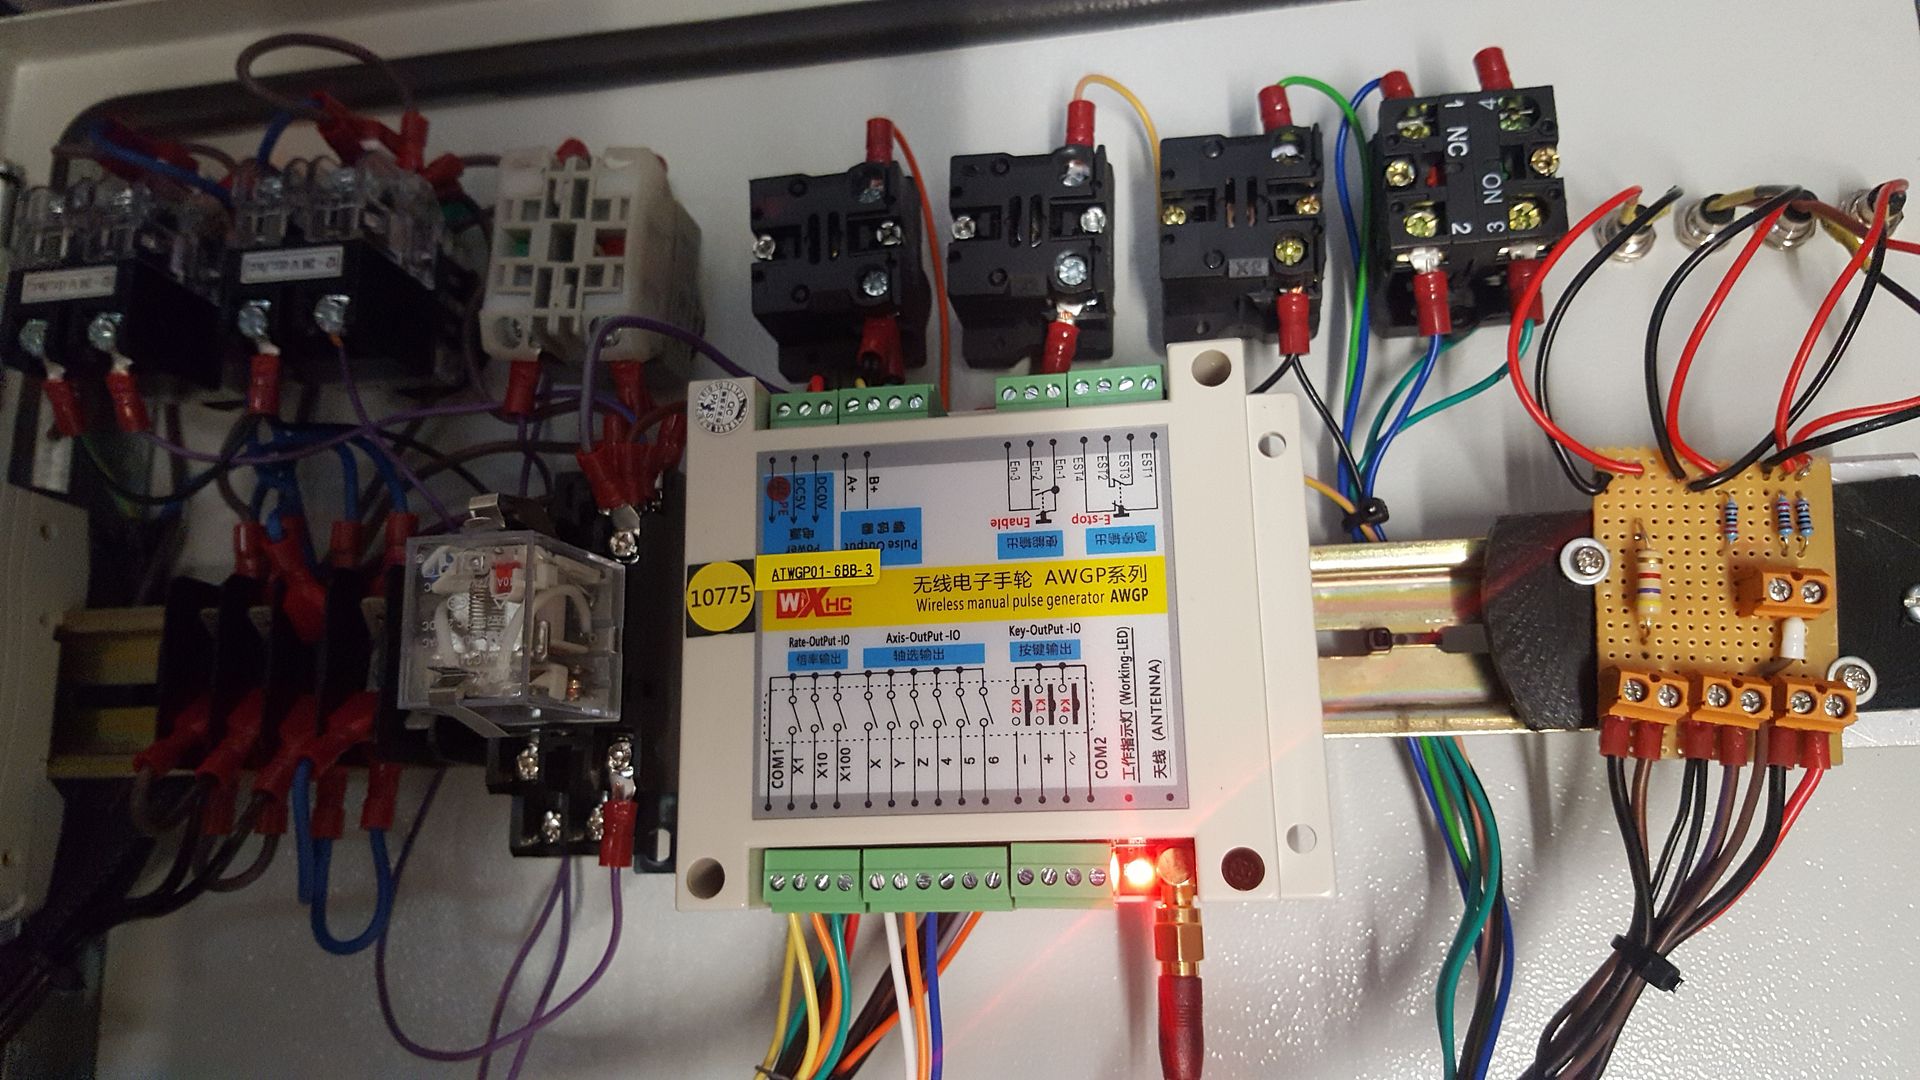
And it pretty much sat in my garage until this weekend. But I found this cool wireless pendant in China
Which has a DIN rail based receiver you stick in the cabinet and a small antenna that goes outside
The relay box has a MPG jog wheel that is compatible with the inputs on my Mesa card. Still got heaps of test wiring
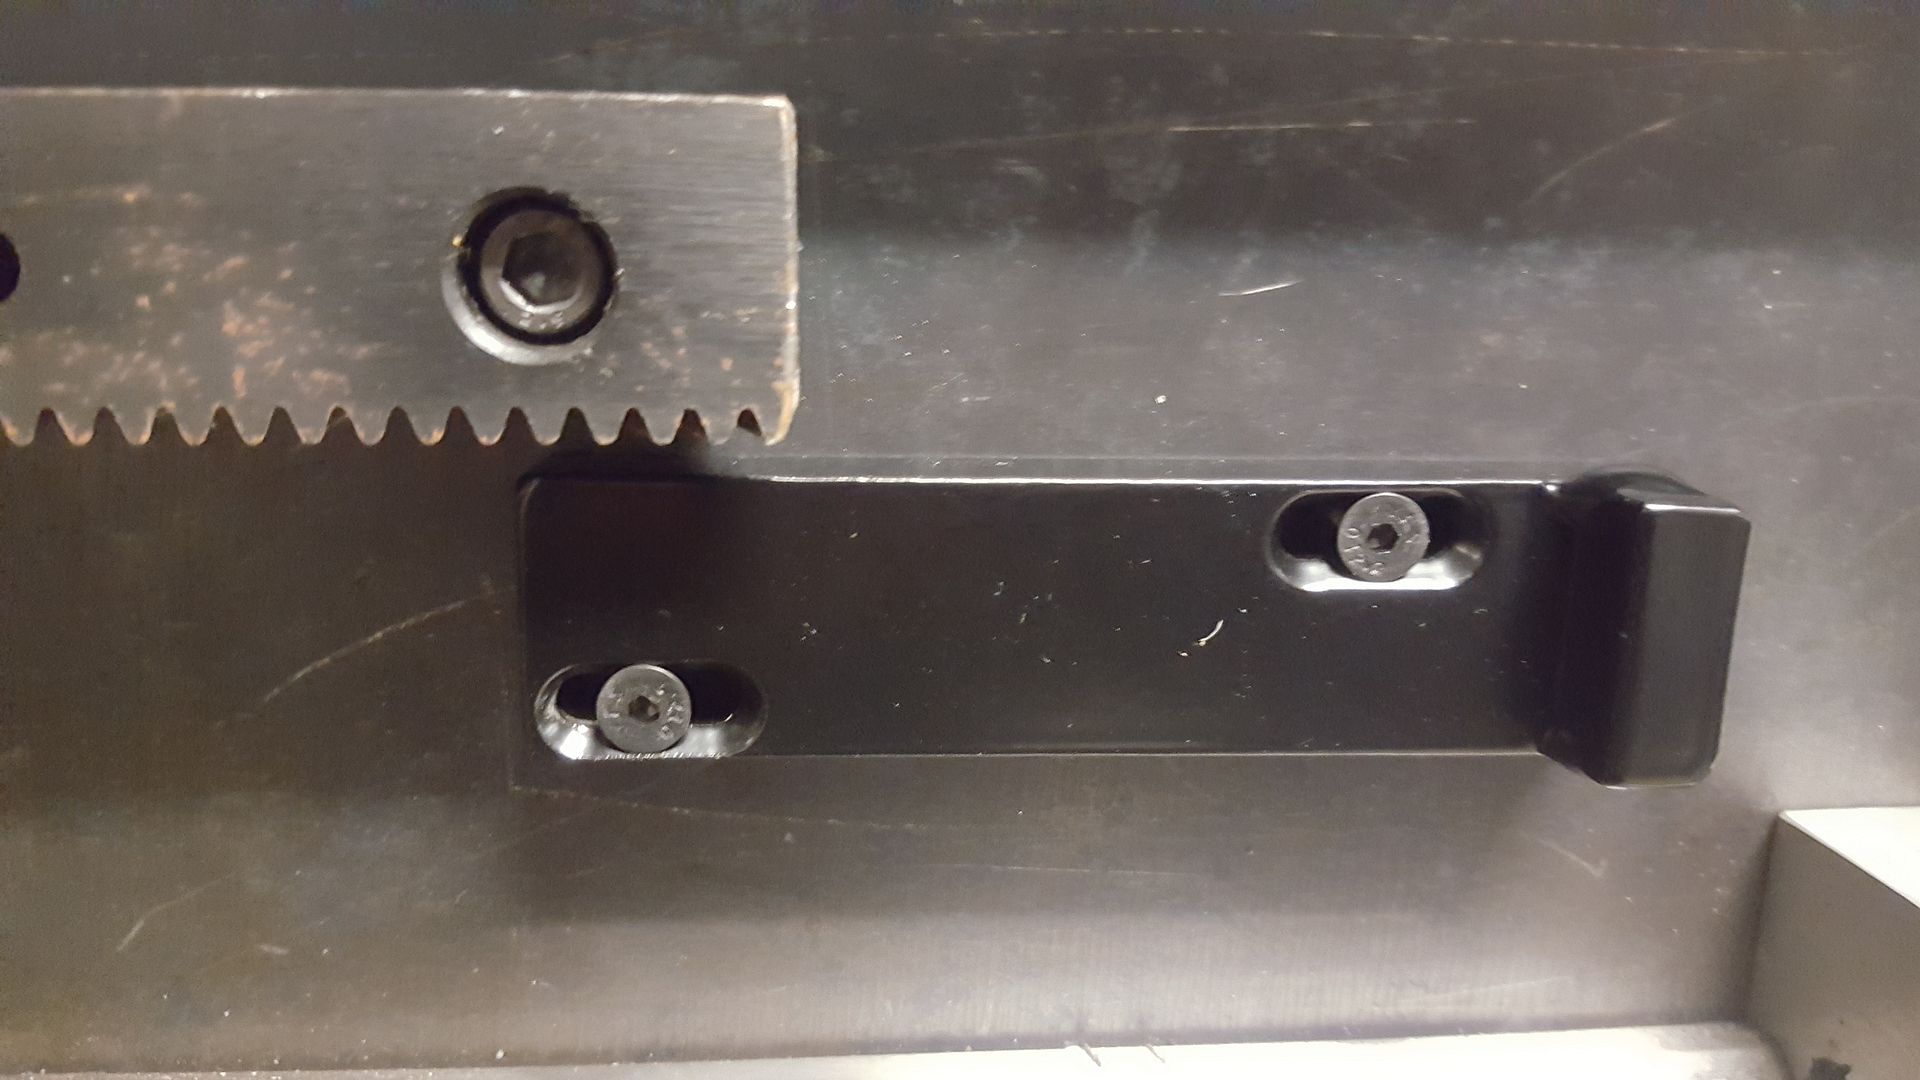
I sent a few parts out to get powdercoated along the way so I got some of the small parts Like my limit switch sensing plates powdercoated at the same time. This plate serves 2 functions. The lower bit is for the home switch and it needs some room to slow down. THe higher part is the actual limit sensor. I've just mounted the home and limit switches at different heights and I've found it works perfect.
Yesterday, I finally got the gantry moving which was not without dramas as a wire had come loose on one of the stepper controllers so only one side moved and I nearly broke it in half!
https://youtu.be/EXbshba943s
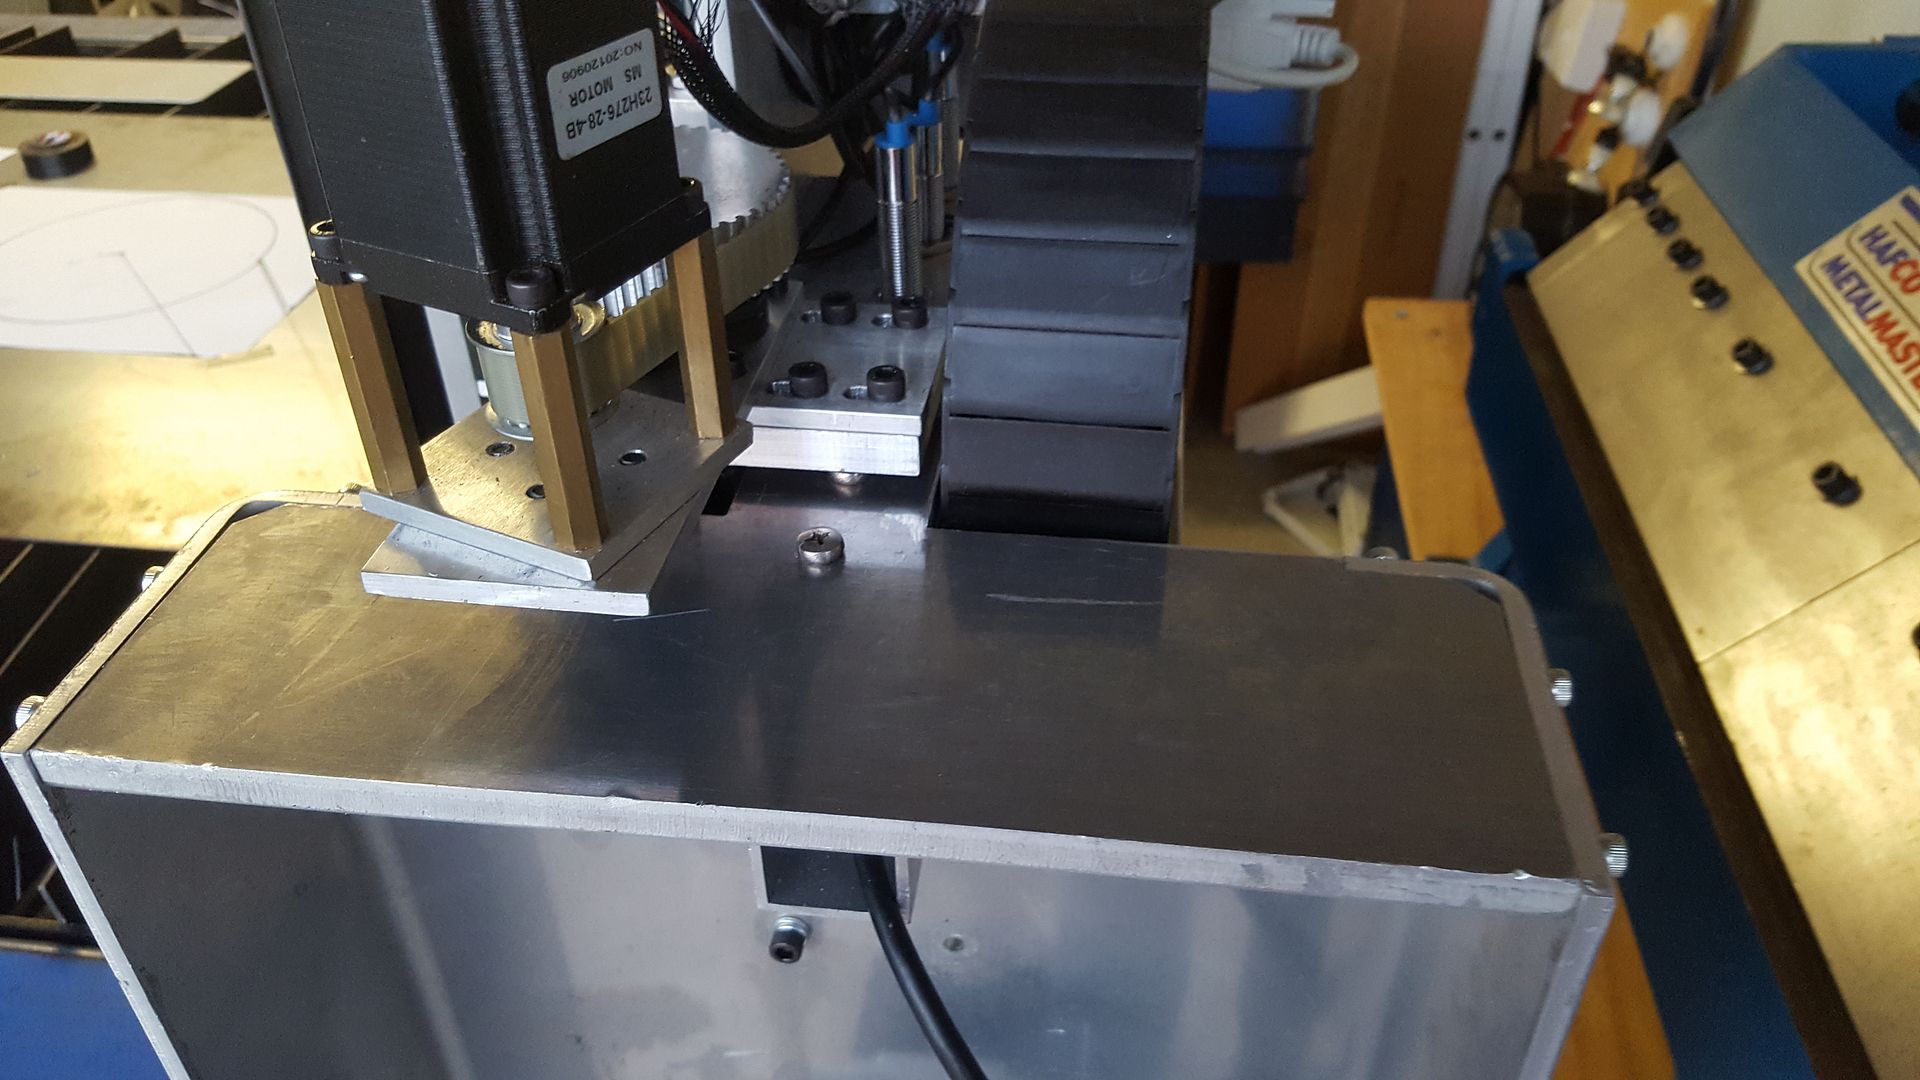
Today I managed to bolt on the braces to secure the gantry rail to the gantry ends. I had these laser cut but nothing worked out to the plans so I had to modify them a bit.
The other end was a bit more complicated.
This bracket needed a hole cut in it for the gear rack.
Somehow I've lost 3 unused proximity sensors which is pretty annoying. I hope I can find them.
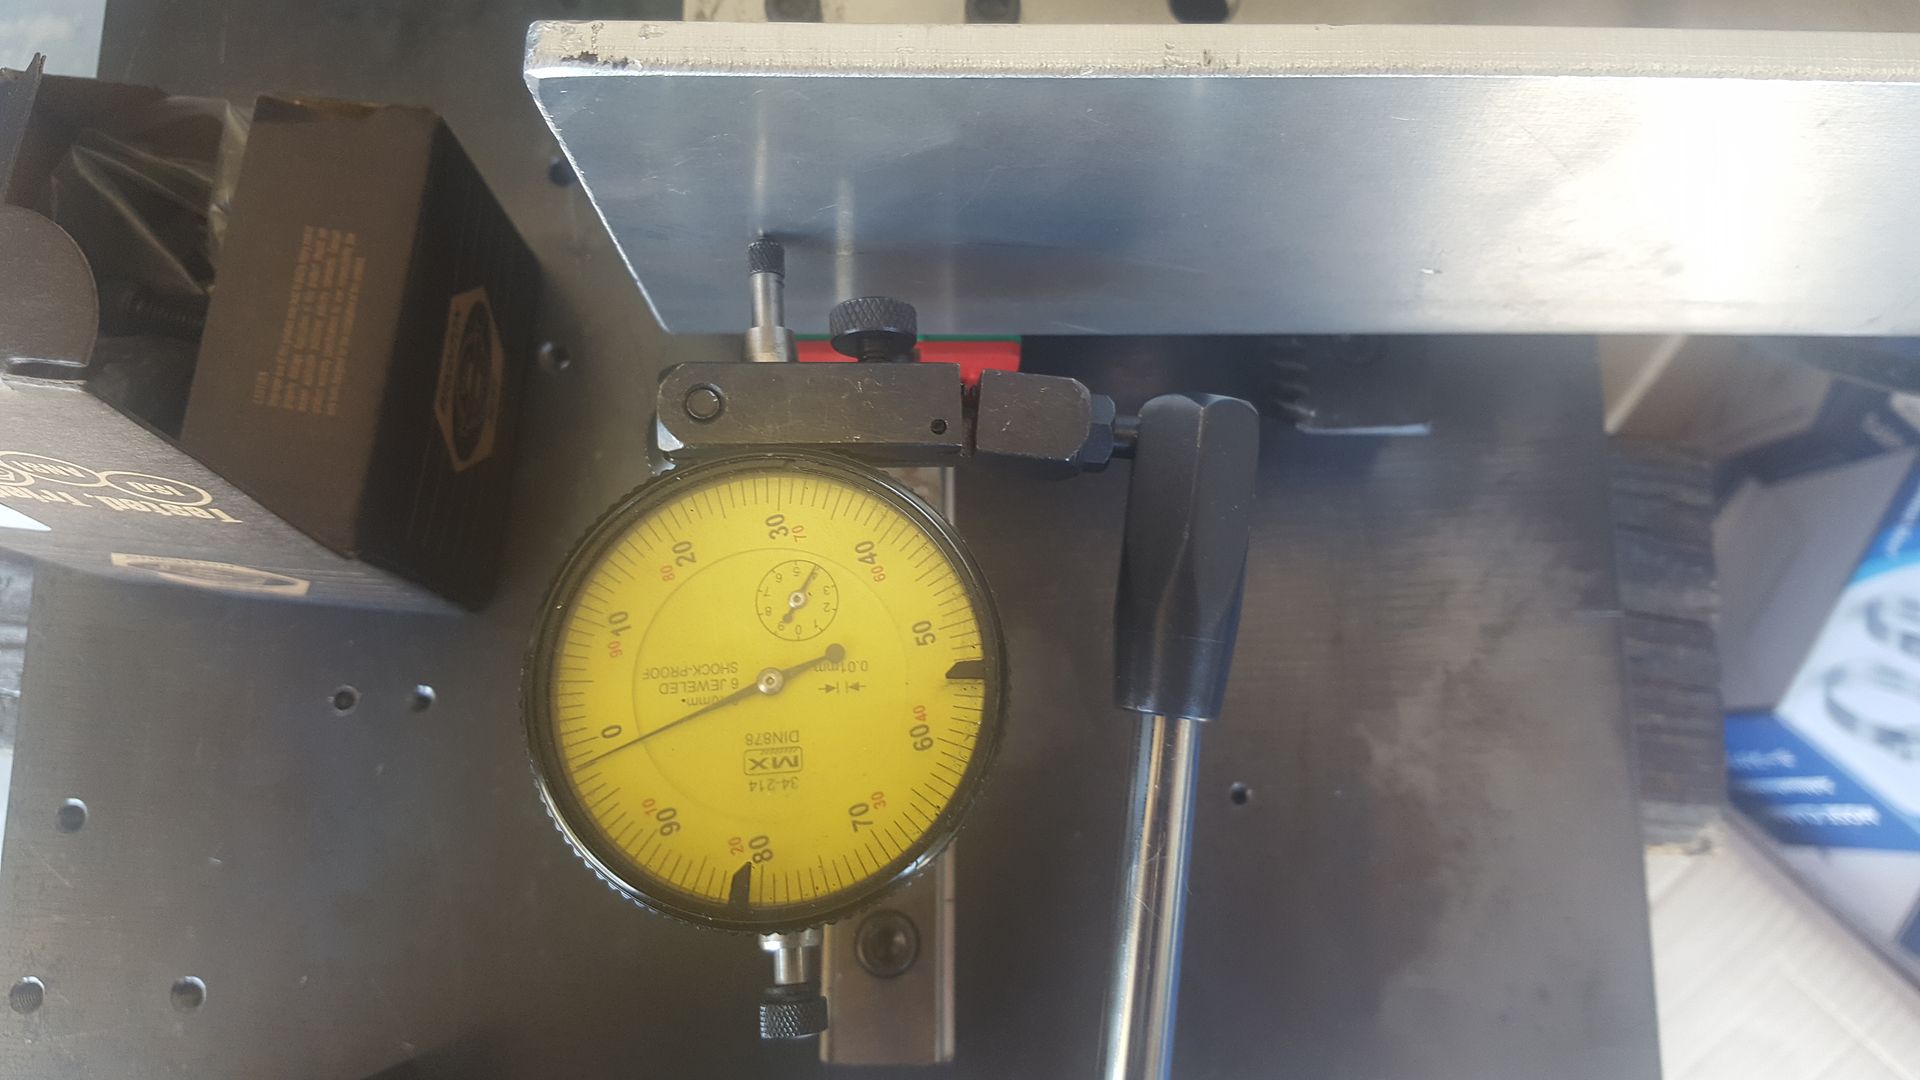
Today, I managed to write some gcode to move the torch around the table and grabbed a felt pen which I taped to the torch and drew a a pretty good looking circle even if the pen was flexing like crazy. I also put a dial indicator against the gantry end and watched the movement under acceleration and was pretty happy with what I saw at 20 metres per minute.
So from here I have to find my missing prox sensors, wire up 6 home and limit switches and modify one part on the Z axis. So hopefully it won't be long now before I have it cutting!
-
- 4 Star Member
- Posts: 780
- Joined: Sun Aug 21, 2016 1:49 am
- Location: Brisbane, Australia
- Contact:
Re: Rod's Spaceship Scratch Built Plasma Table
Yes, I know the feeling. I chose LInuxCNC over Mach because there was nothing I could see about Mach that engendered confidence for the future. There is a bit about plasma for Linuxcnc around but on their web site and forum, just enough to make you think it is easy. I was a long way into the build before I realised that what was available was pretty primitive. I know a couple of others who got caught the same way.tcaudle wrote:You are welcome. When we started our Linuxcnc development (late 2015) we quickly realized that their main focus has been milling and not gantry type machines. We had to add the dual switch touch off branch. It will be interesting to see if the hardware will support the added overhead of the PID loop and corner lock in that J1900. Real time Kernel is pretty touchy about latency.I'm already running their unstable development version becasue it contains a cool upgrade to homing of axes that have more than one stepper motor on them (like a gantry). So I've learnt to checkout a development branch and now have this new code compiled and ready to go.
We elected to take the THC control outside the motion processor and deal with the PID loop there. It gets squirrelly because of the loop timing and needs a method to change tuning and set things like the "dead zone" and separate up and down velocity under THC control. While looking at the toolpath and determining if the THC needs to lock its often better to measure the actual velocity and use that in real time. The trajectory planner is so much better in LCNC and gives precedence to tracking of the toolpath over keeping a high velocity, so Velocity Anti-Dive works a treat.
I've written 4 or 5 plasma components for LinuxCNC so far. Some are just convenience ones but others are more serious. They include a module to communicate to and from the screen from Gcode in real time so Sheetcam can get full control, as well as corner lock and anti dive/kerf crossing features. The last two will need testing but I think I have coded workable algorithms. I don't expect to have any problems with latency. Hopefully, tightly integrated PID control will make life easier and the Corner lock and kerf crossing can be done in remarkably small pieces of code (if you know what you are doing).
-
- 4 Star Member
- Posts: 780
- Joined: Sun Aug 21, 2016 1:49 am
- Location: Brisbane, Australia
- Contact:
Re: Rod's Spaceship Scratch Built Plasma Table
Sorry its a Gigabyte Brix PC, but next time round I'd get one with a dual NIC but I could not find one in Australia.tylerd wrote:"Gigabyte Celeron J1900 USFF PC that fits in the palm of your hand"
Do you have a link for that, and how is it working out?
http://www.gigabyte.com.au/Mini-PcBareb ... -rev-10#ov
-
- 2.5 Star Member
- Posts: 163
- Joined: Tue Apr 19, 2016 10:29 pm
- Location: In the way.
Re: Rod's Spaceship Scratch Built Plasma Table
That is one stunning build and record of it!
Mine pales by comparson, and I still do the happy dance everytime I light it up!
David
Mine pales by comparson, and I still do the happy dance everytime I light it up!
David