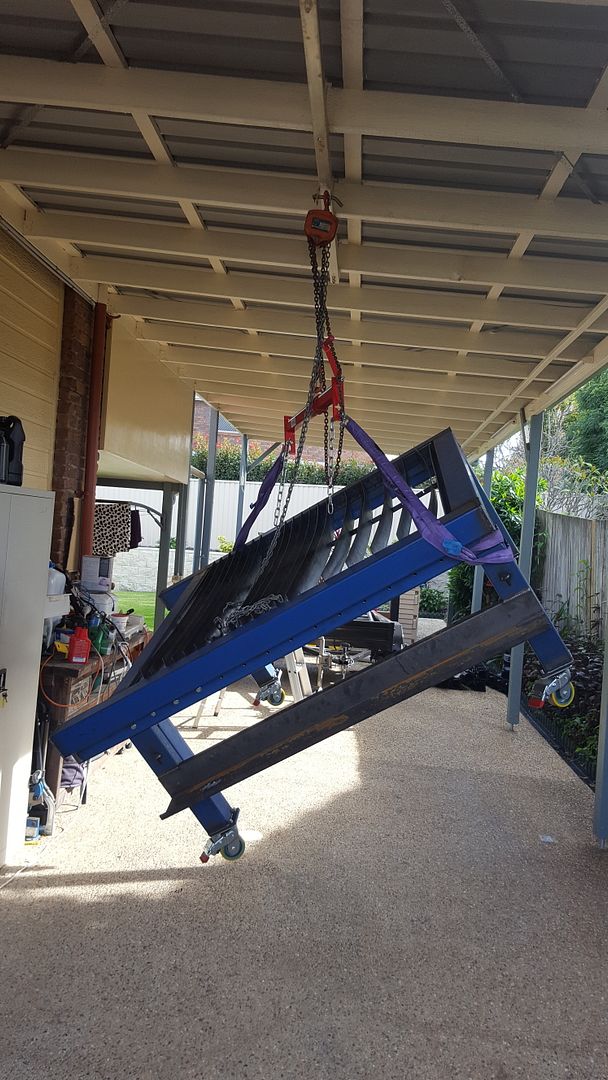
So here i what it will look like
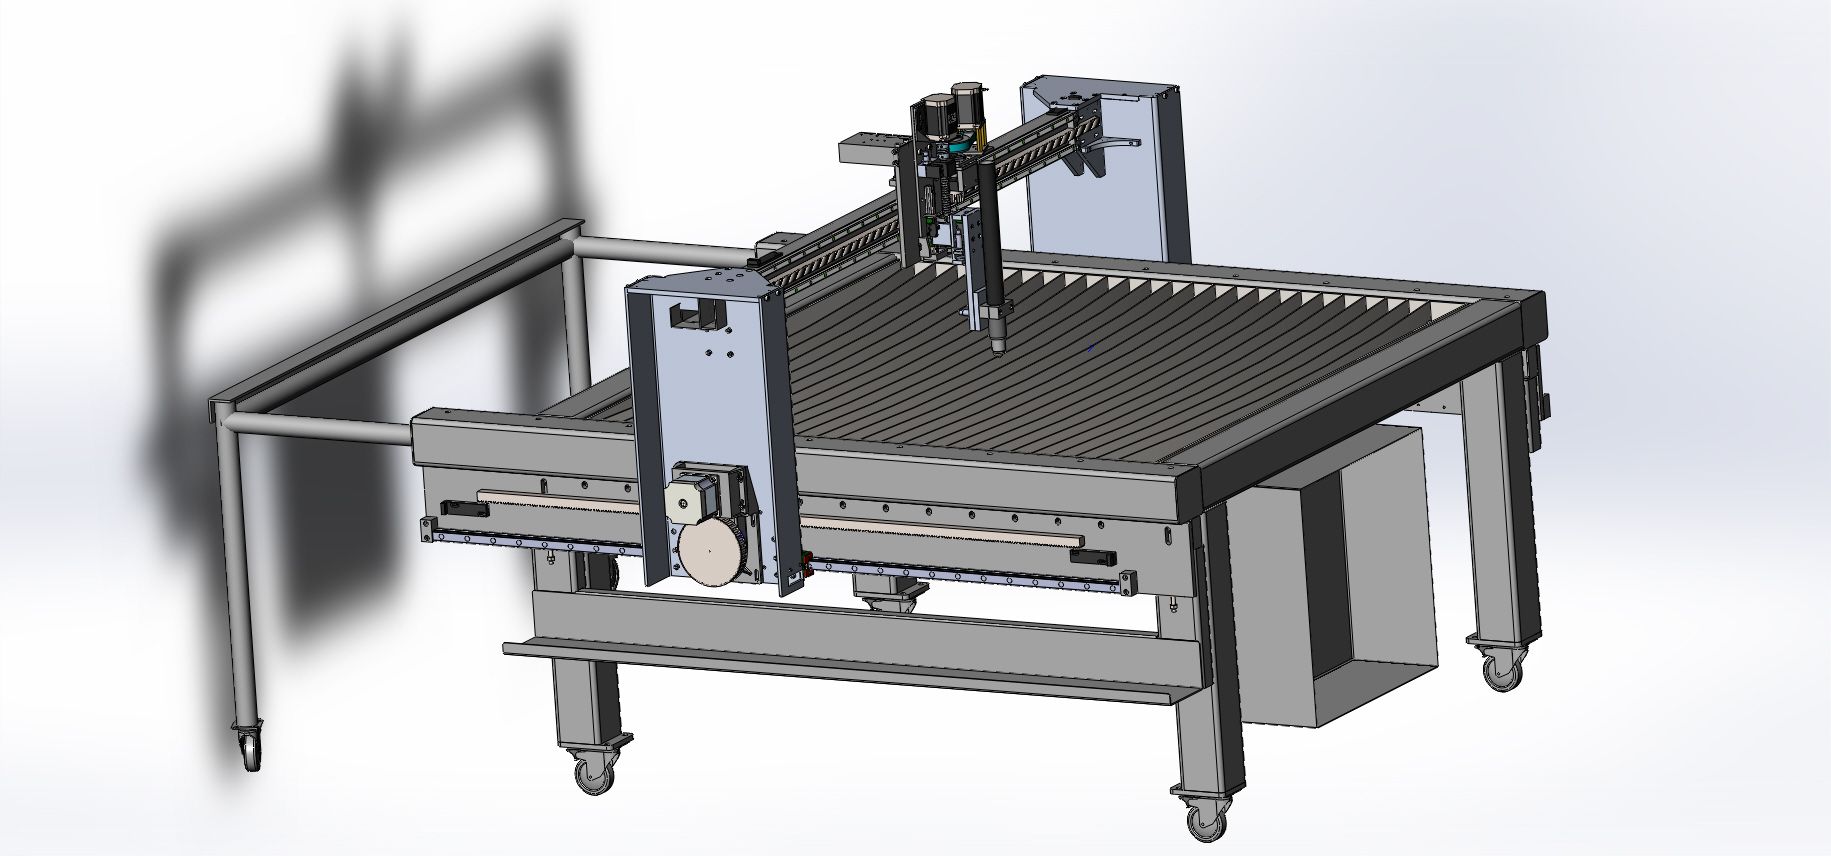
What you are looking at is about Version 87.3 of the design.... (or is that V 887?)
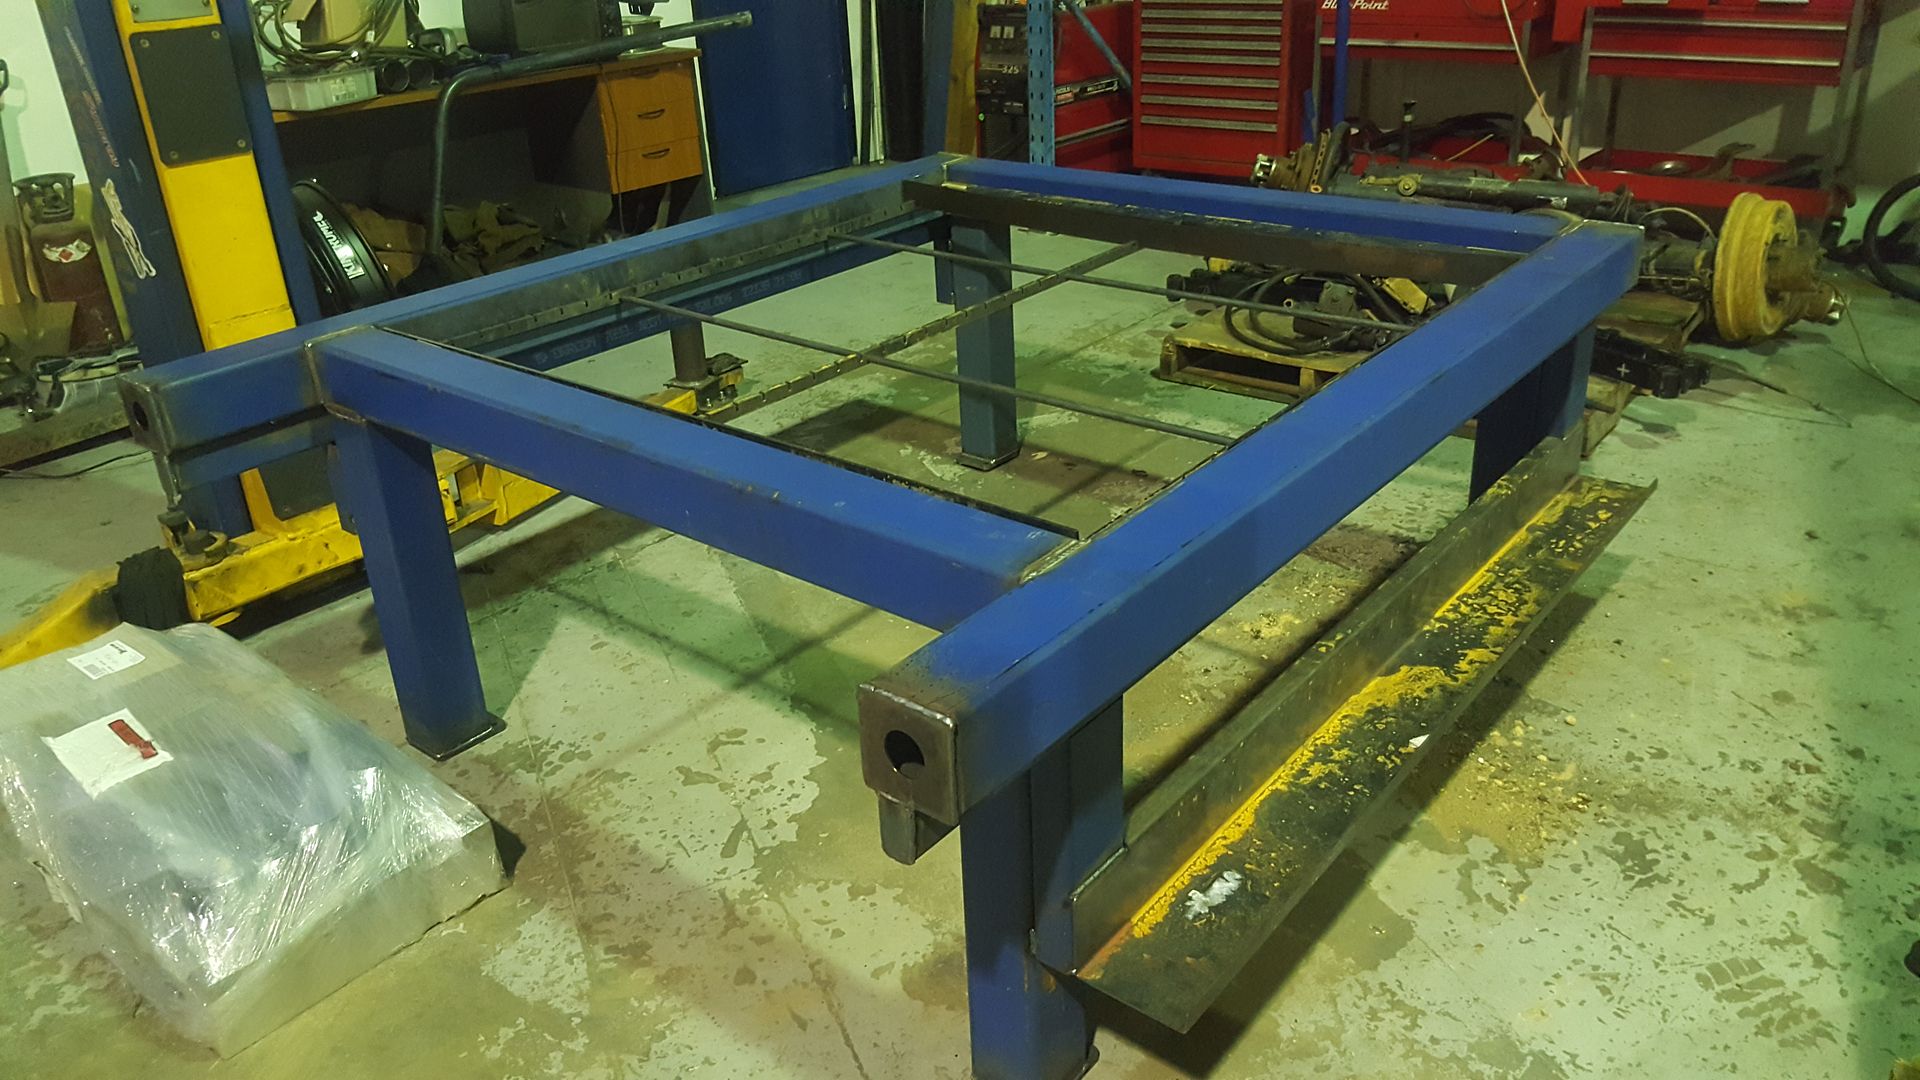
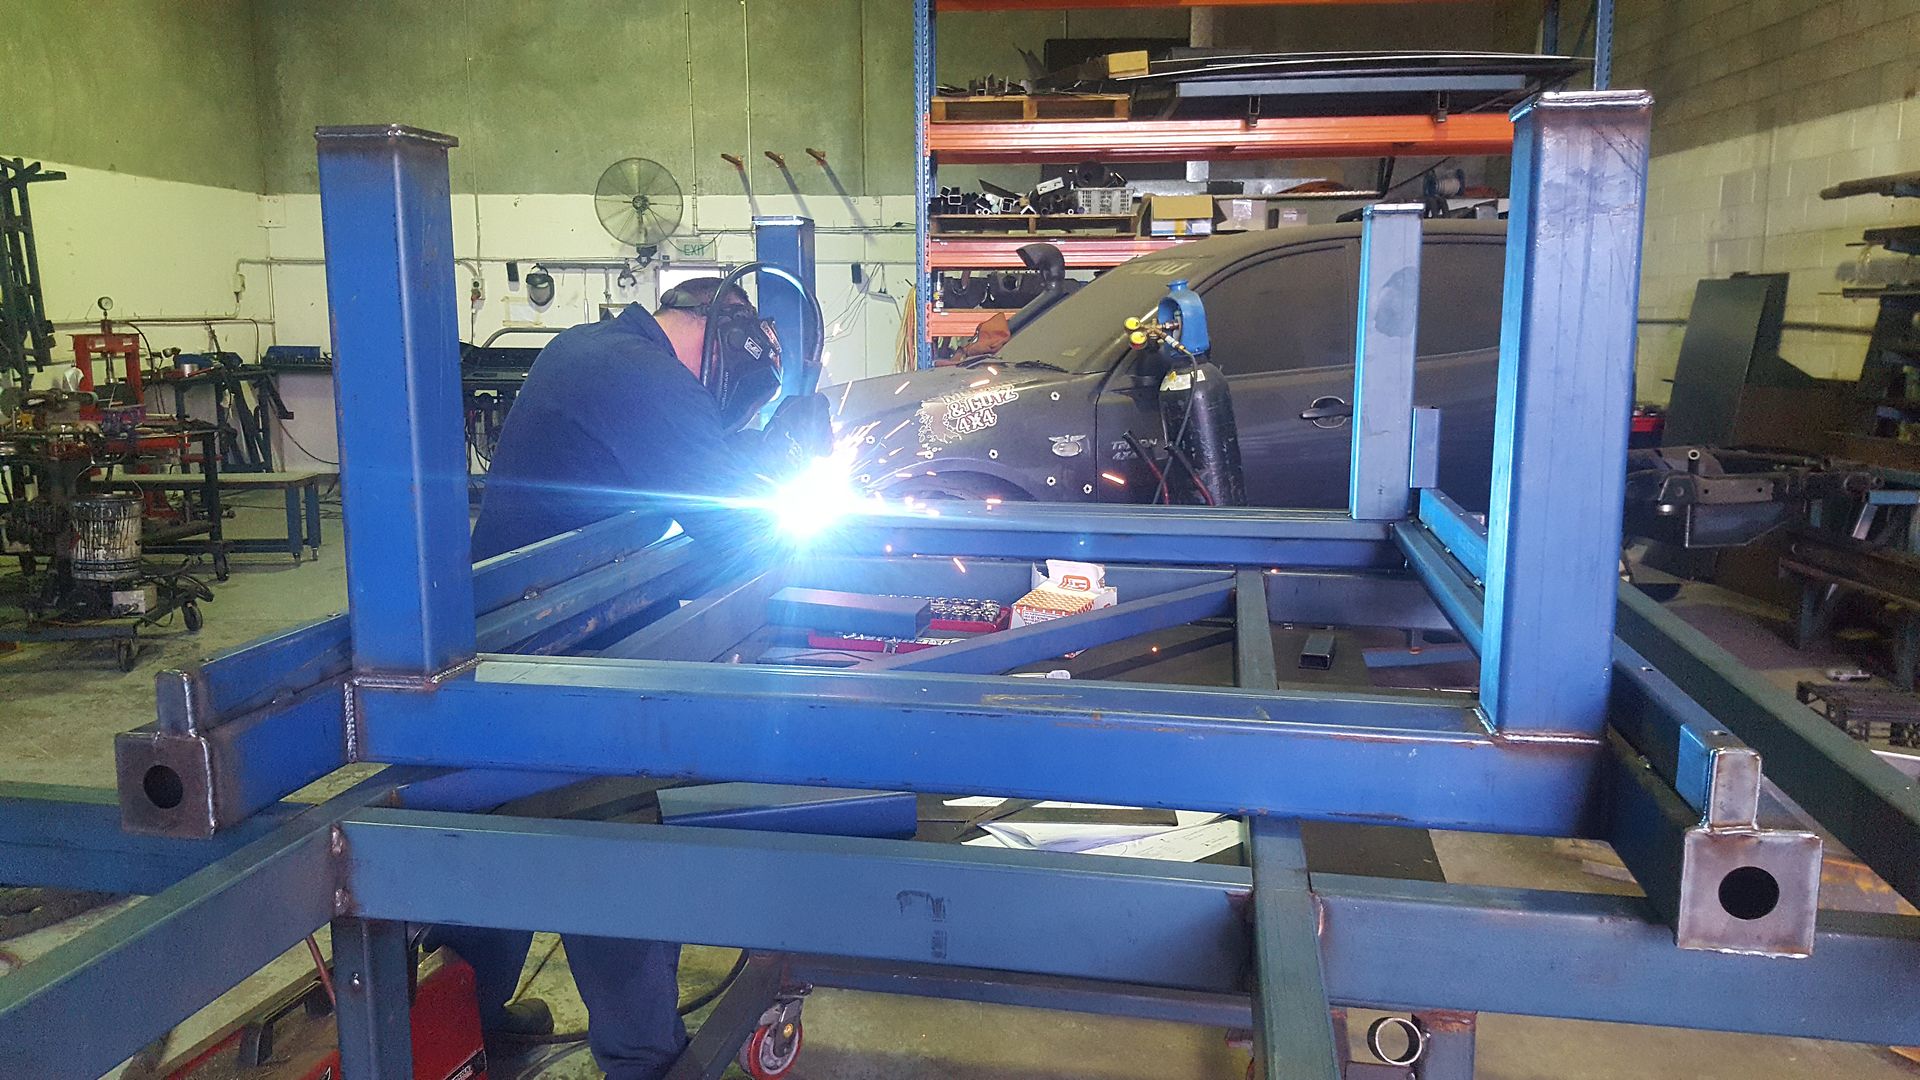
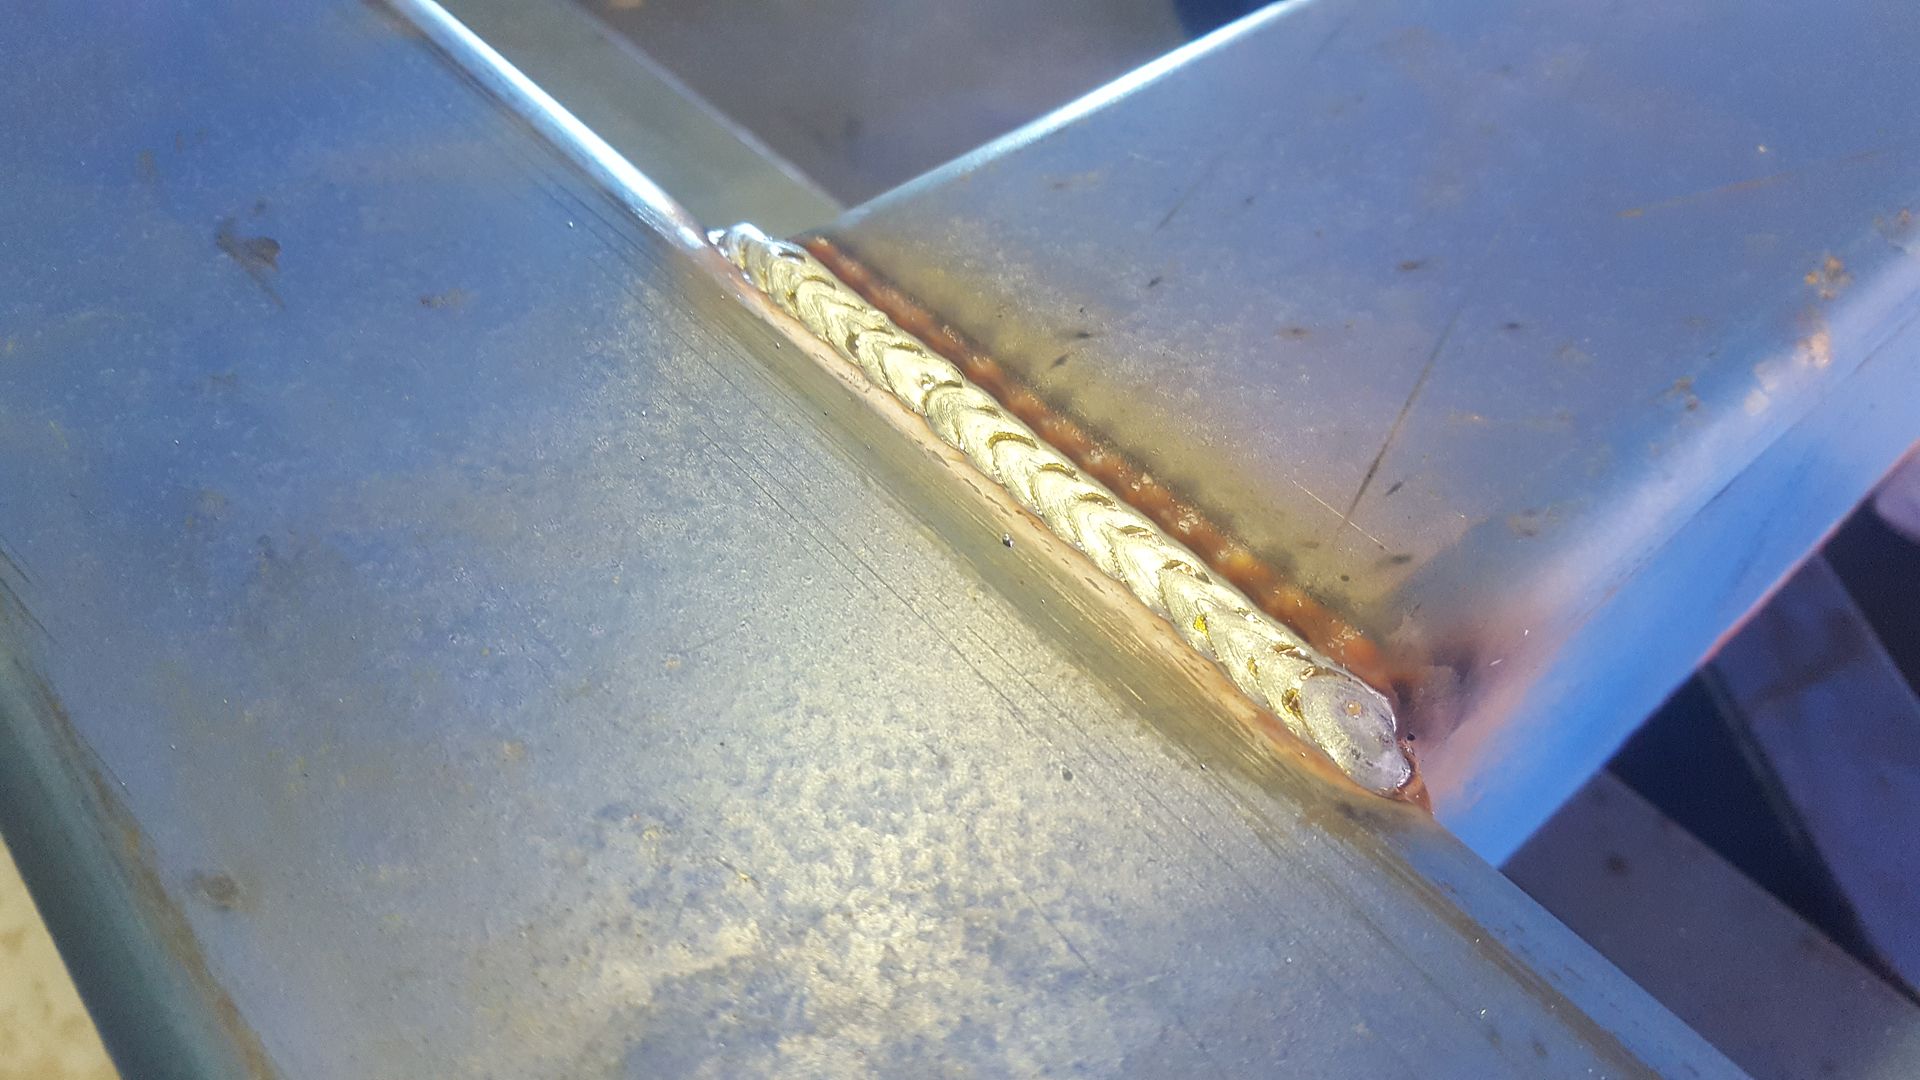
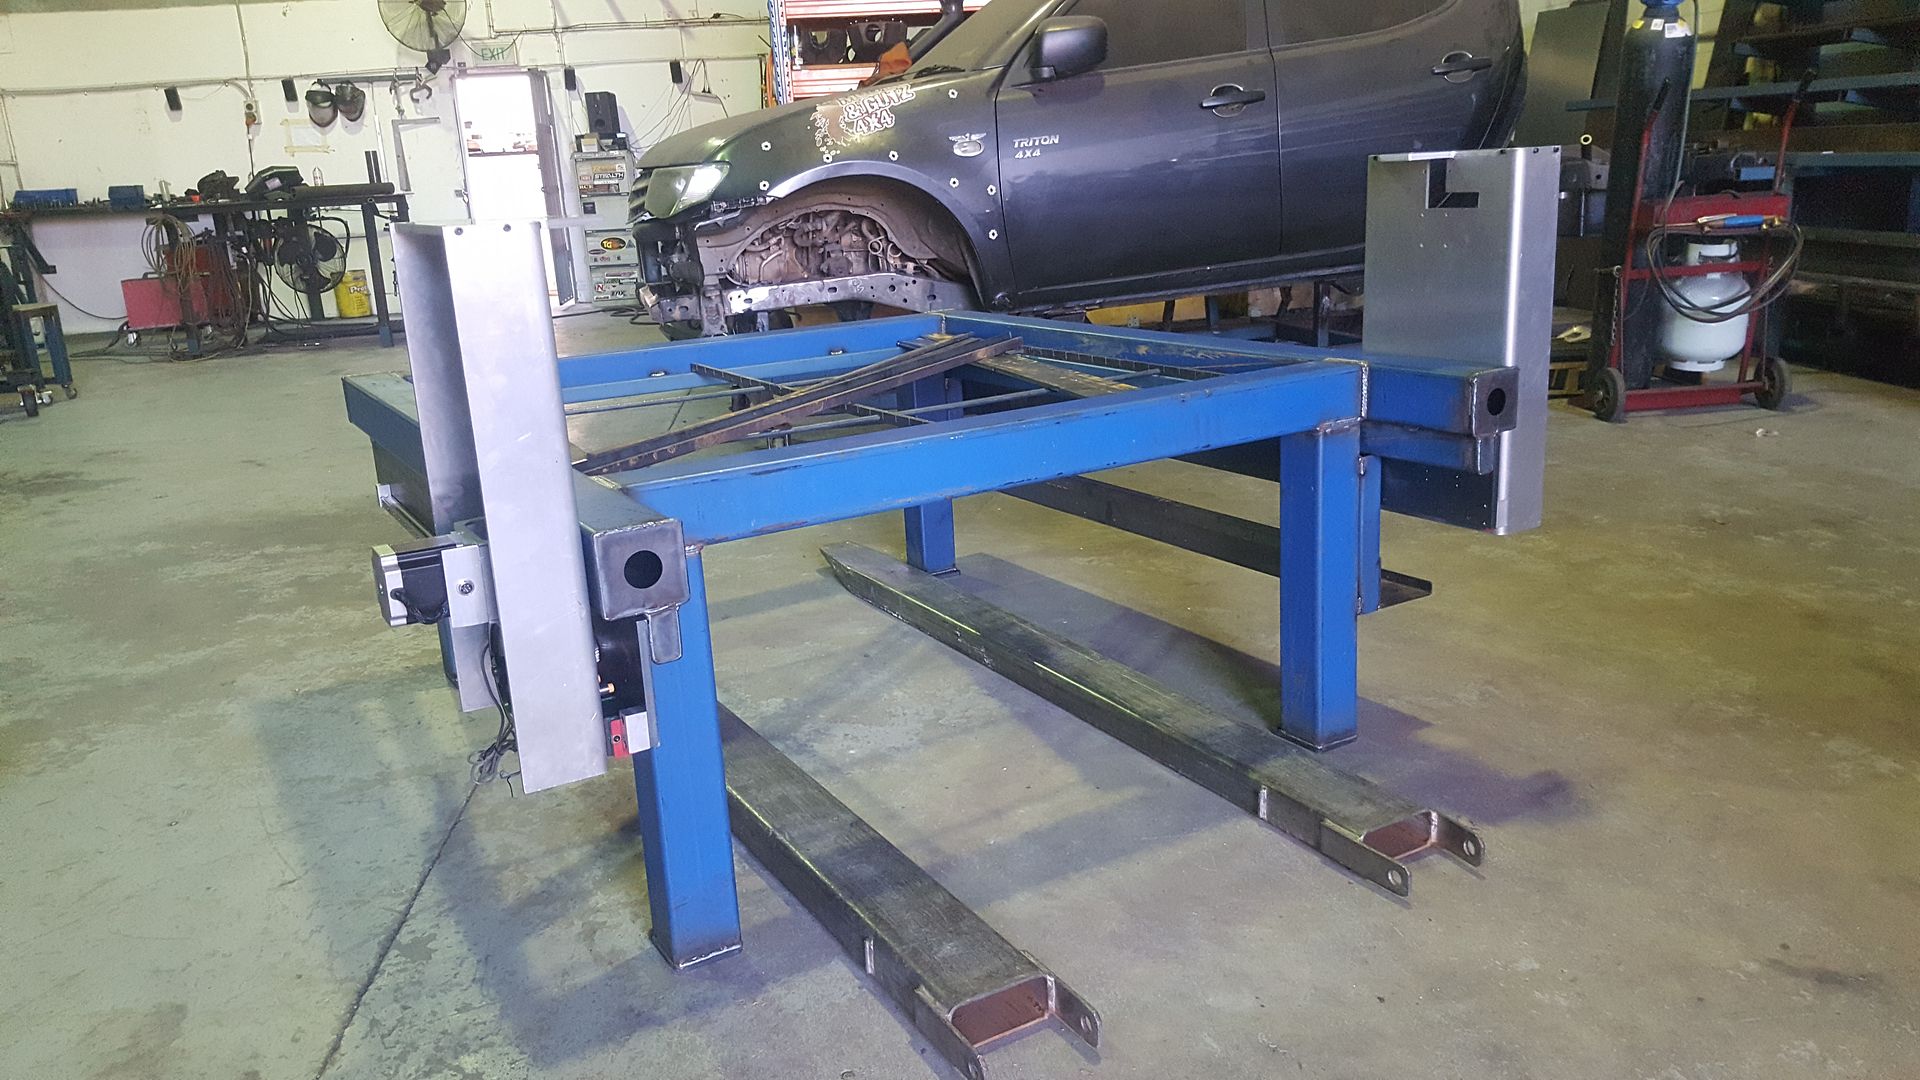
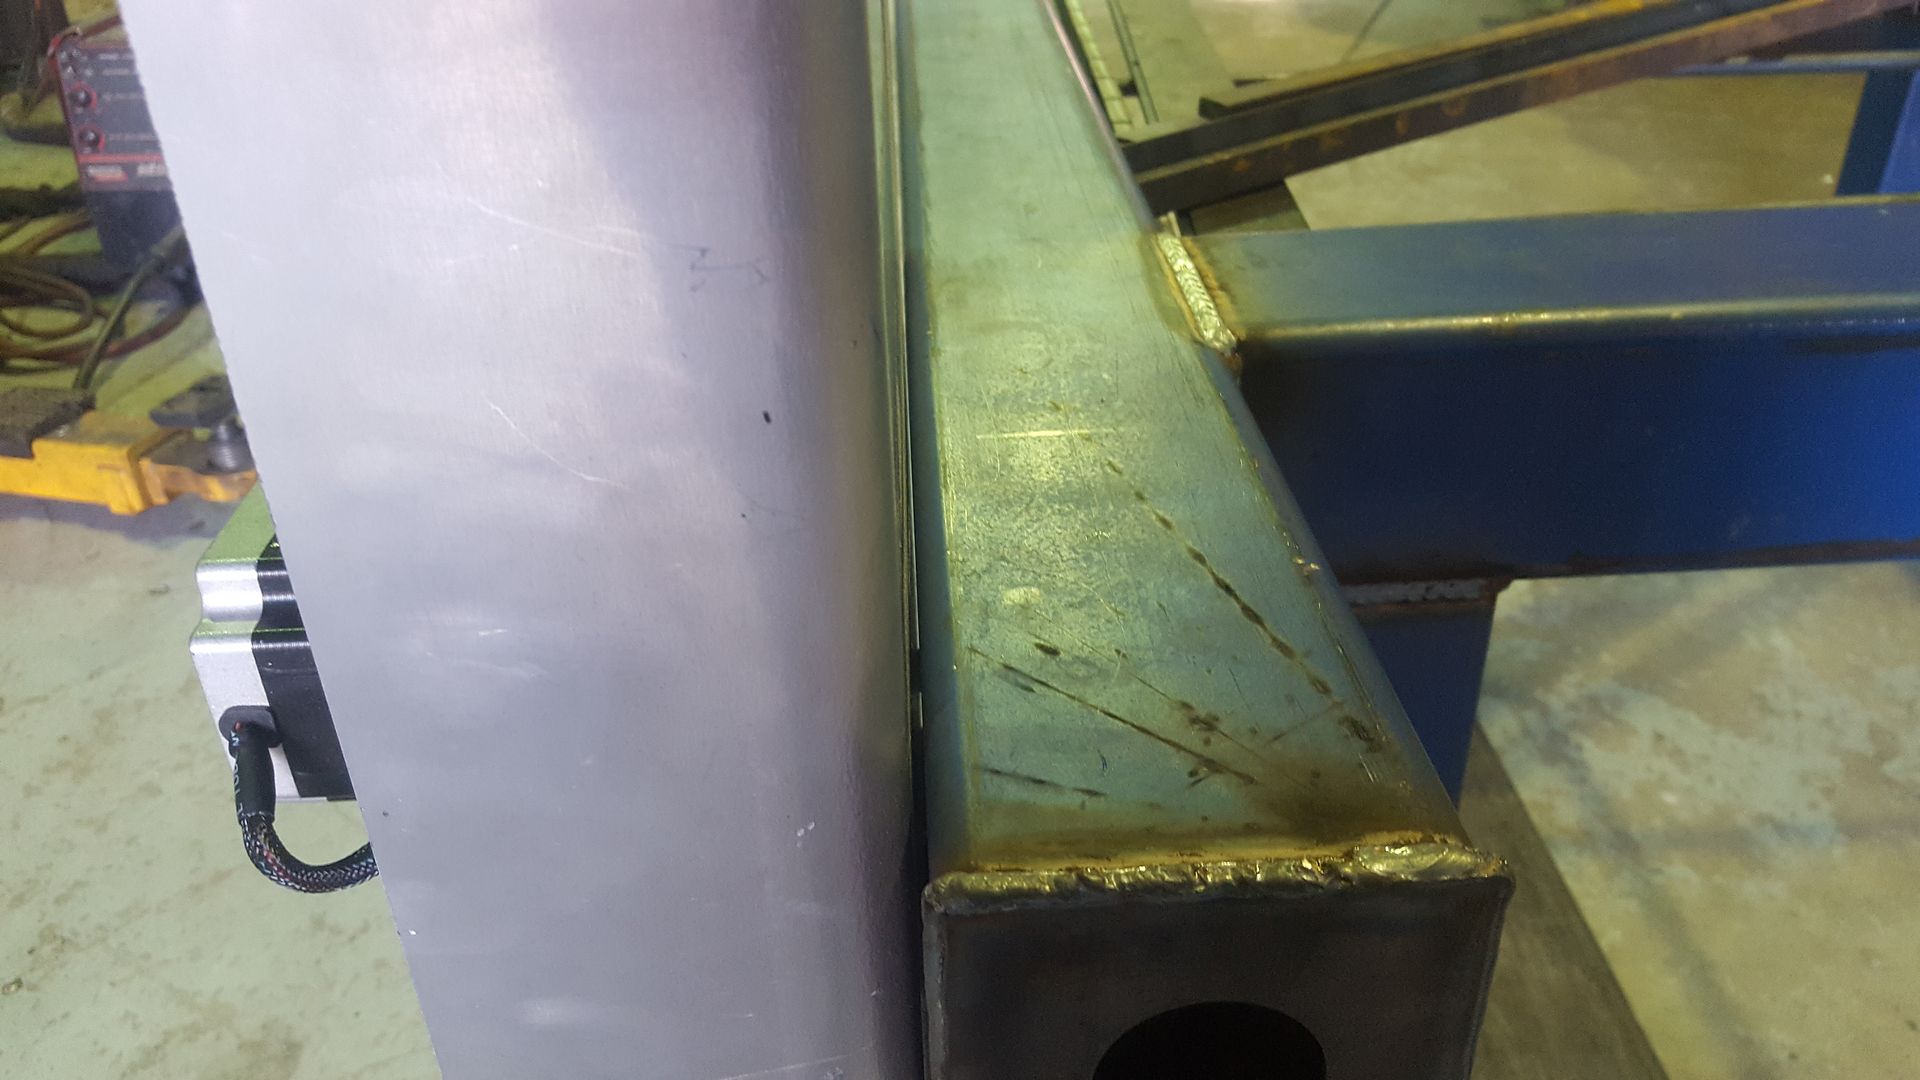
Most people seem to start with welding up the table but I started at the other end as I am a cr@ppy welder. So every part you see in the render is built and the material is cut for the table
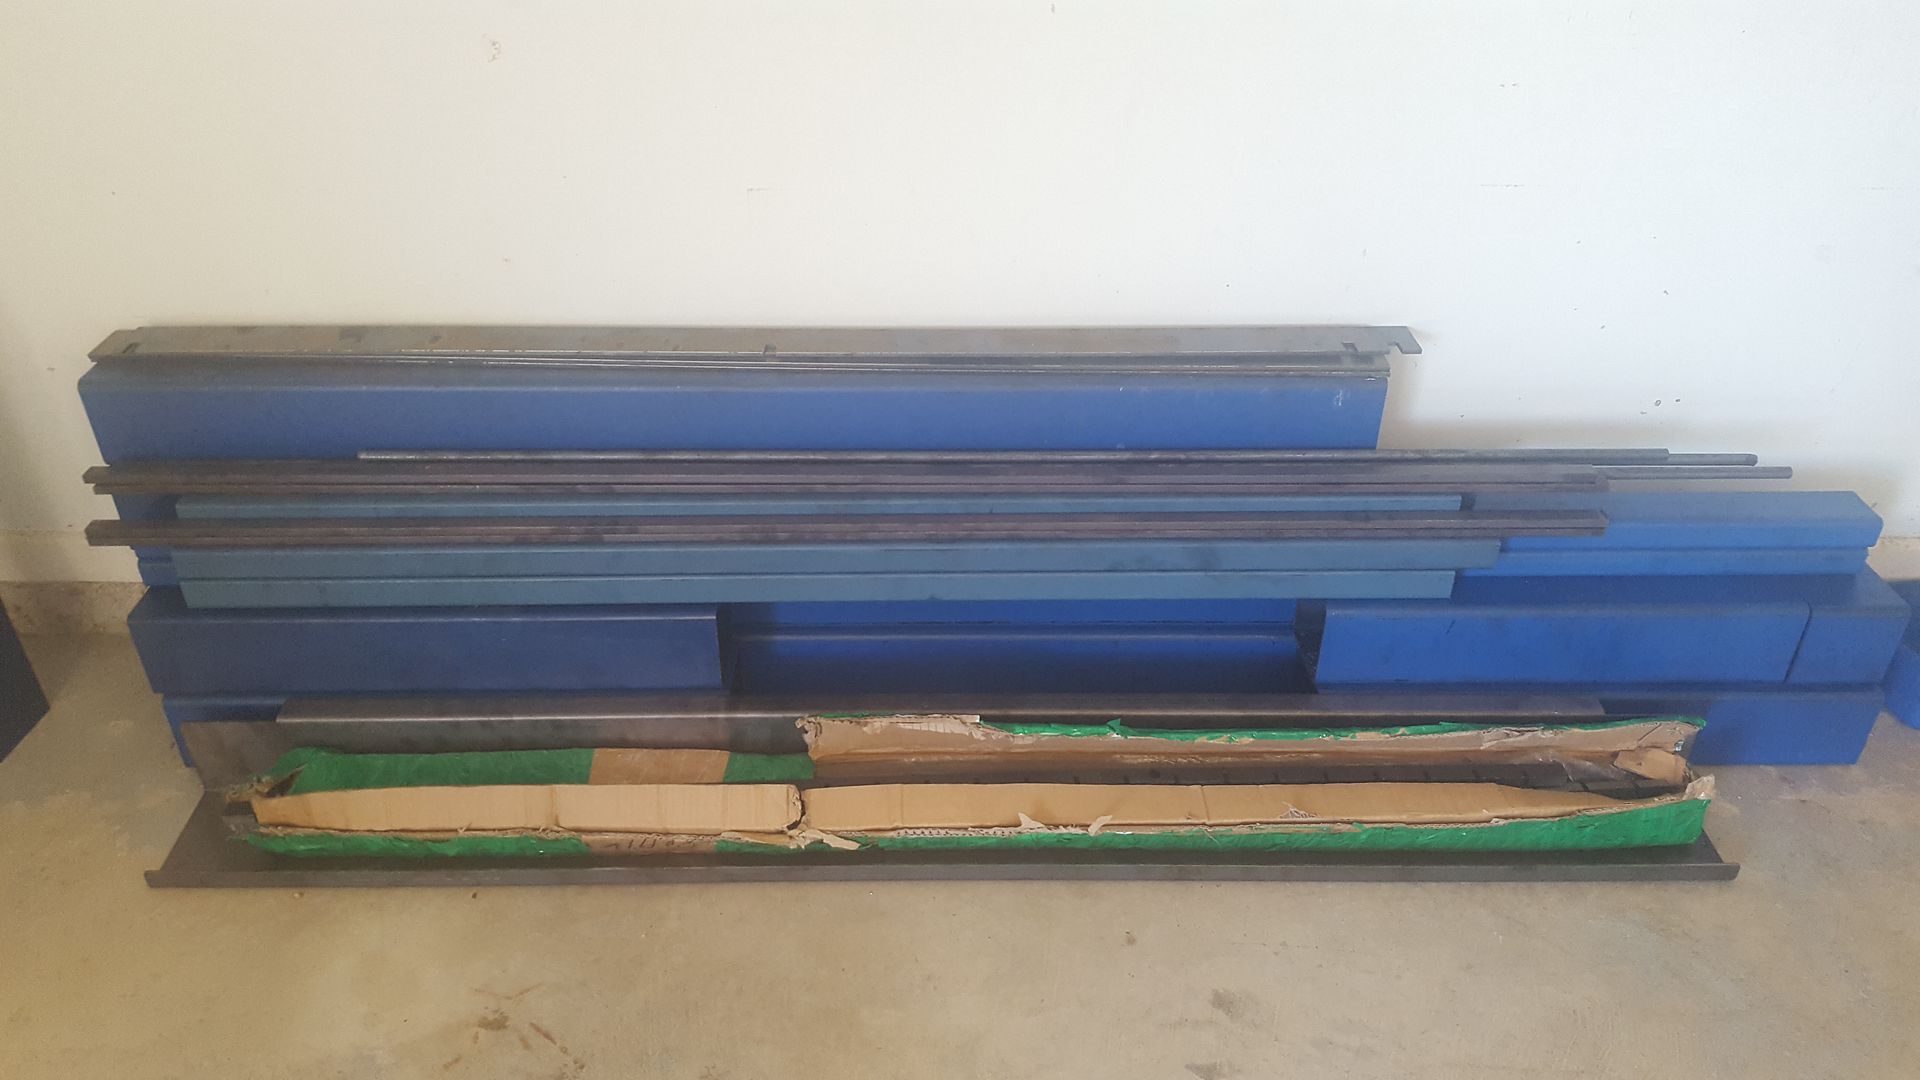
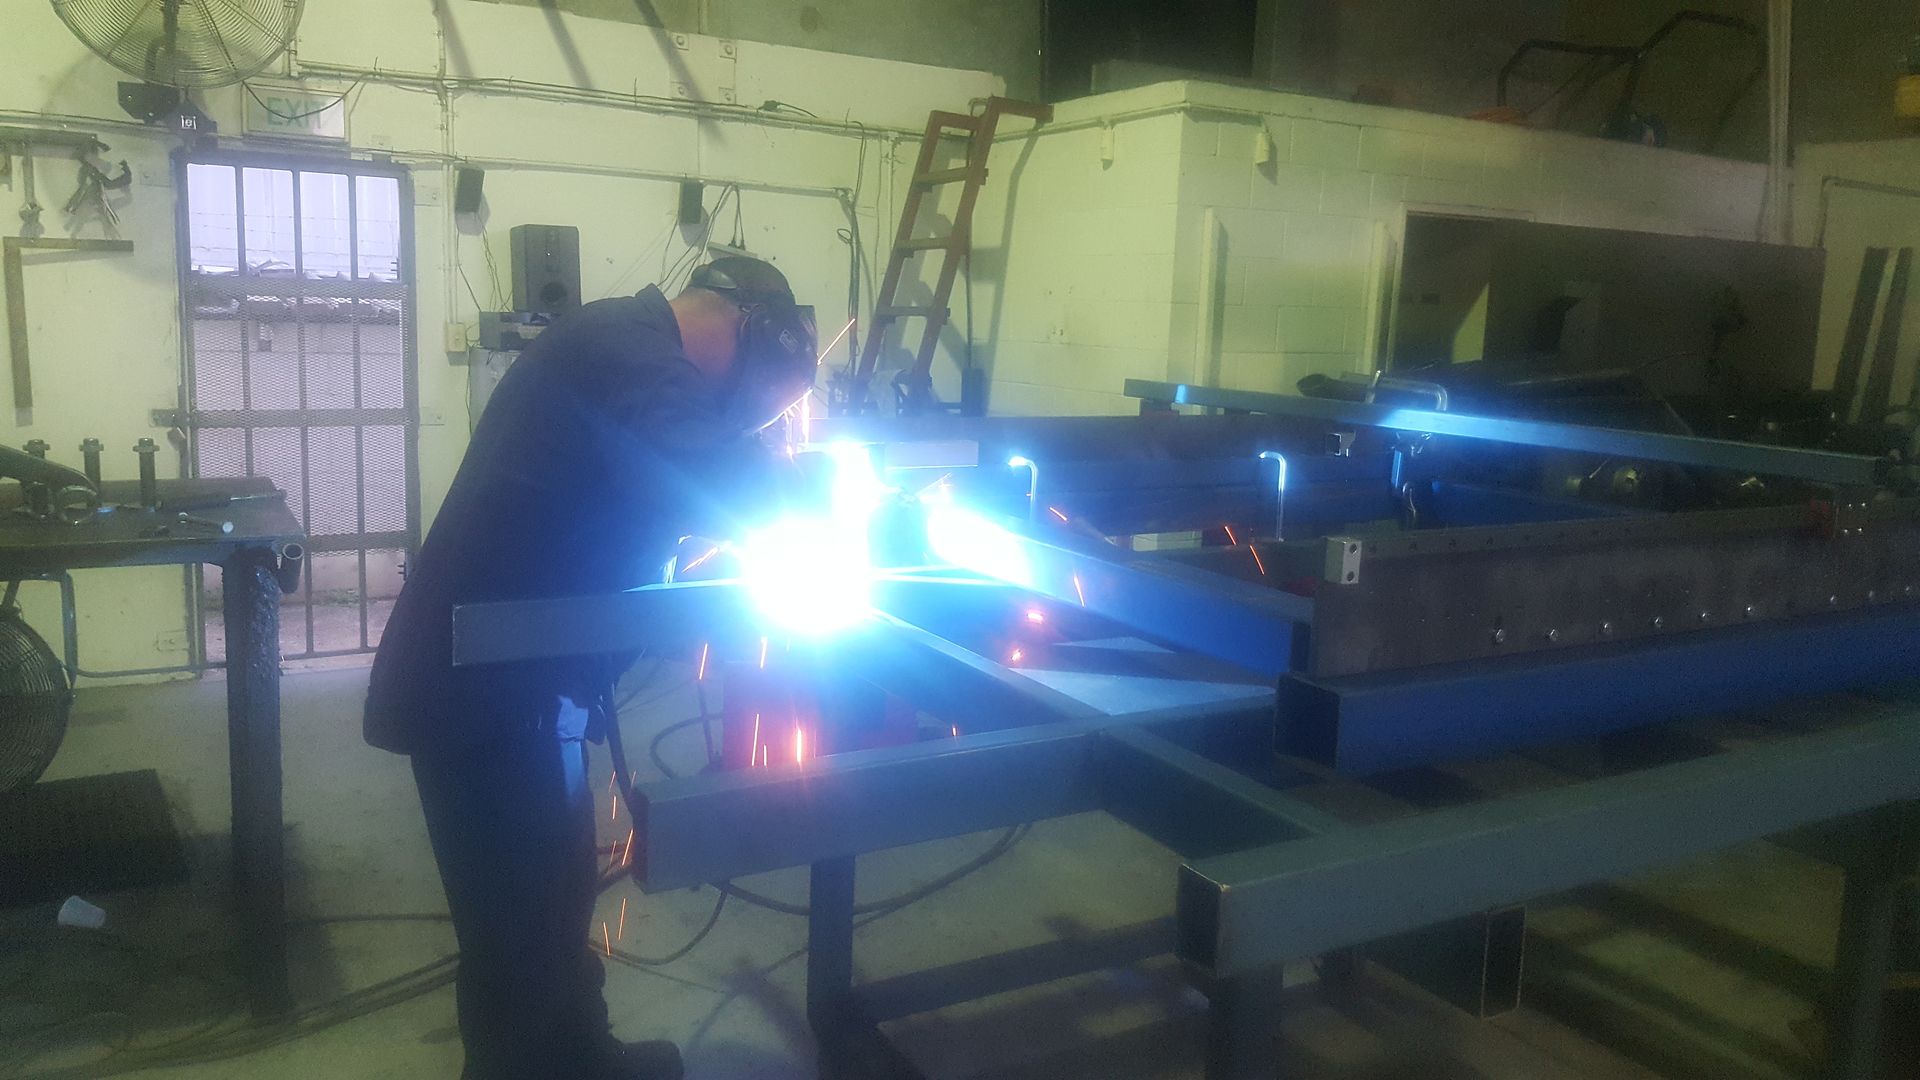
Now I work with a couple of very good fabricators who can actually weld very well so hopefully and one of them has agreed to weld it up for me so it should get together next week sometime. Once thats done its a matter of drilling and tapping a few last holes and bolt all the subassemblies together to see if it works:
Anyway, here are a few specs.
Frame: 100mm x 4mm SHS
Table Size: call it 4" x 4" but its around 1240mm x 1300mm, with slide out material support for full sheets.
Fume control: Probably Downdraft
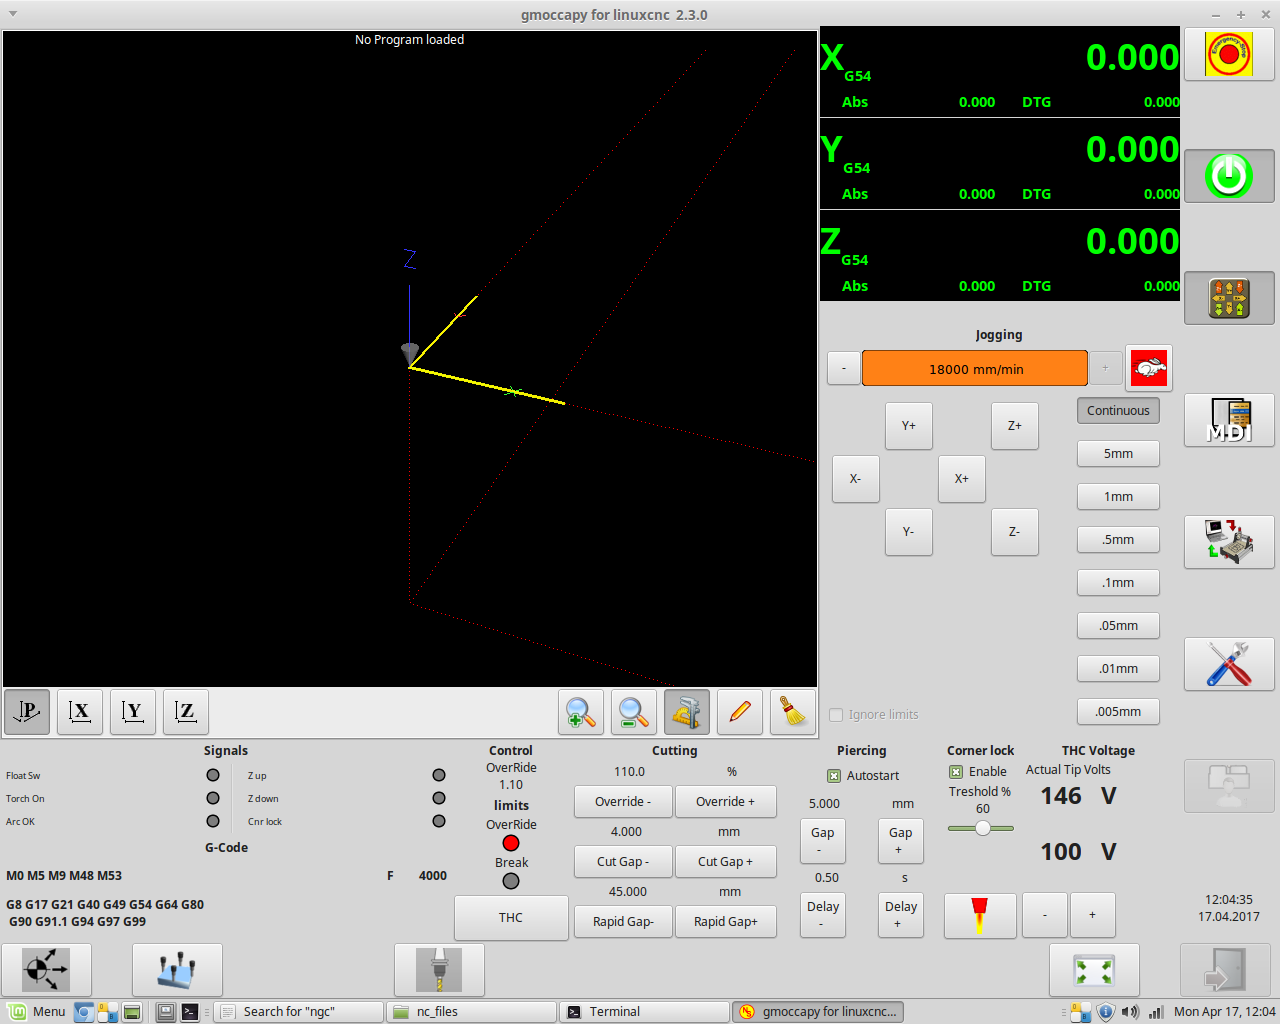
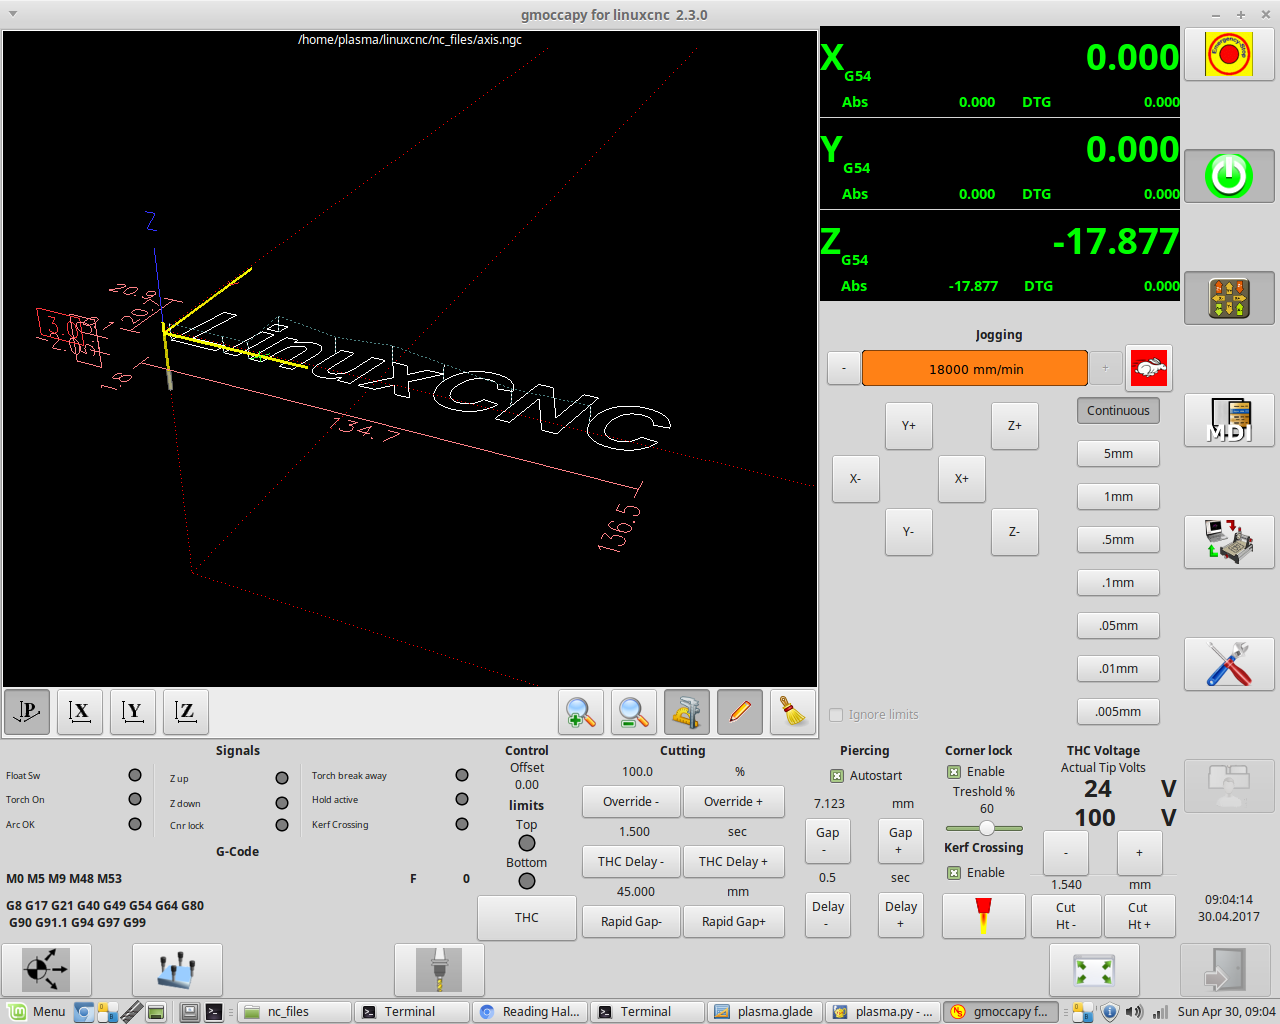
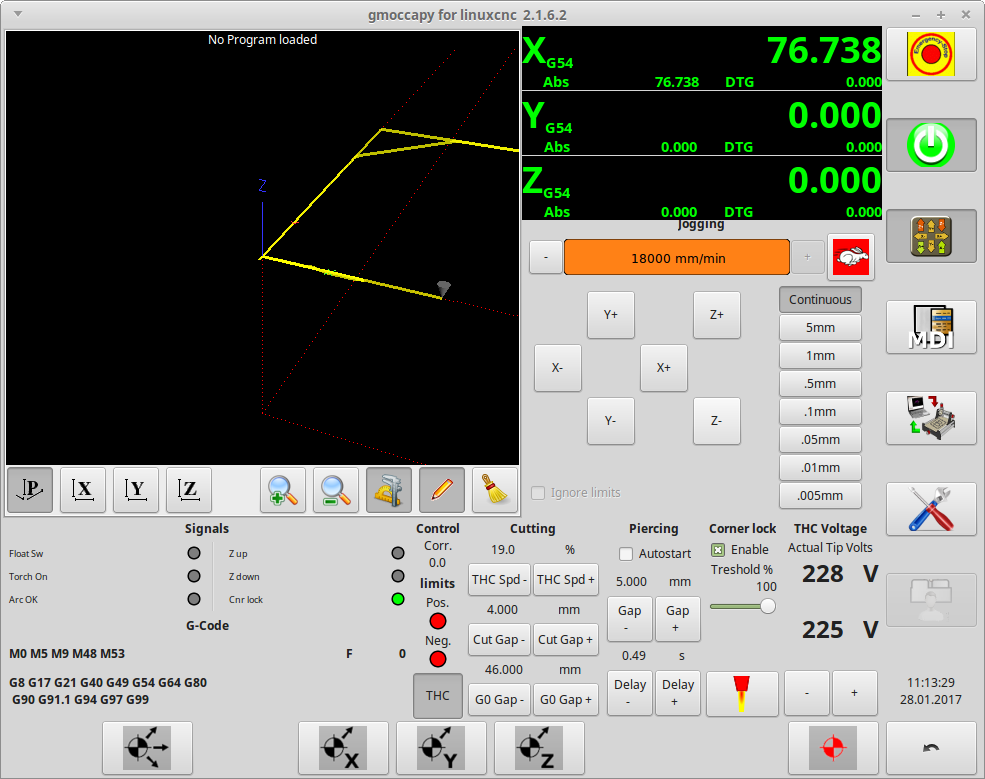
Controller: LinuxCNC with Gmocappy GUI
PC: Gigabyte Celeron J1900 USFF PC that fits in the palm of your hand
Monitor: Touchscreen (still to buy)
Operating System: Linux Mint 17.3
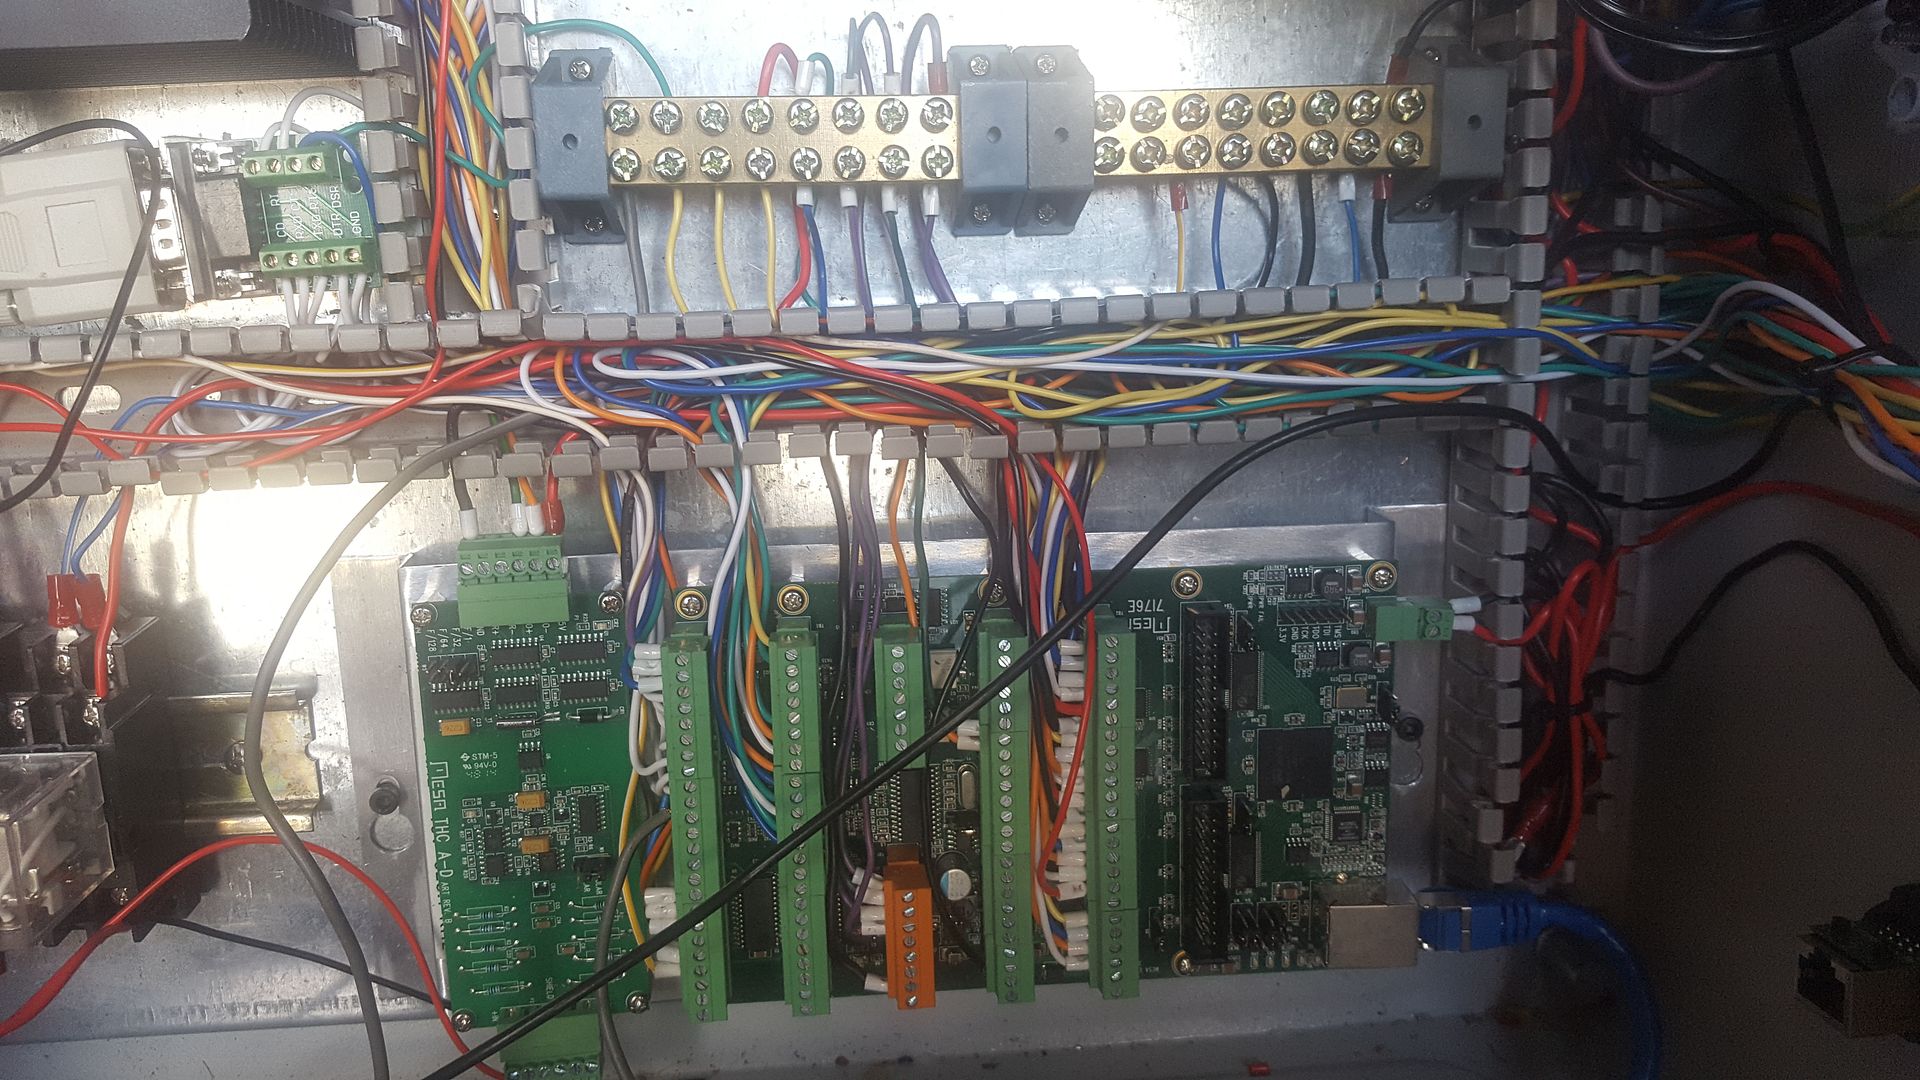
CNC interface: Mesa 7i76e Ethernet card
Stepper Controllers: Longs Motor DM542a with 20x microstepping (4000 pulses per revolution)
Torch Height Control: Mesa THCAD-10 voltage to frequency card with experimental PID based LinuxCNC THC component released 4 days ago.
Z axis Drive: NEMA 23 stepper with 150mm ball screw, 150mm linear rail floating head (86mm travel), magnetic breakaway
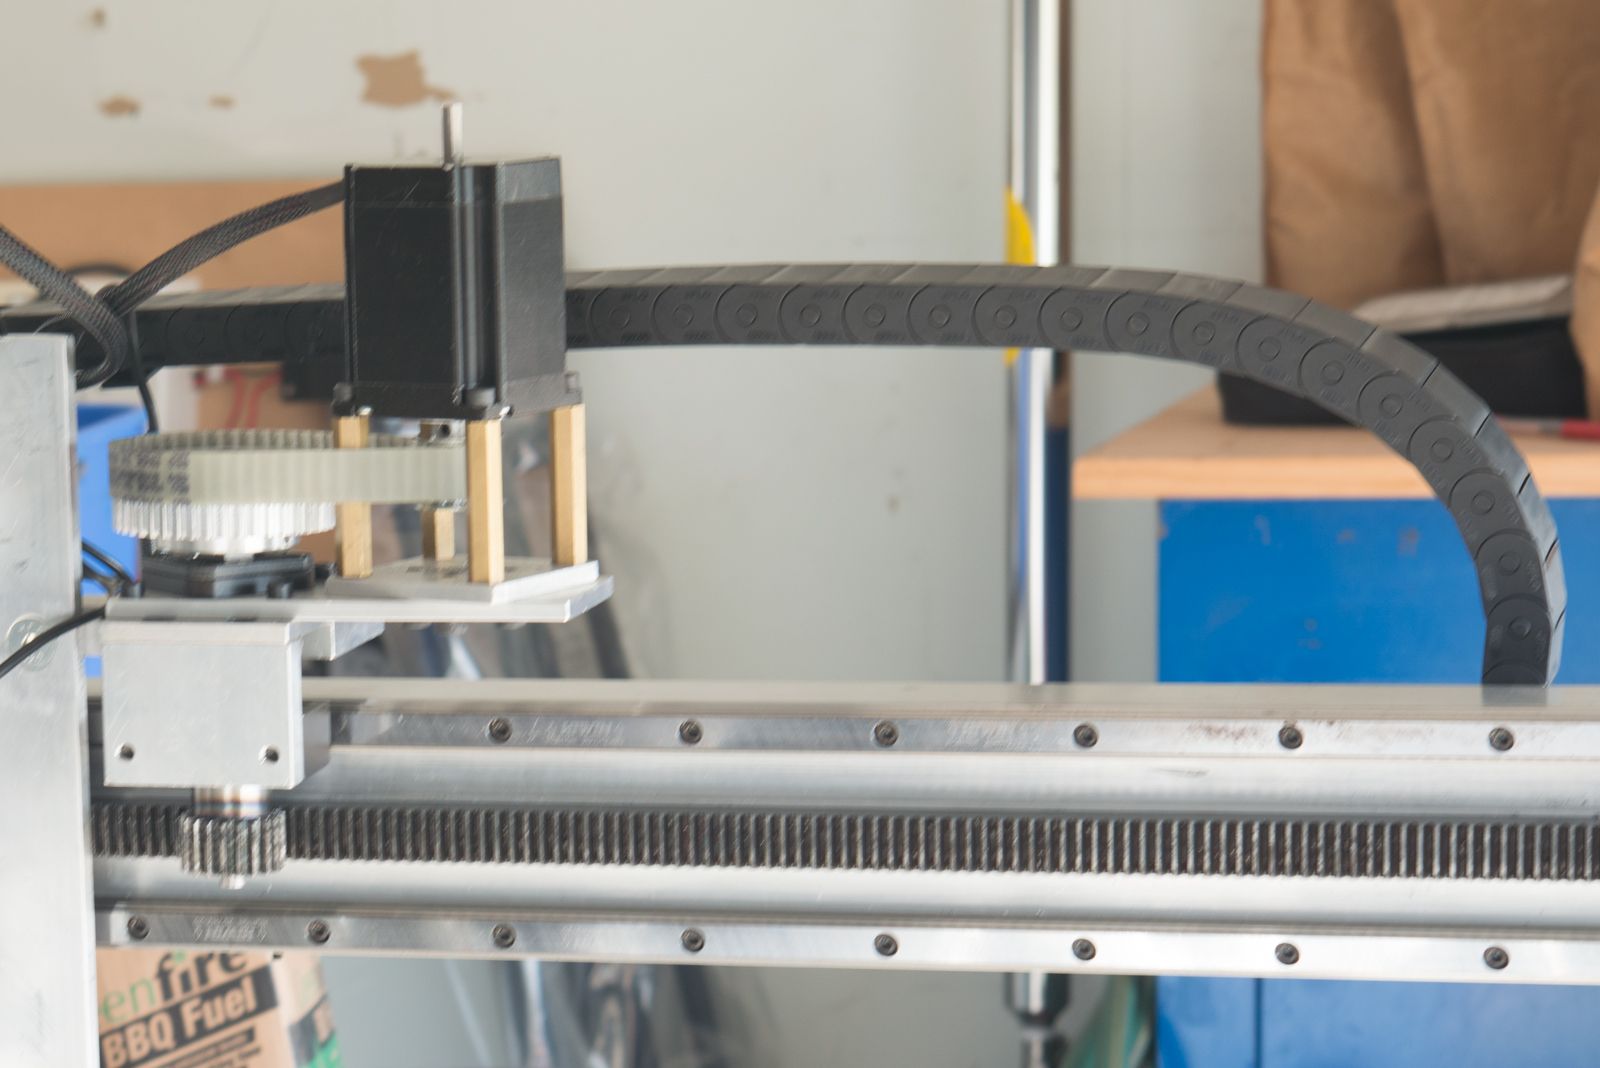
Gantry Drive: NEMA 23 stepper, Home grown 3:1 reduction drive to rack and pinion, 15mm linear rails x 2
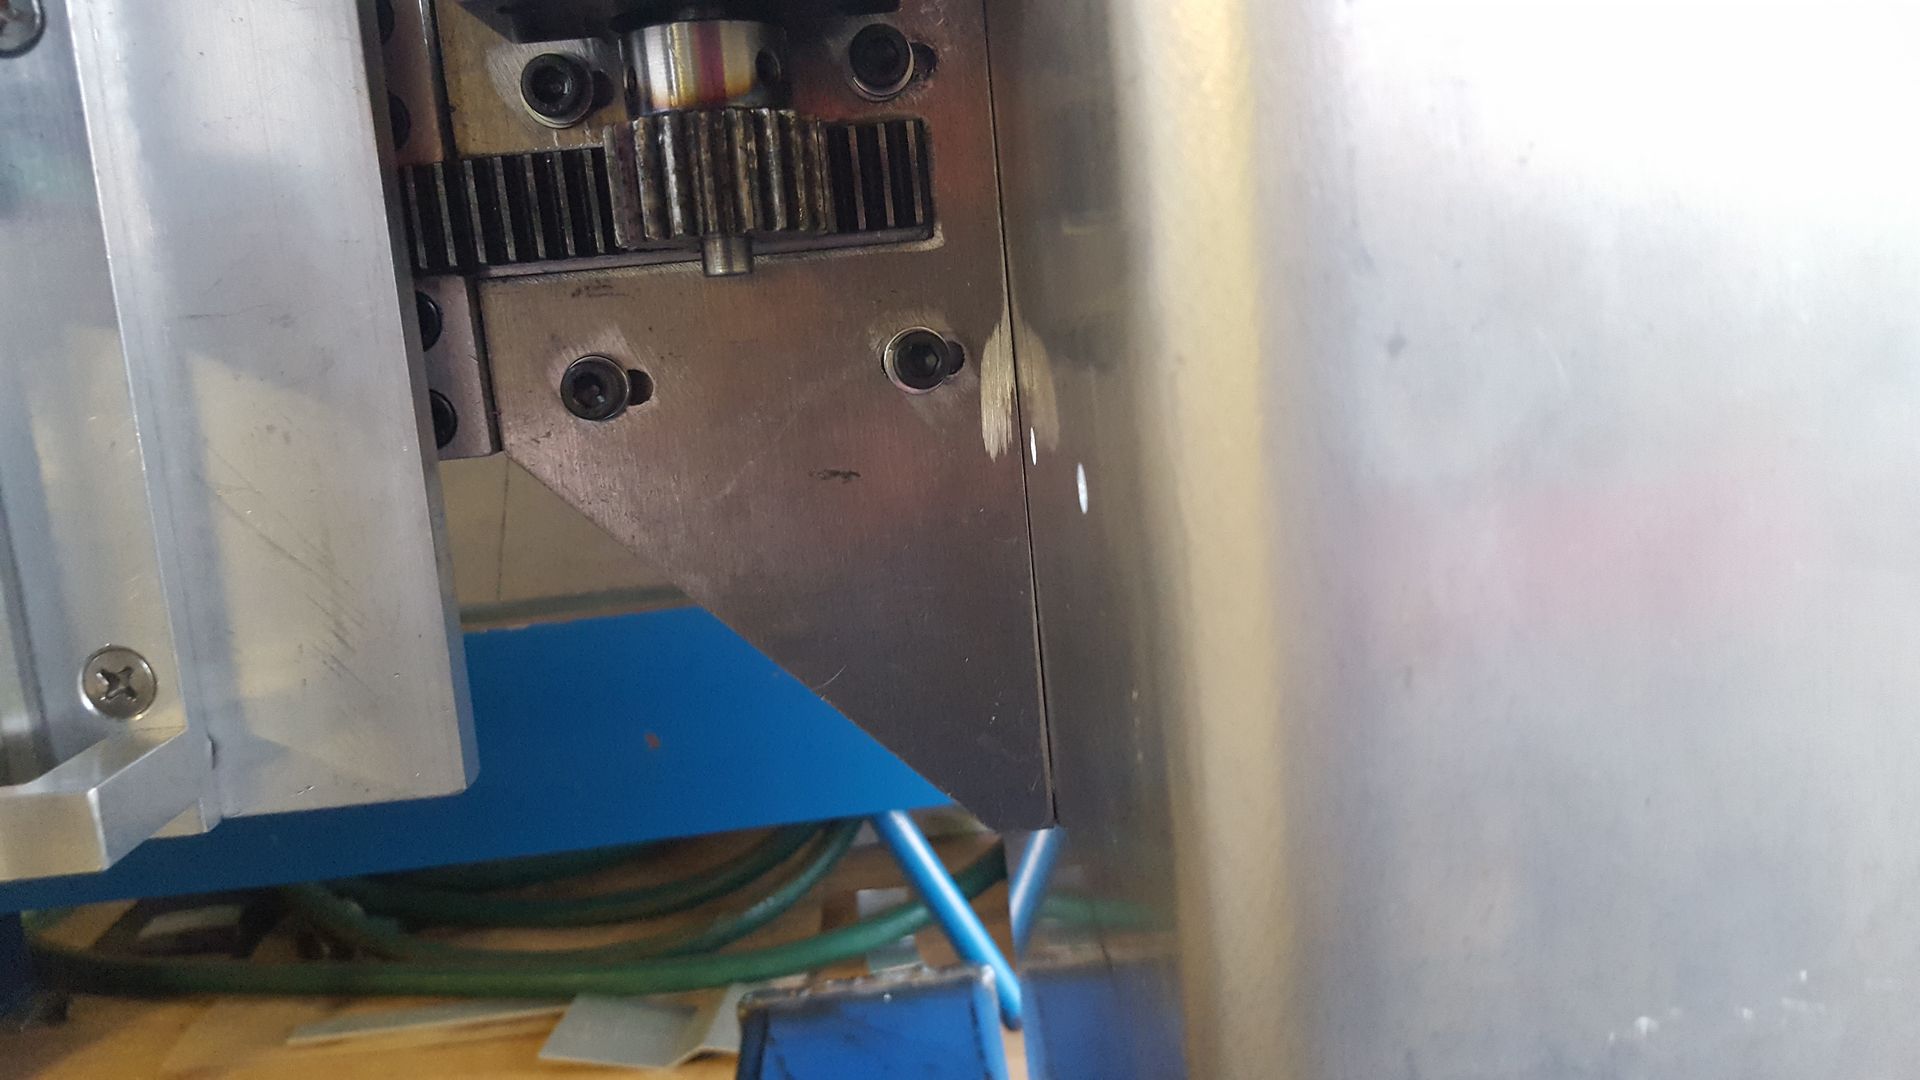
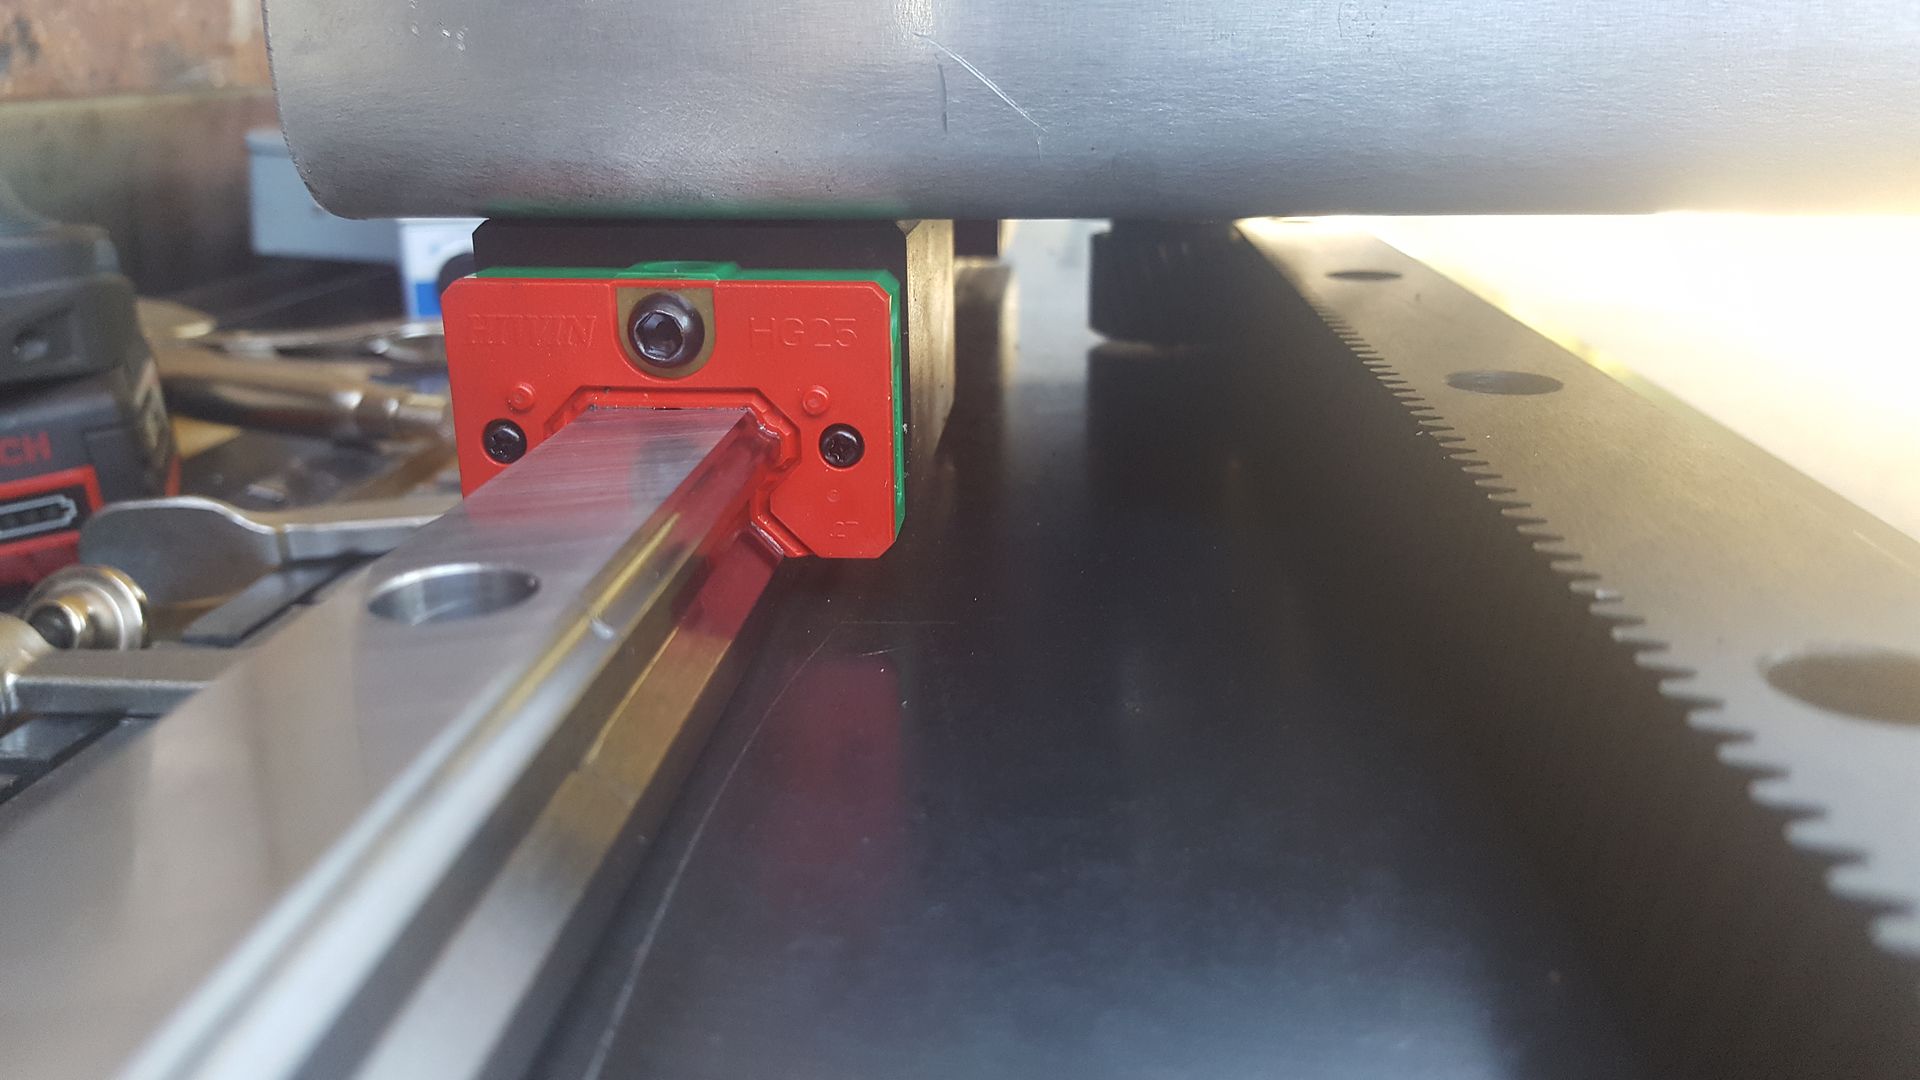
Table Drive: 2 x Nema 34 steppers 5:1 reduction drive, 25mm linear rails, helical rack and pinion
Gantry towers: 6mm aluminium laser cut and folded
Gantry cross member 40mm x 80mm x 4mm Aluminium RHS.
Plate Marker: M7 scribe, 150mm air ram and all of the regulators and oilers as per this forum (3 parts left to make)
Maximum speed 21 metres per minute (825 inches per minute)
Rotary Axis: planned, already have a stepper driven Rotary table.
Post Processor: Sheetcam (still to buy)
Plasma cutter: Everlast 50 amp with 75 amp machine torch (for proof of concept, probably move to 3 phase Hypertherm)
Once built, this thing will weigh in at 400-500kg so its not a trivial build.
So here is a few pics in no particular order.
PC
http://i210.photobucket.com/albums/bb27 ... joxyyi.jpg
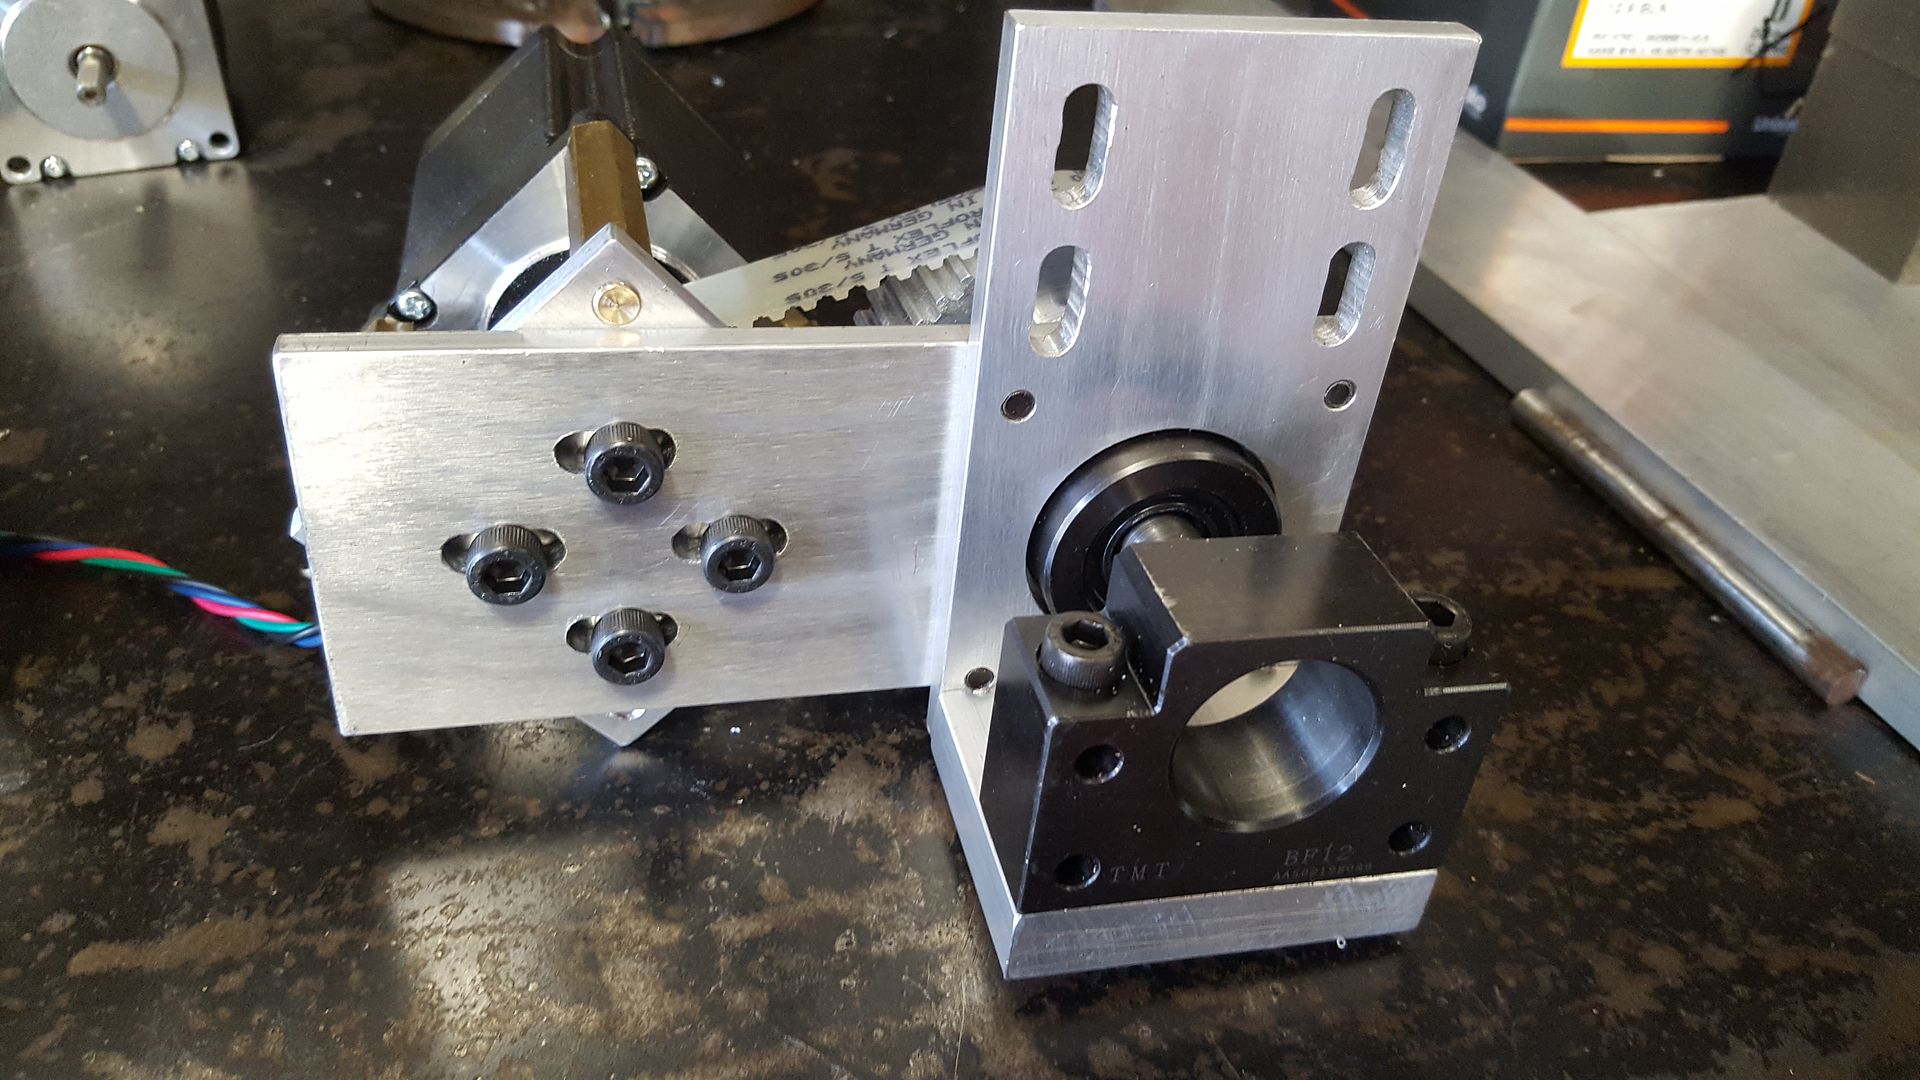
Reduction drive on the gantry
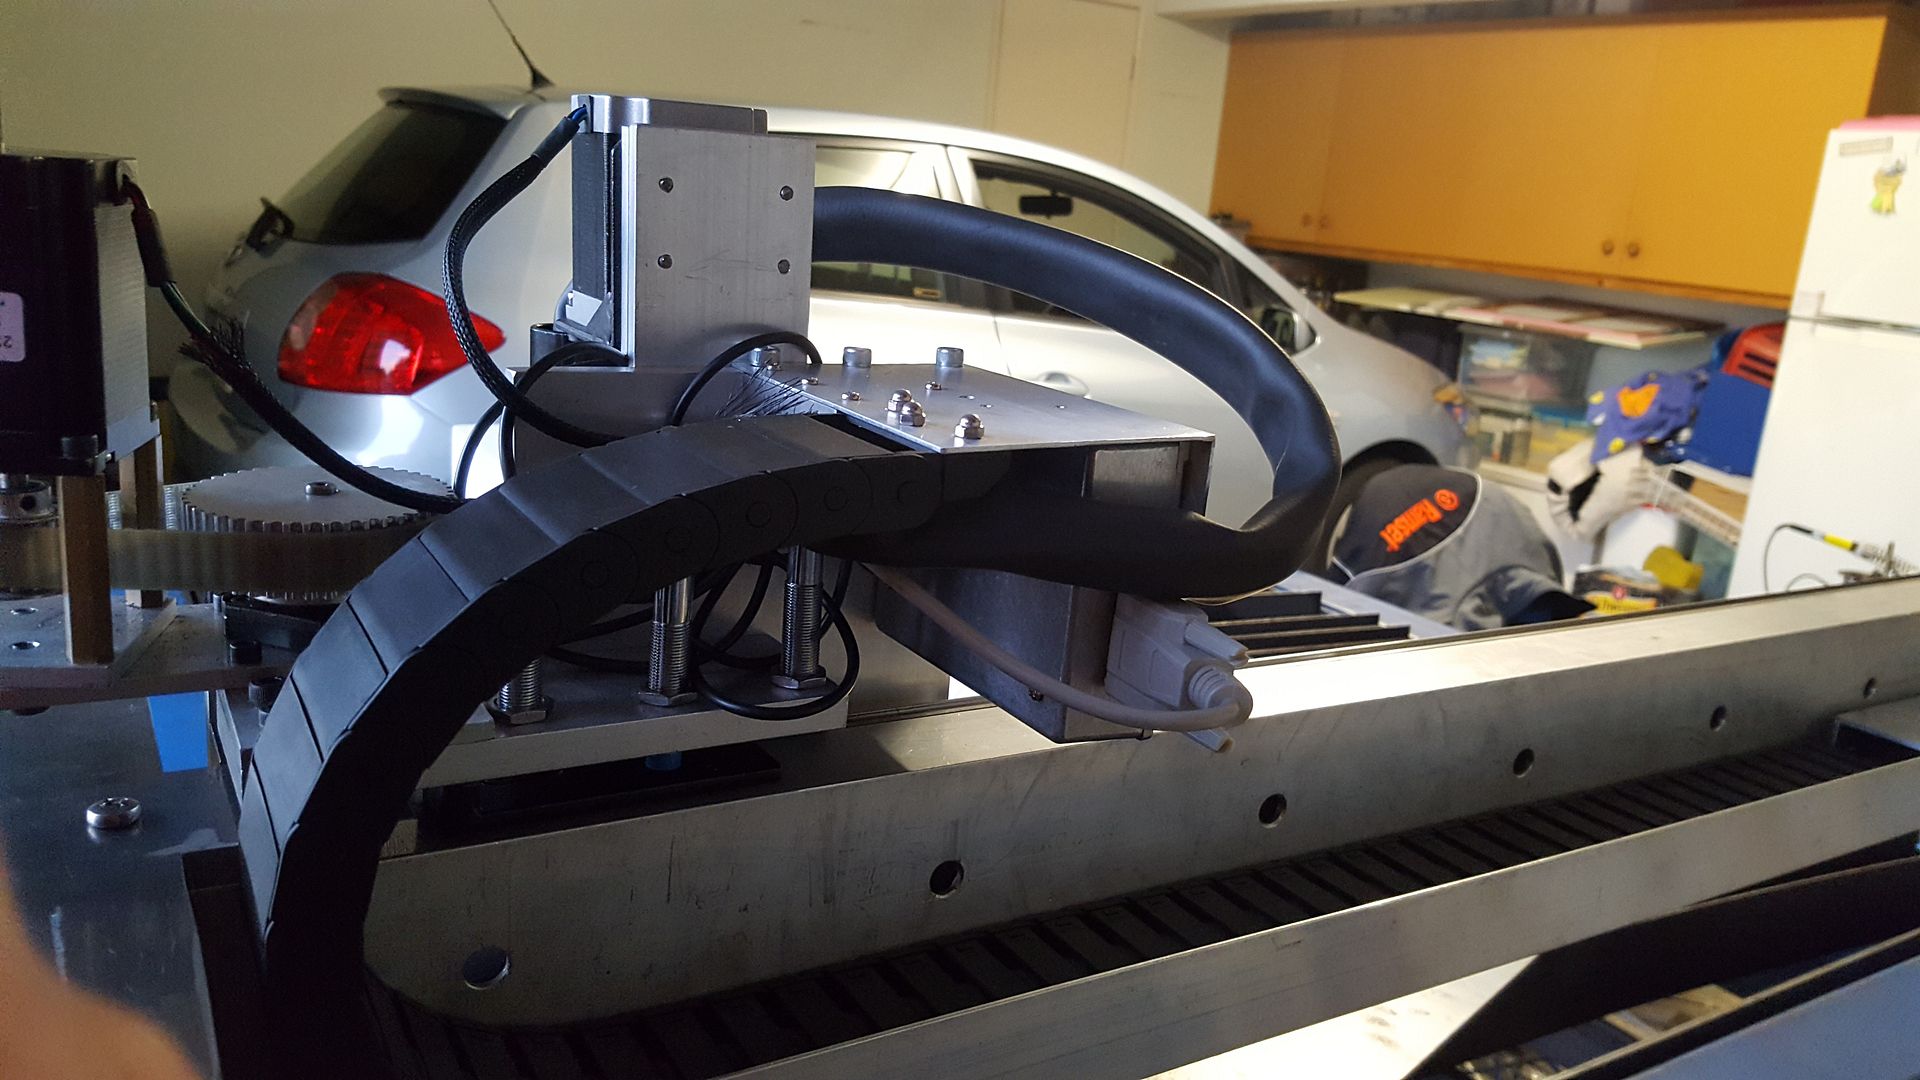
Gantry drive and drag chain
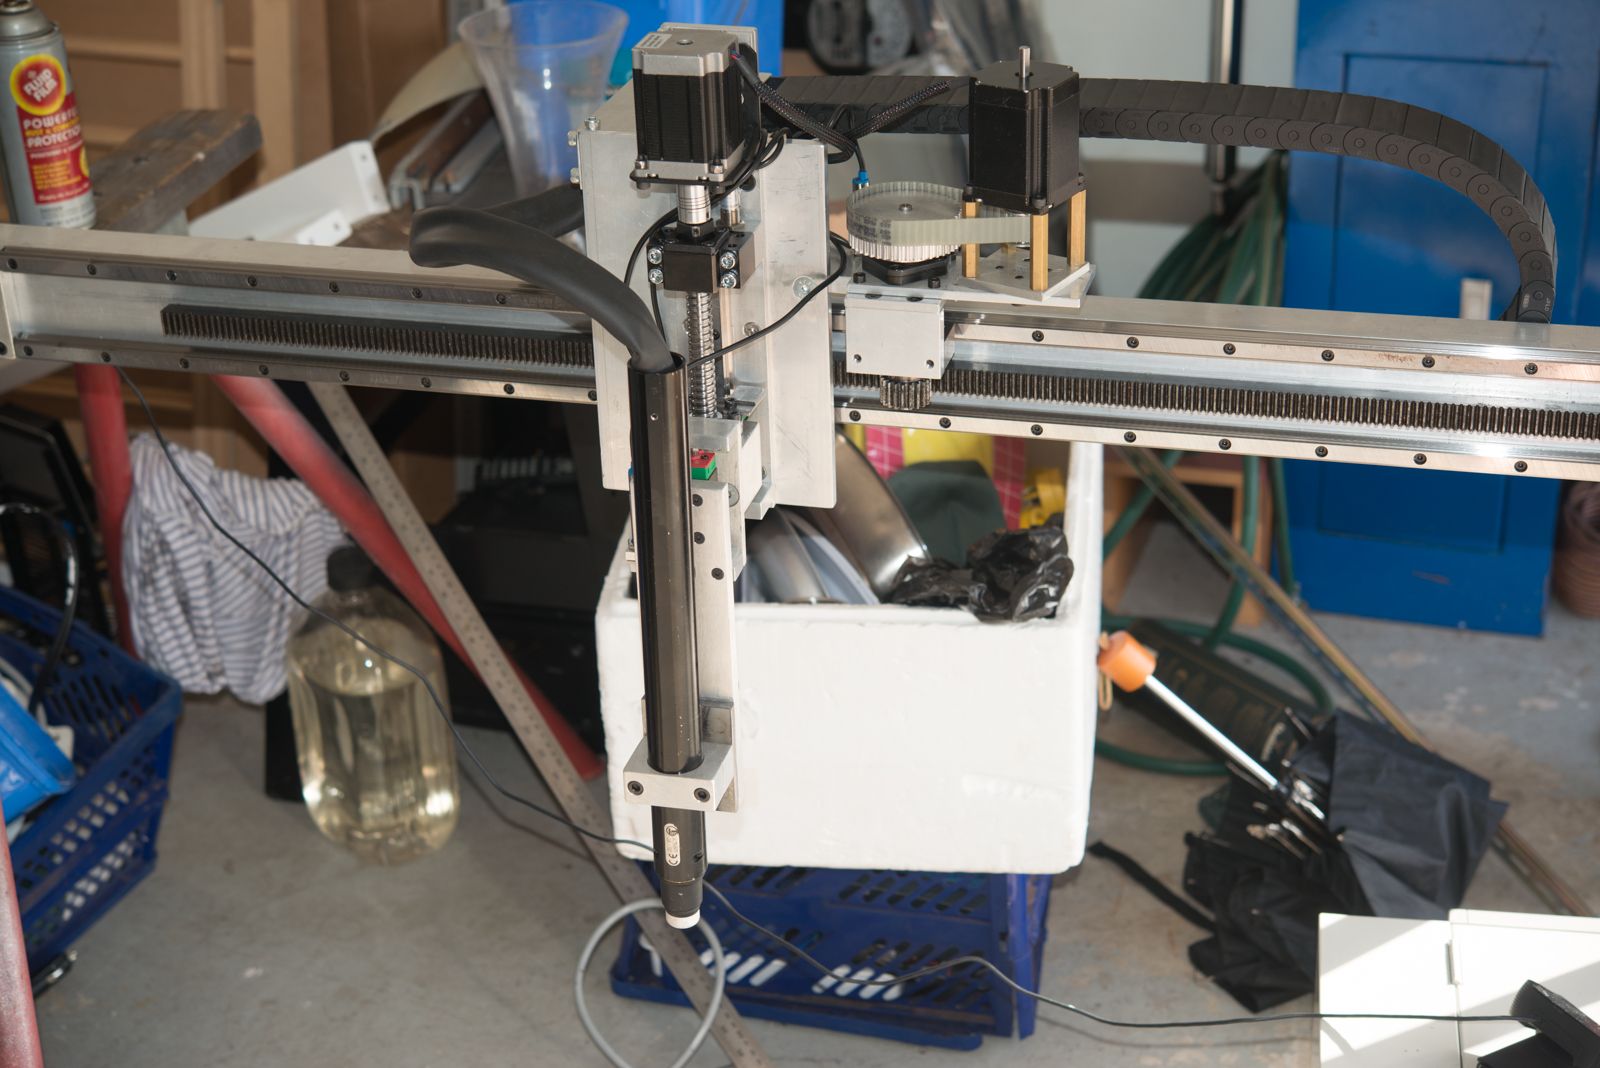
Completed Gantry
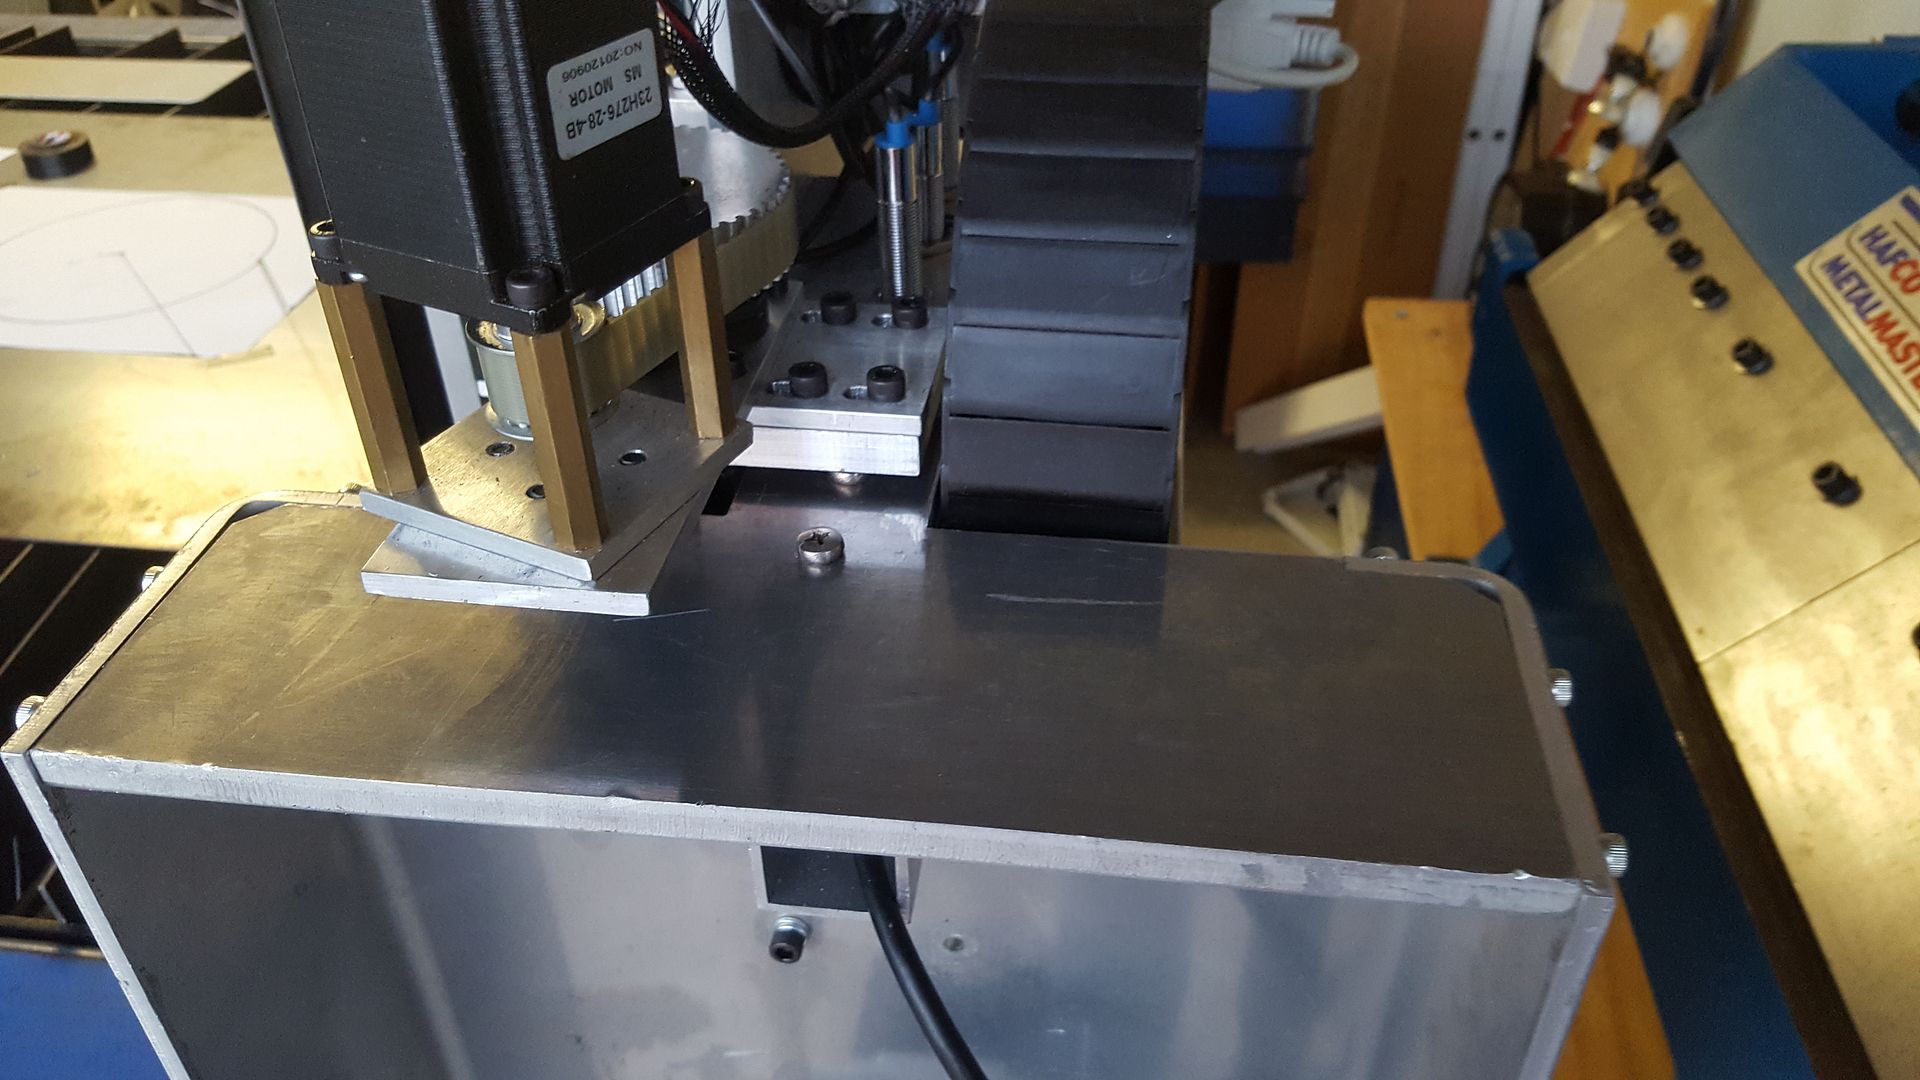
Rear of Gantry carriage.
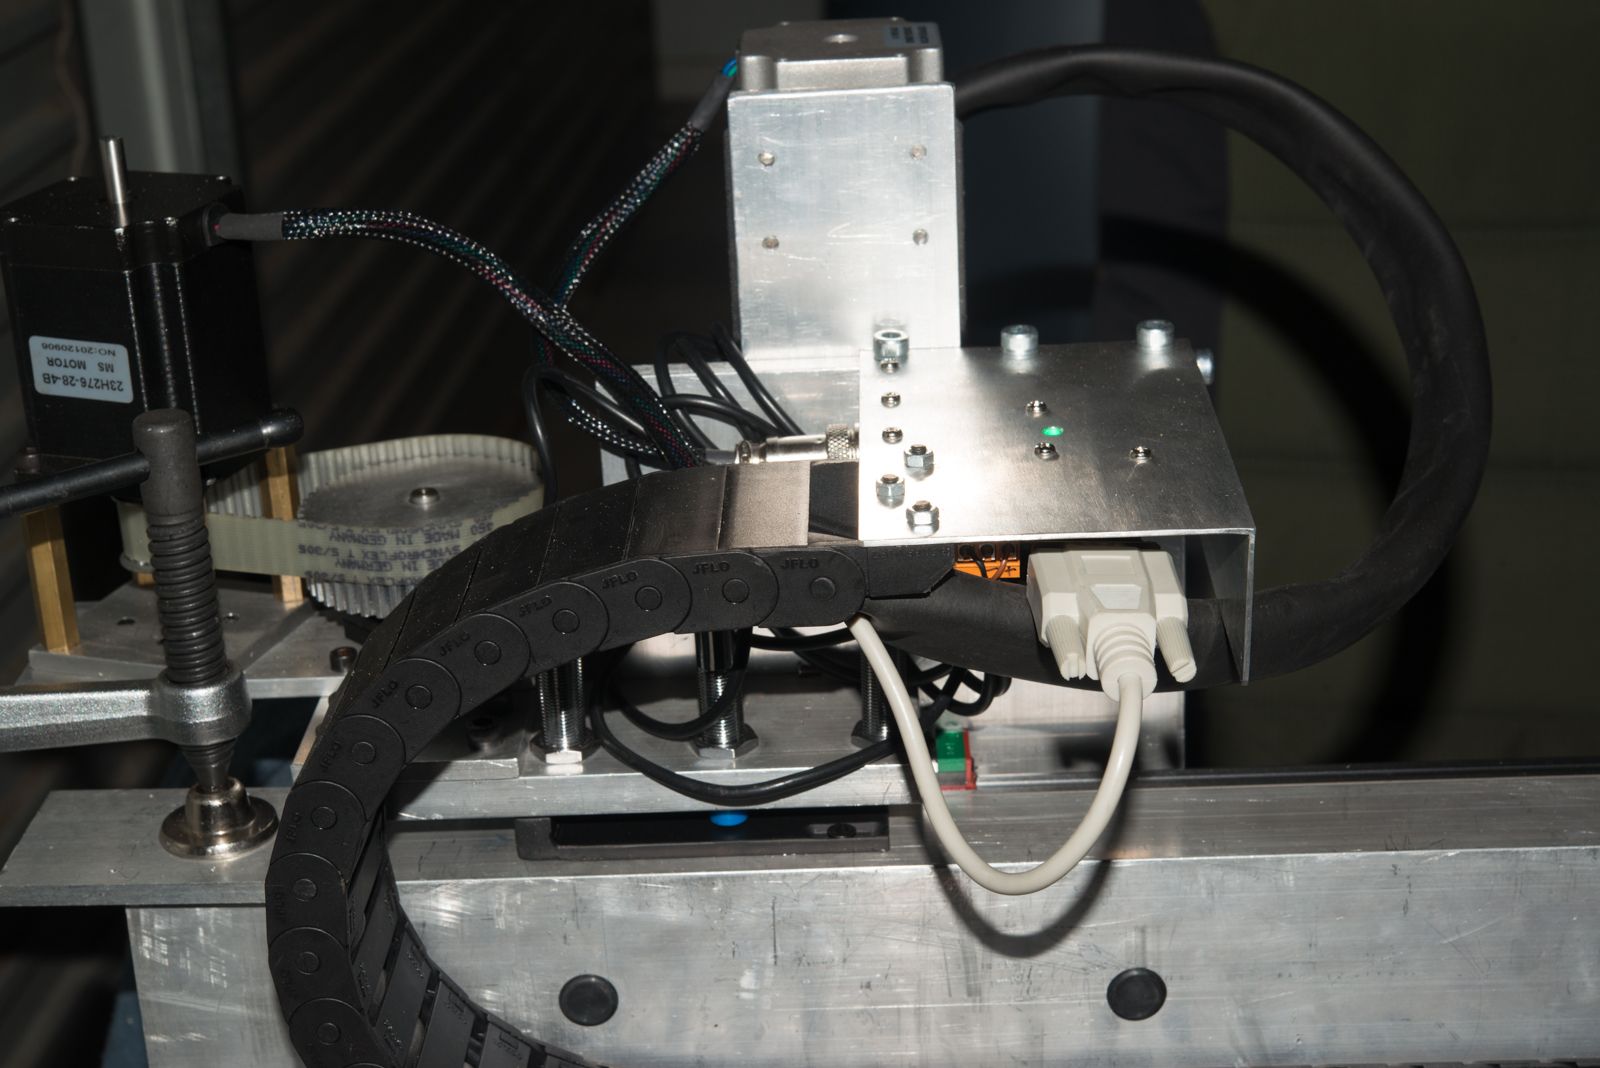
Note 3 x proximity sensors for min limit, max limit and home switch. This ide worked so well, I'm using identical parts on the table limit switches.
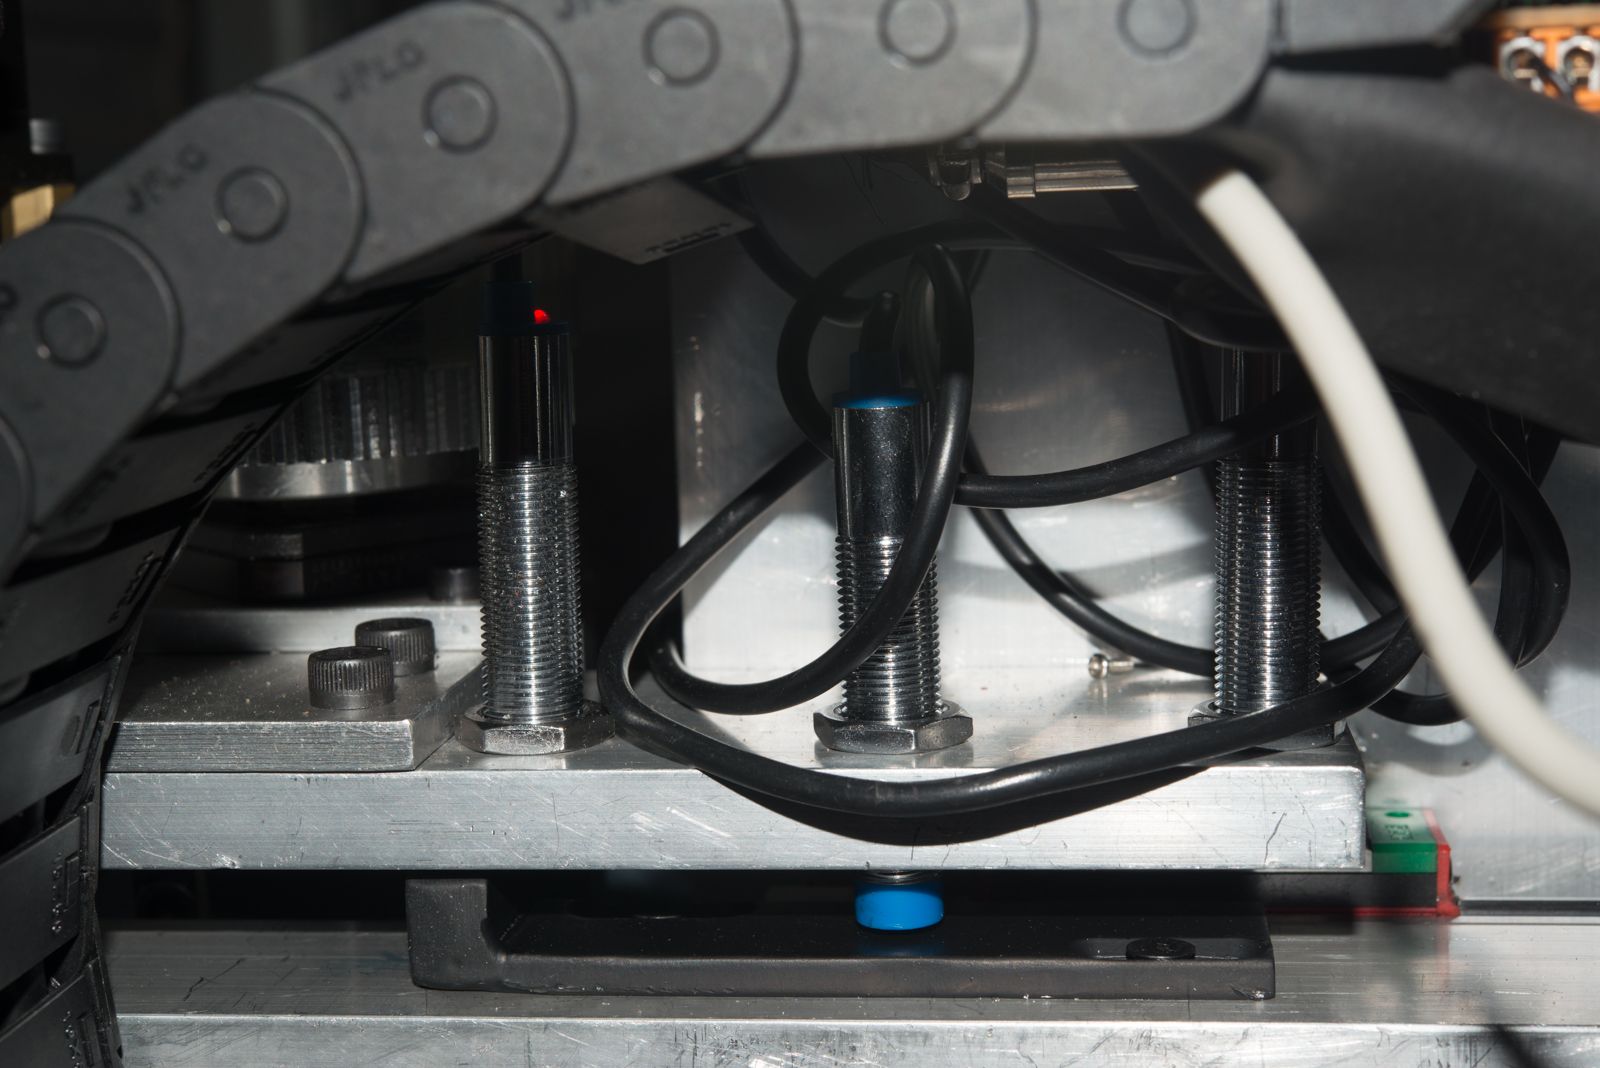 .
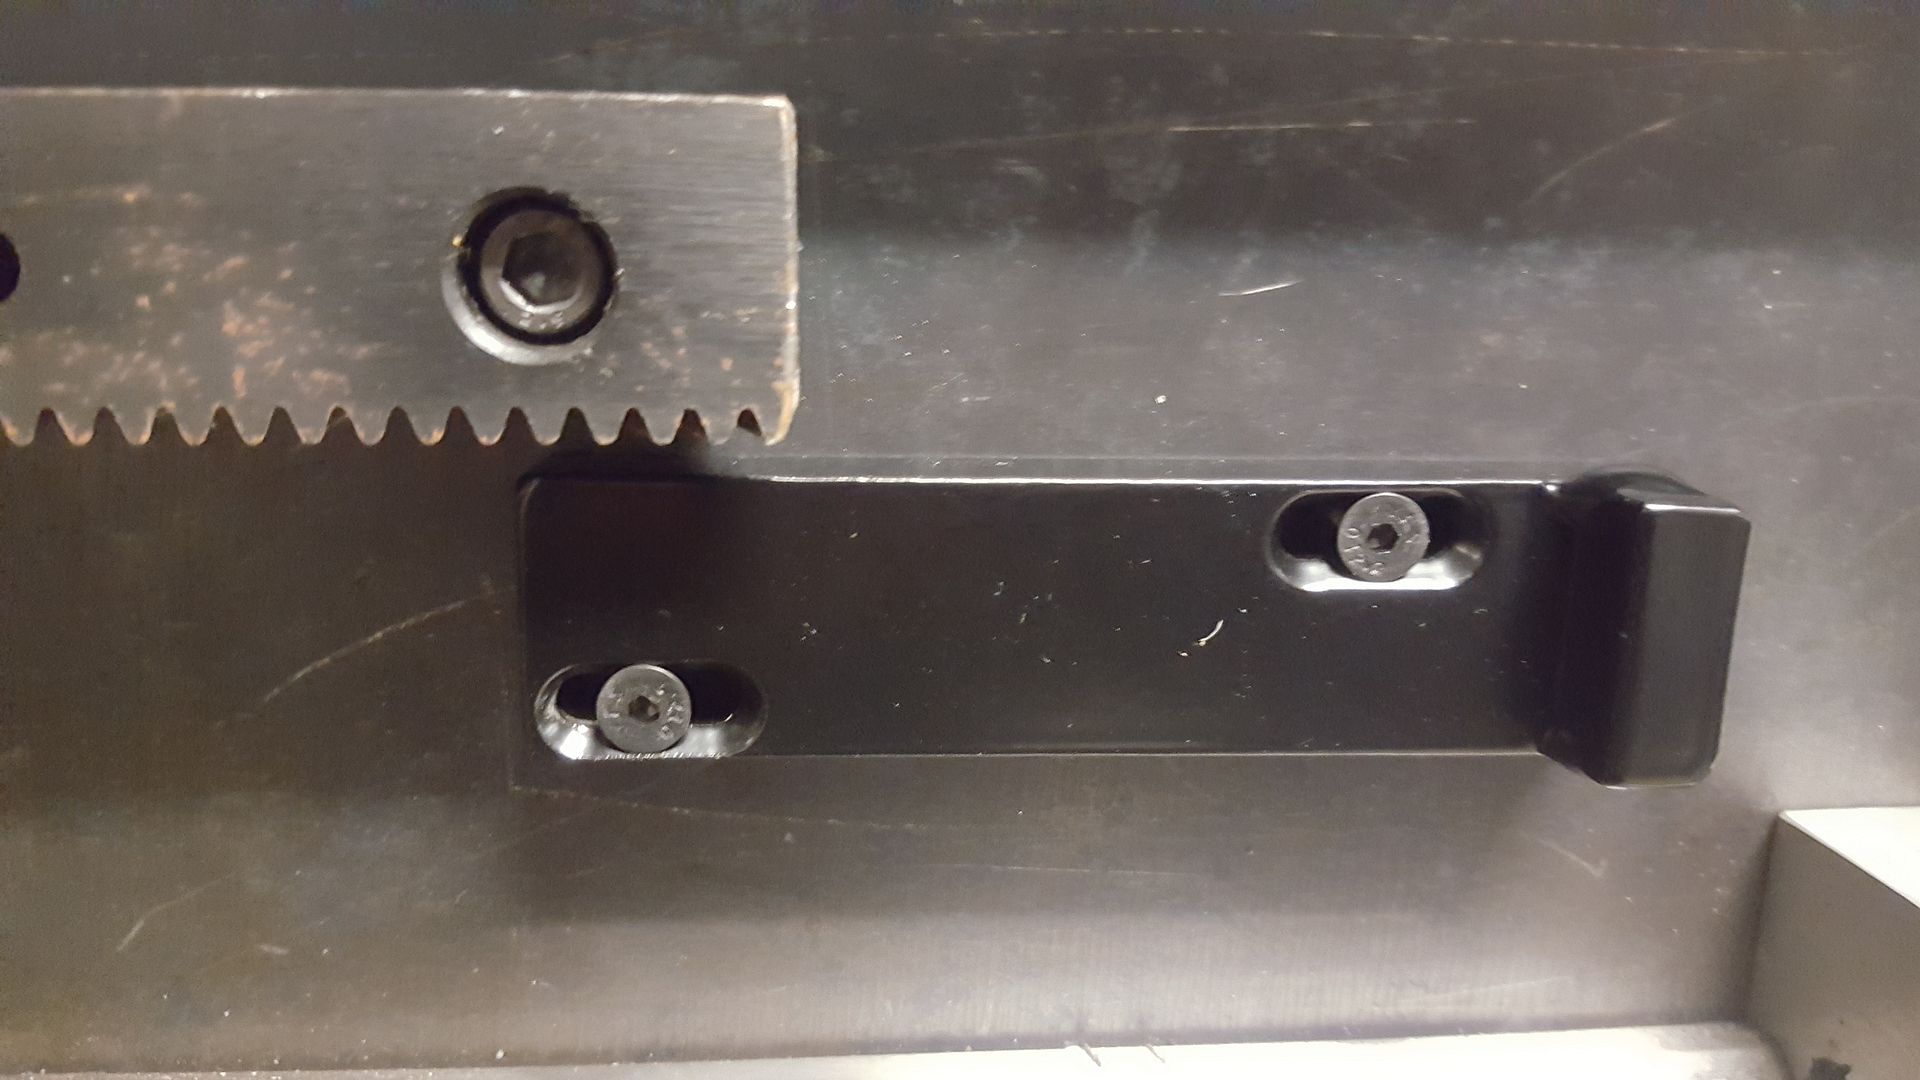
.Limit switch sensing plates.
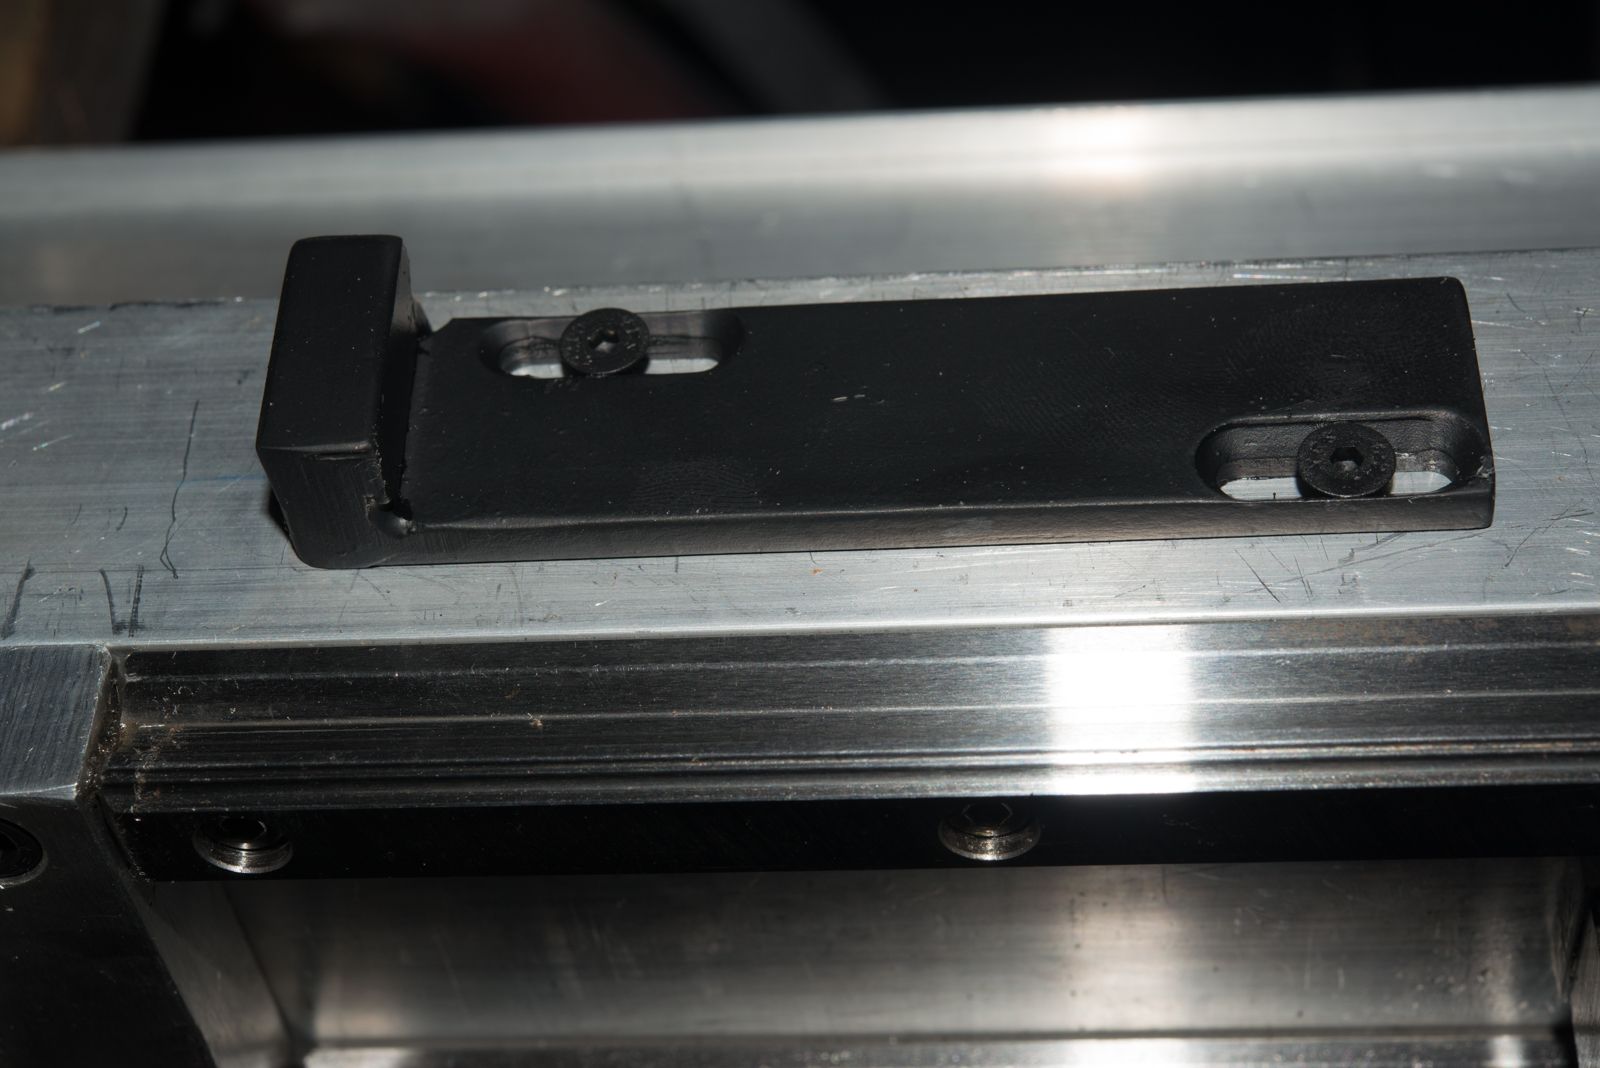
So the limit sensors are on the outside and the home switch is the one in the middle. It is set lower and is triggered by the mounting plate which is long enough for it to slow down. The limit switch see a piece of 10x10mm square bar that the home switch cannot hit due to the position of the hard limit stops.
Magnetic breakaway with proximity sensor to trigger an estop if it falls off.
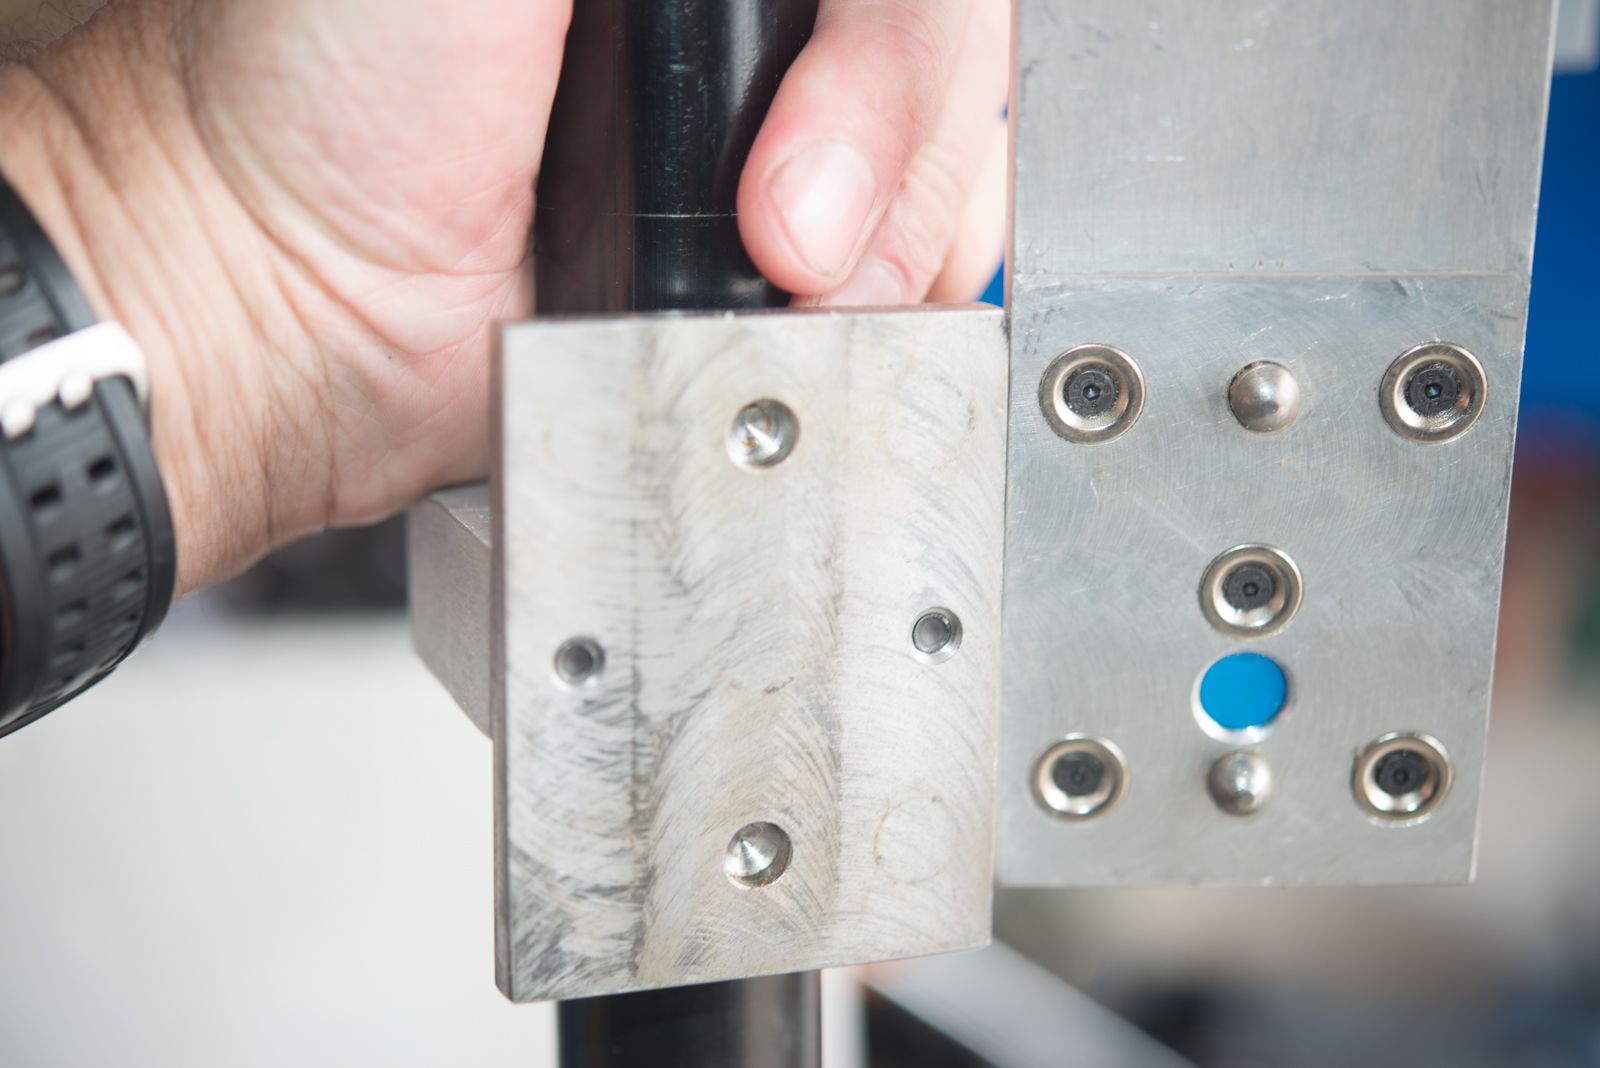
Float switch
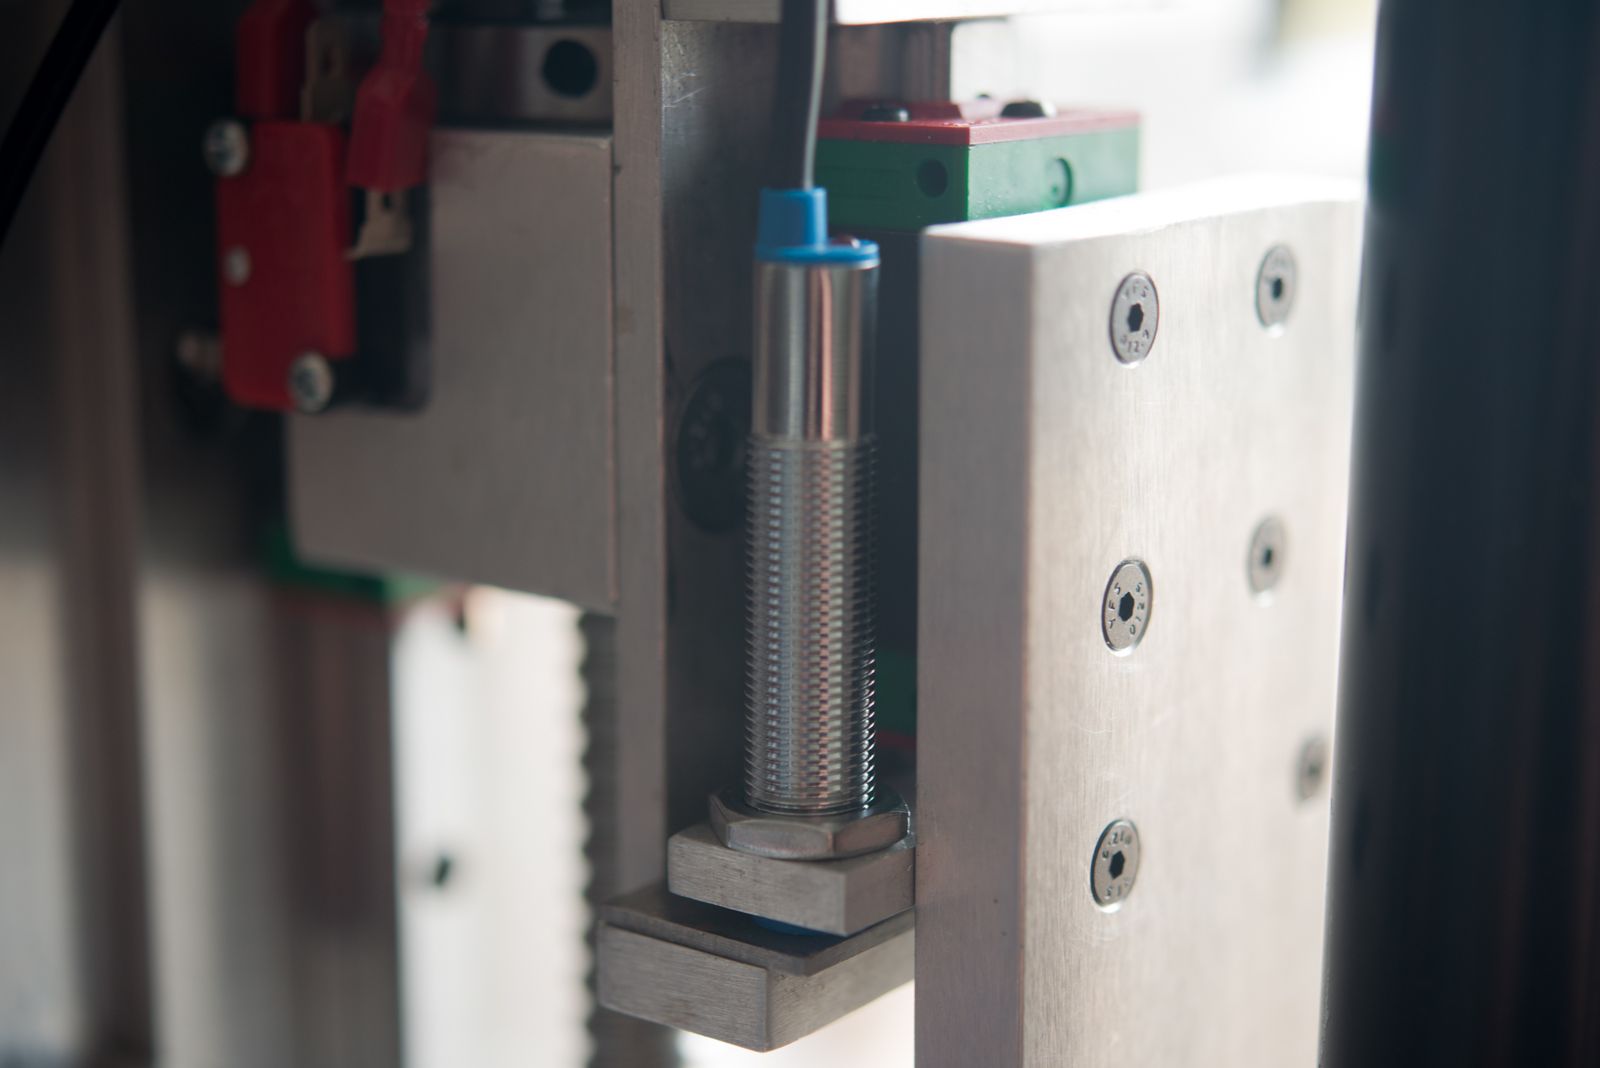
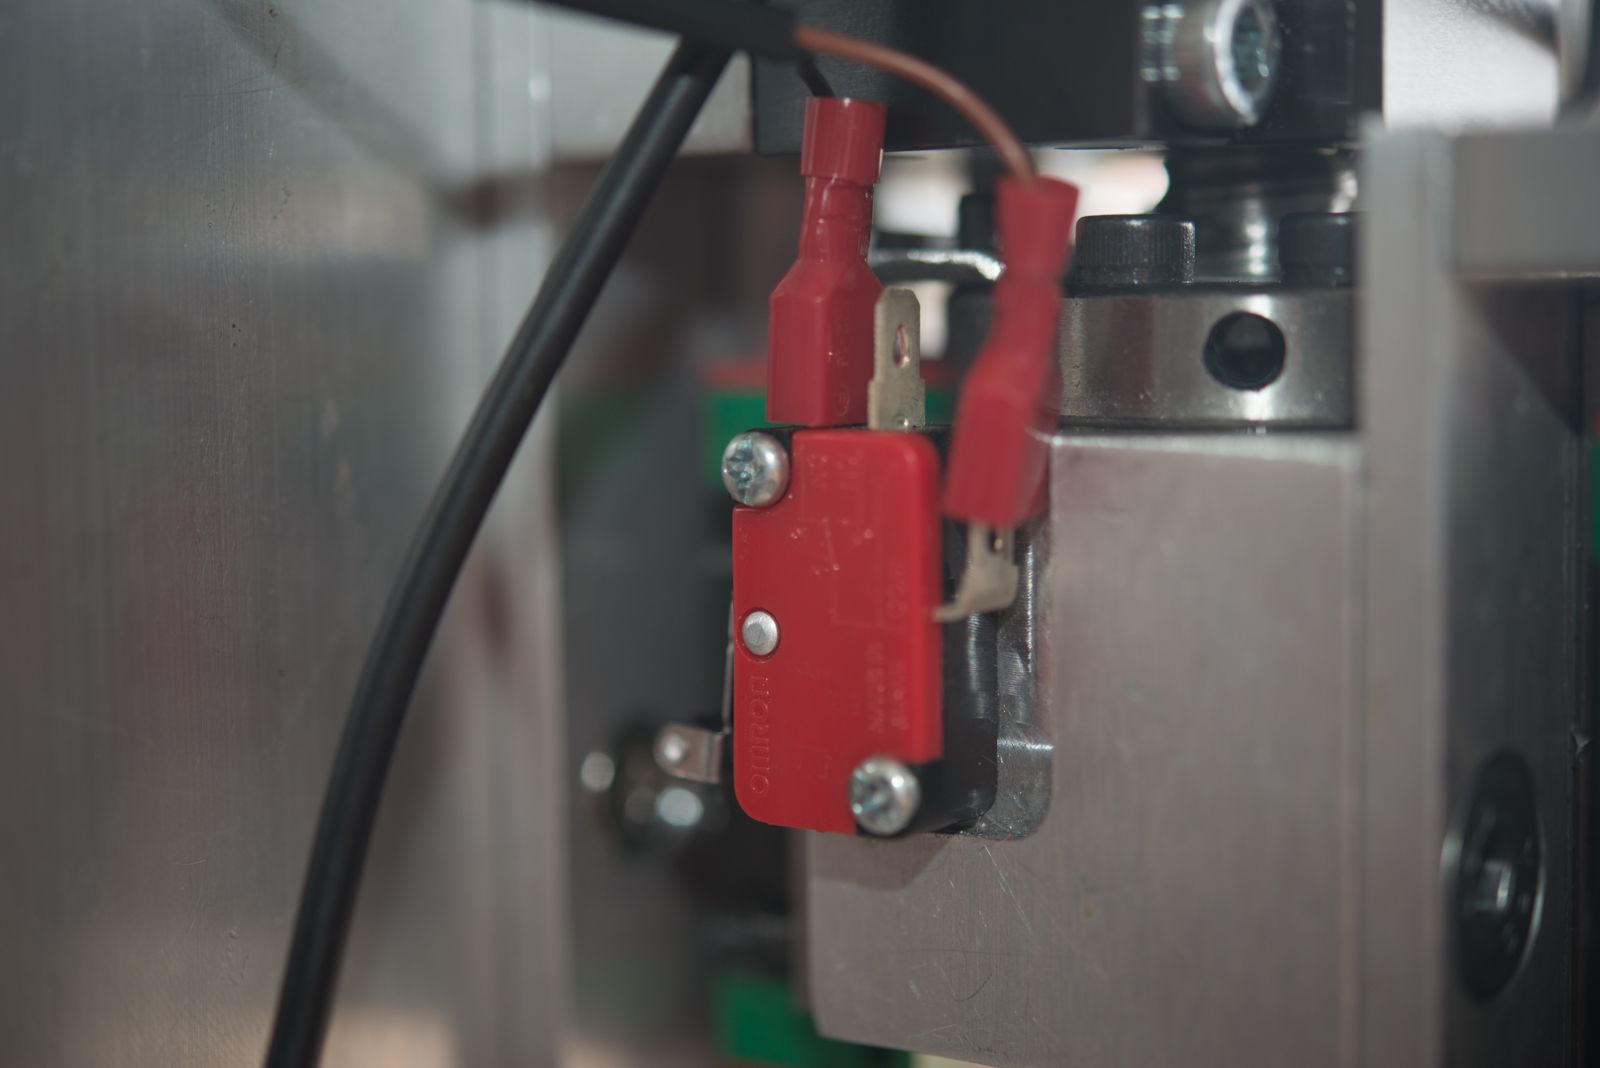
The only mechanical limit switch on the machine, th elower Z axis limit. I figured it should never be triggered so it will have a long service life.
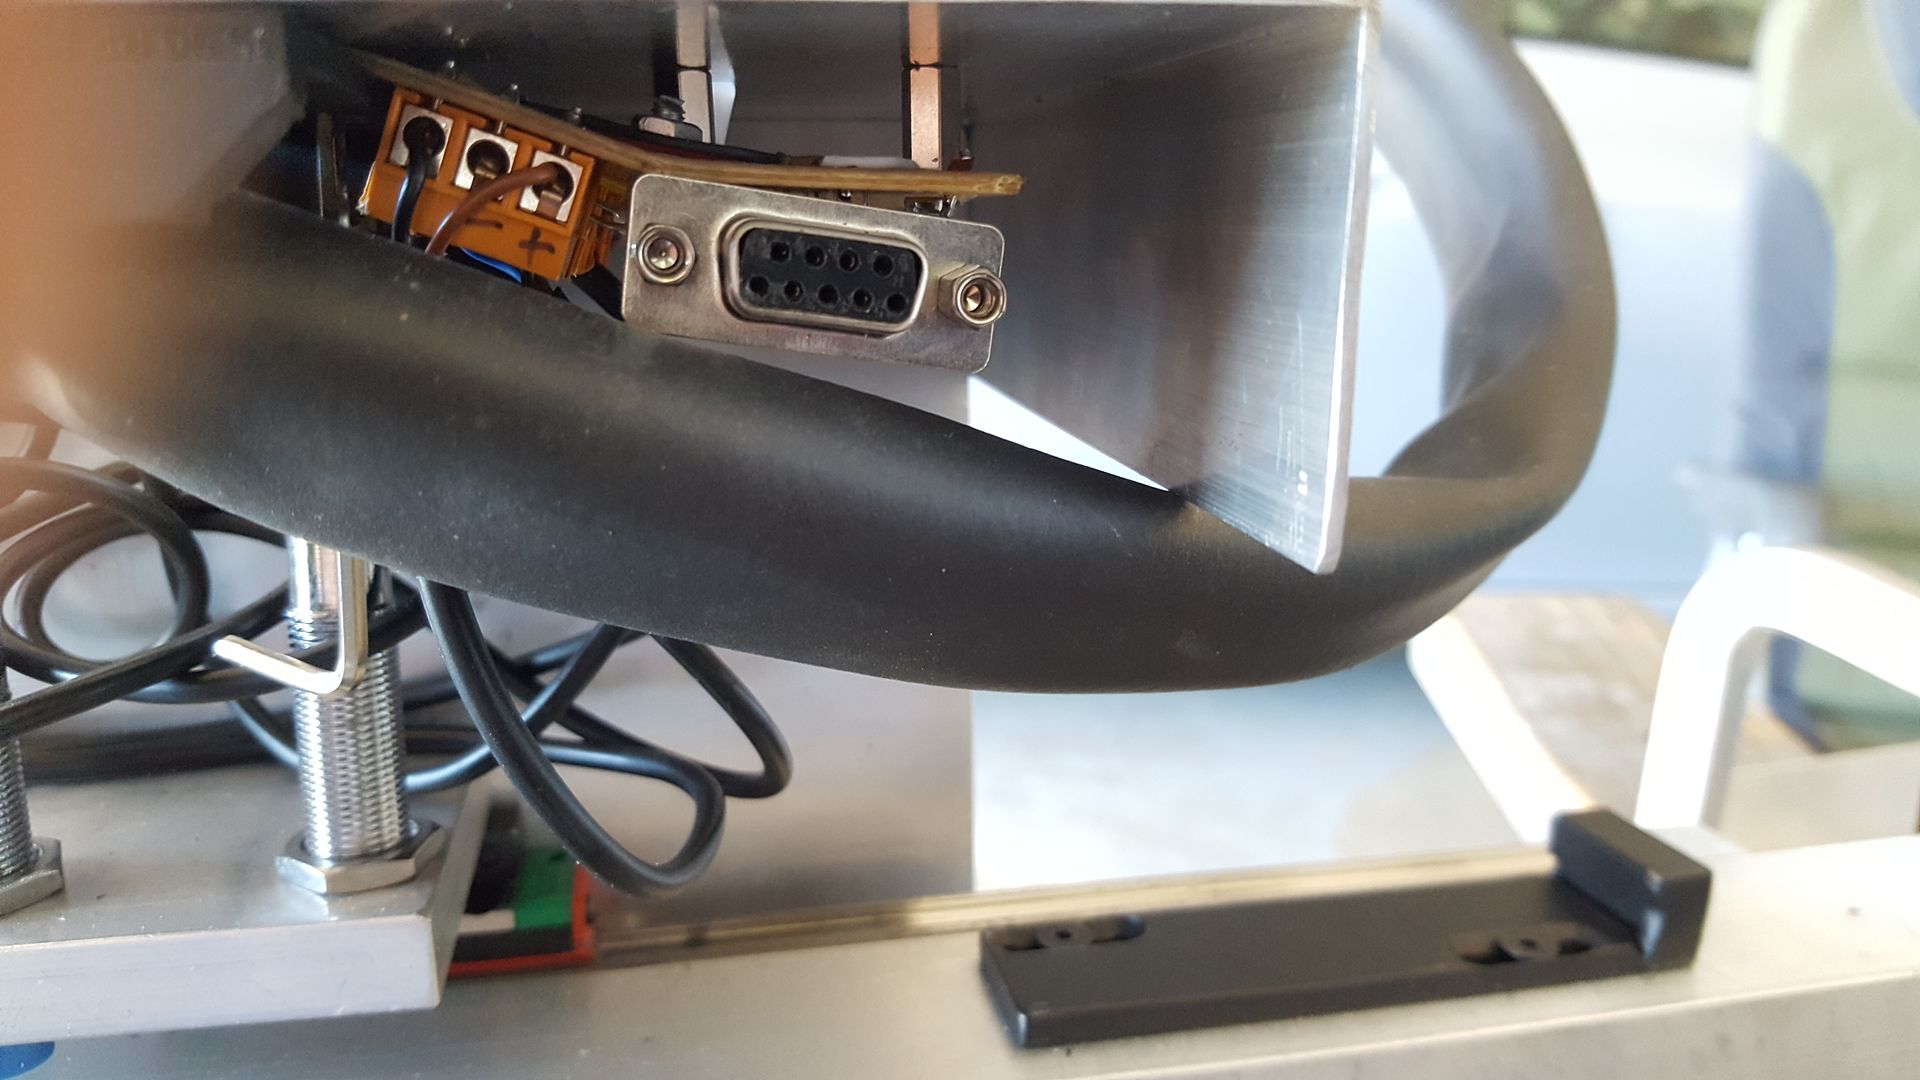
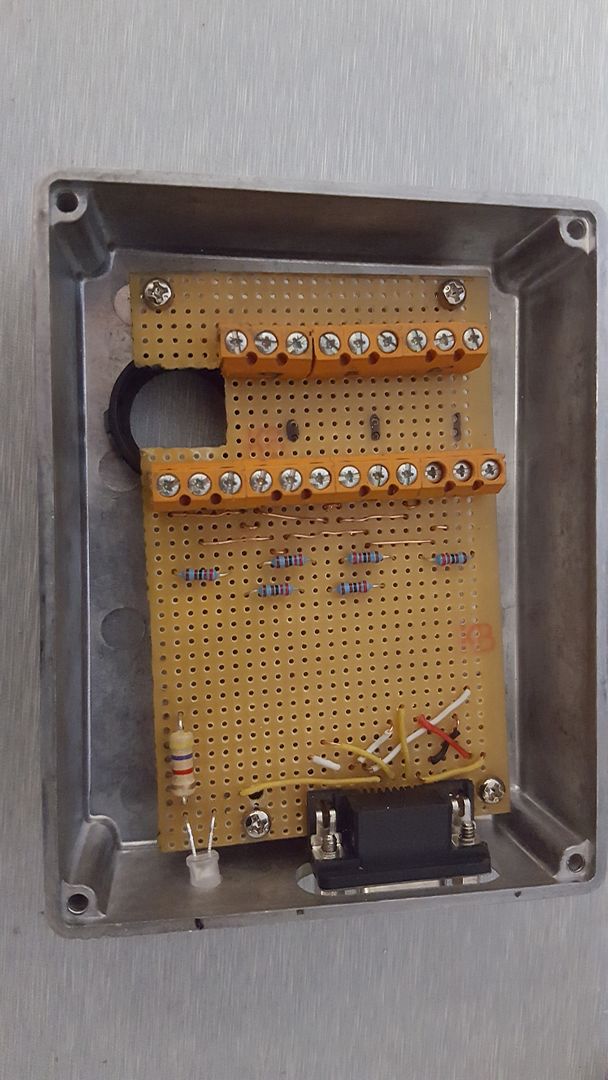
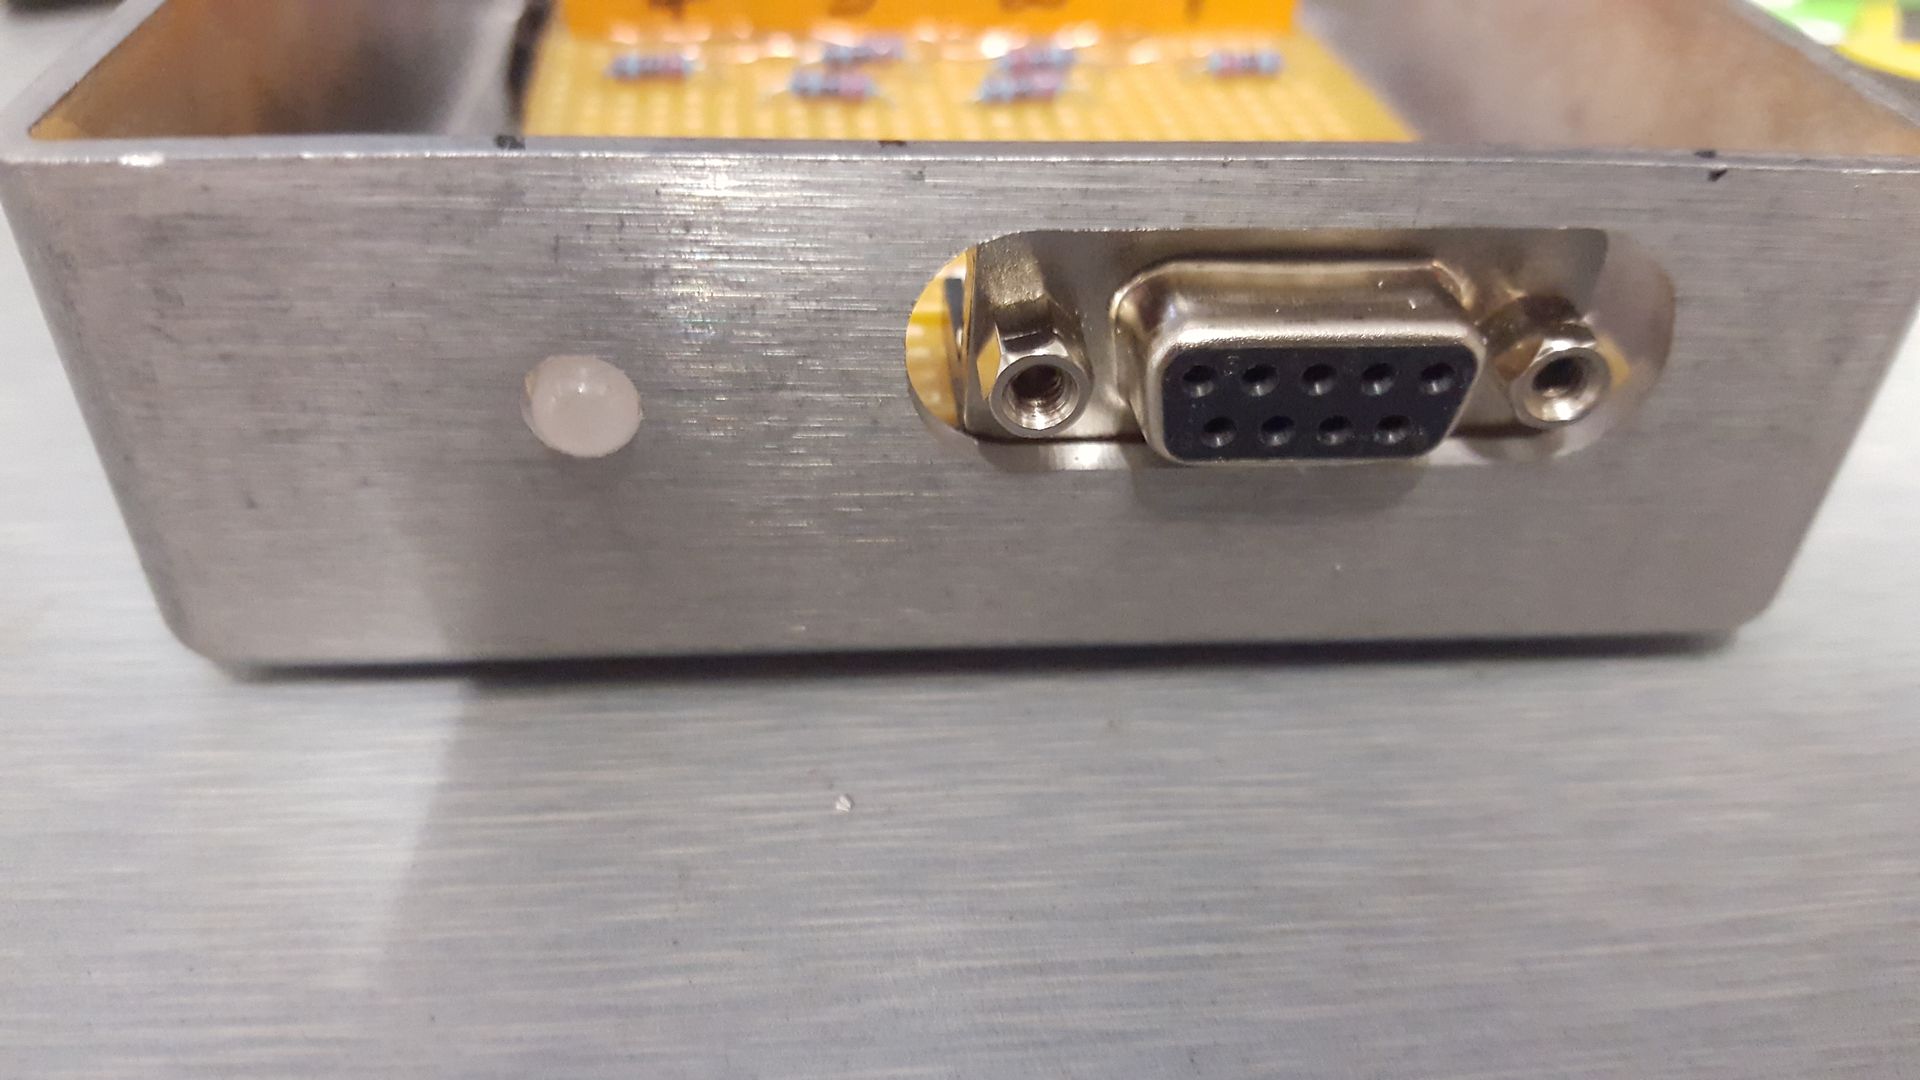
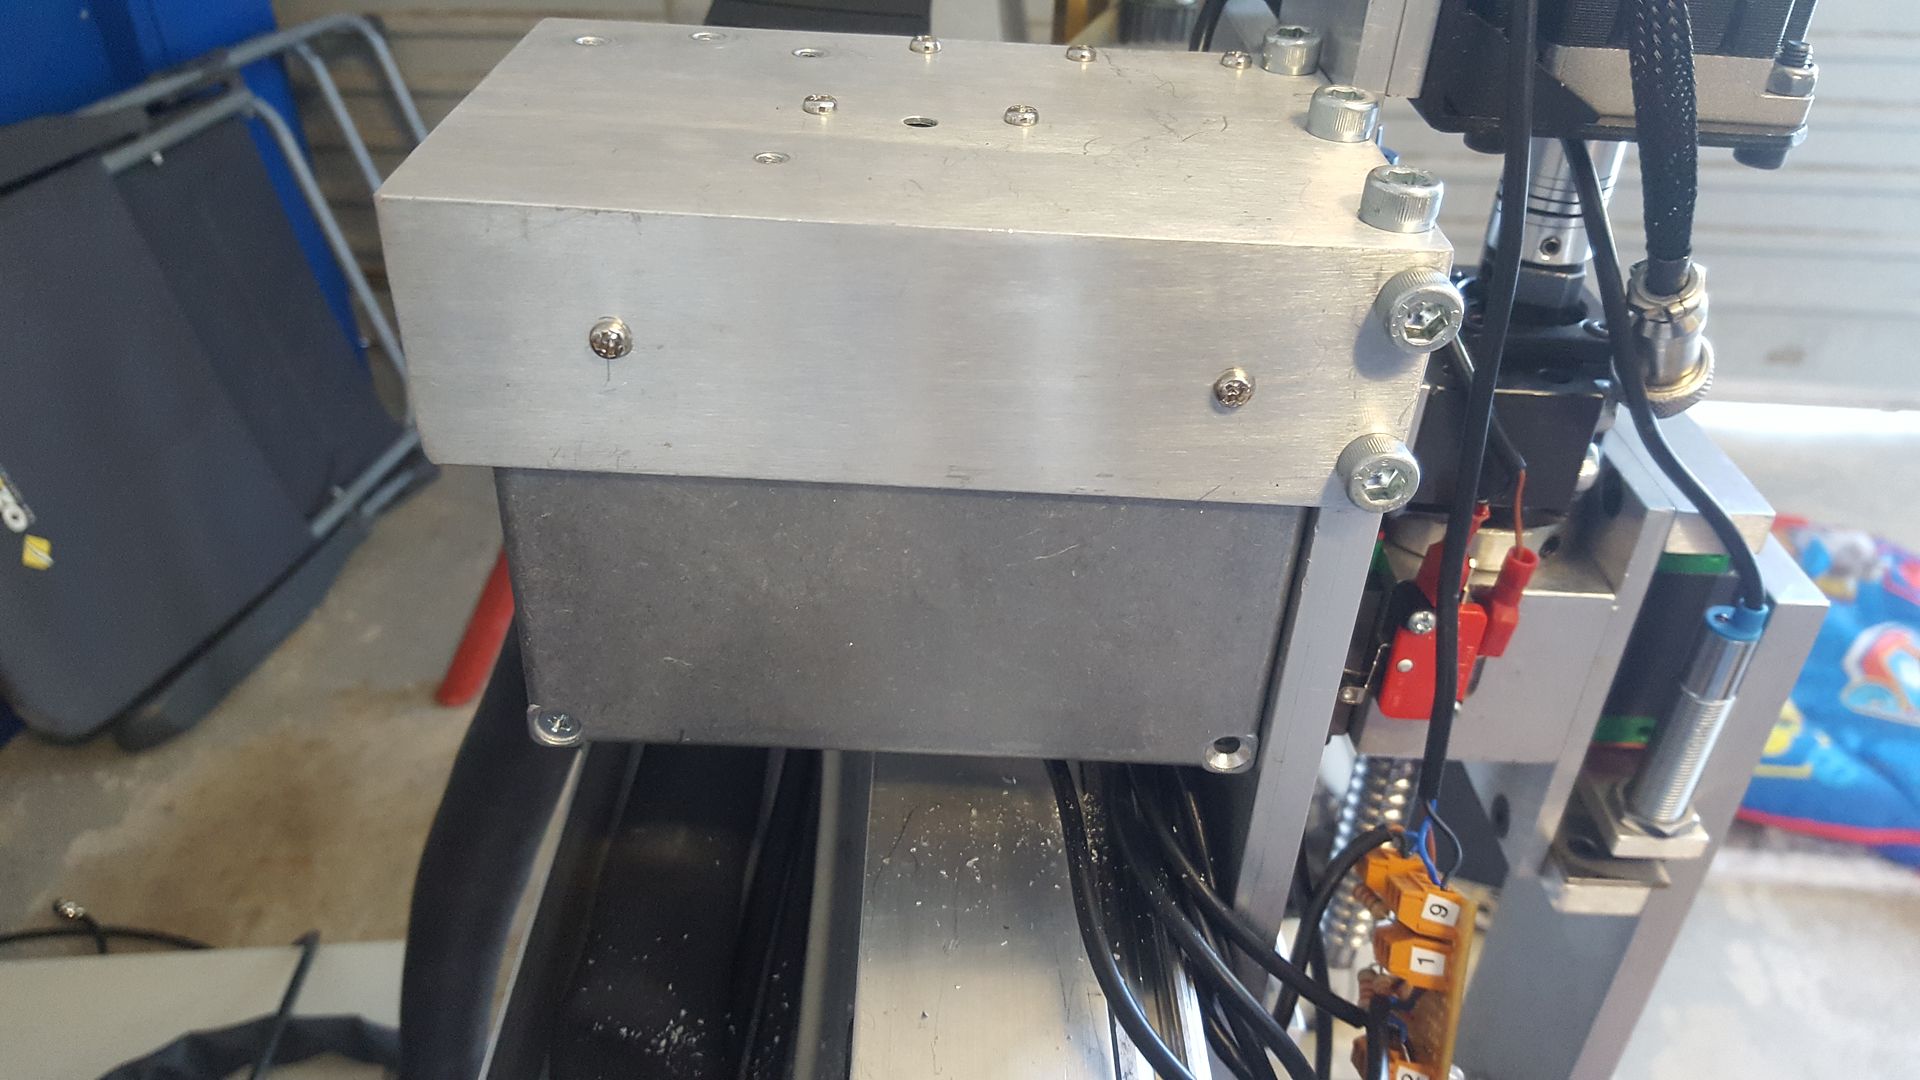
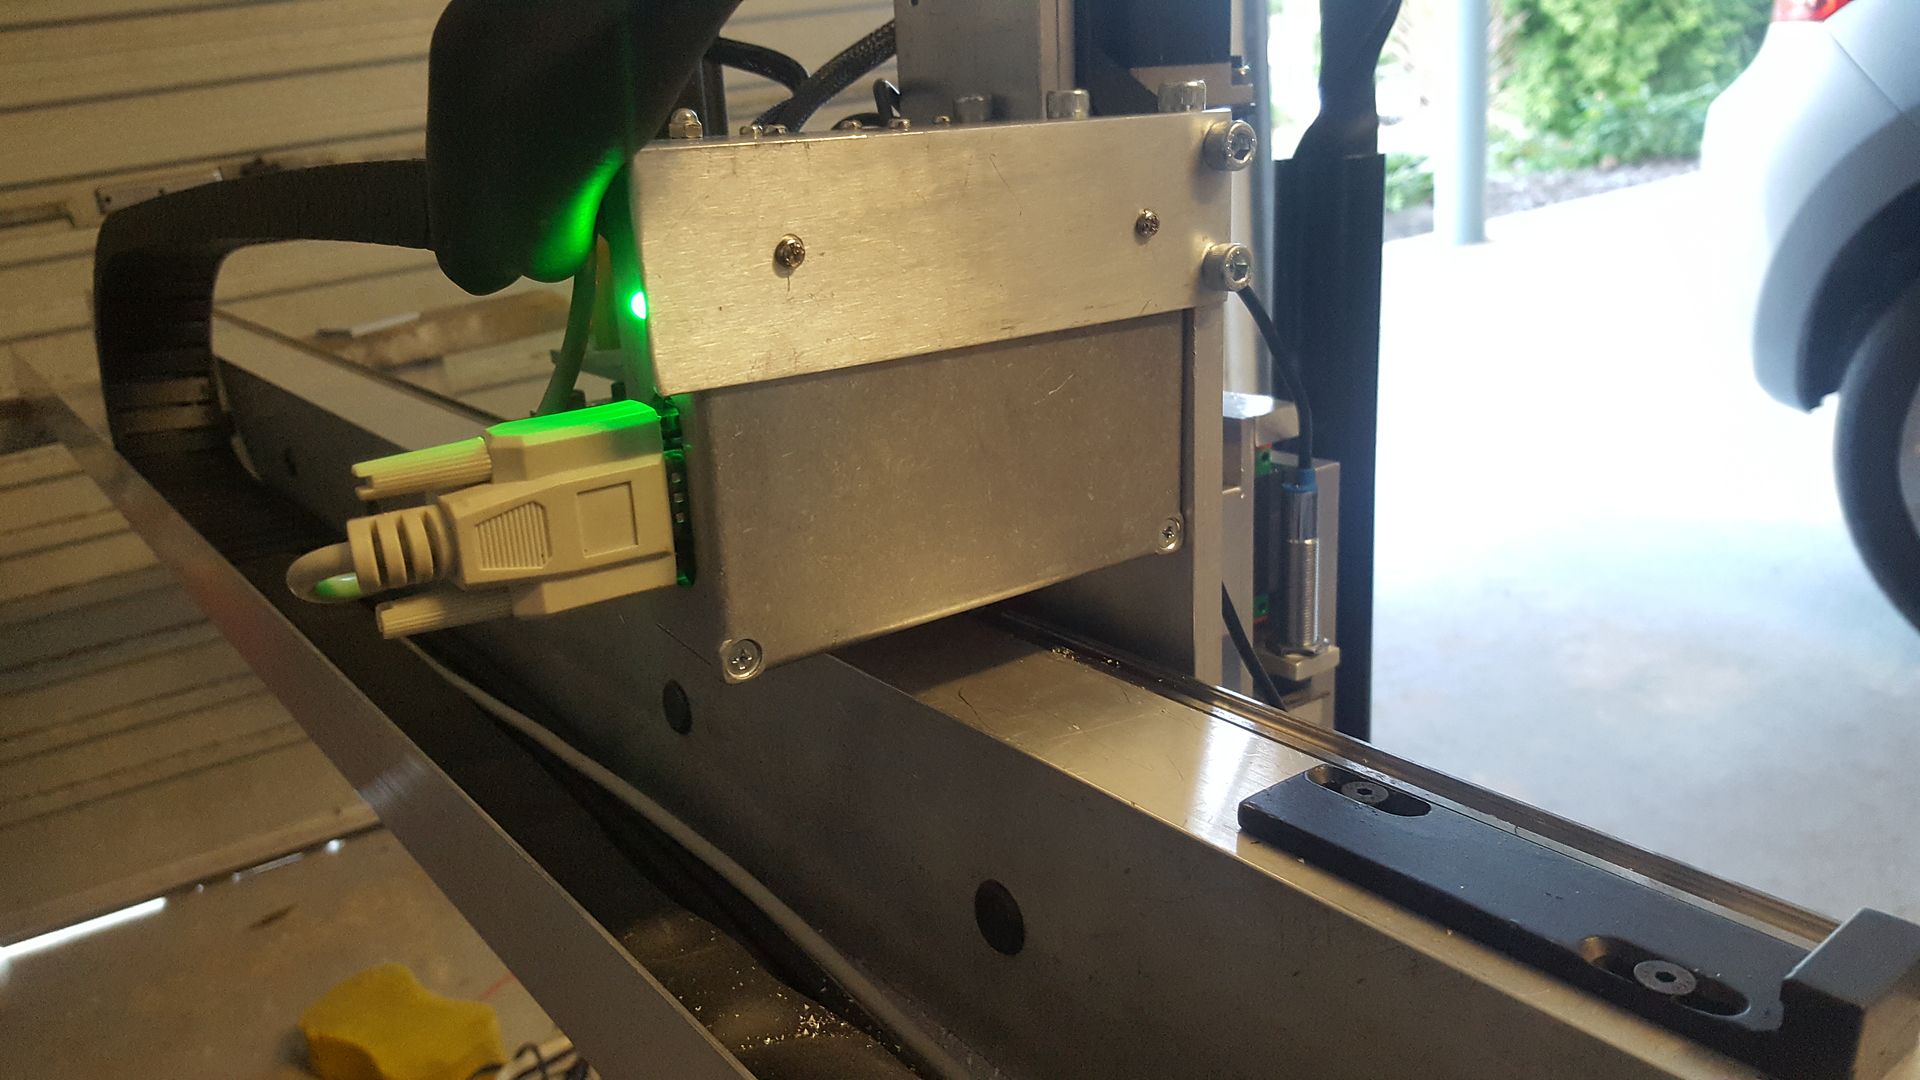
Gantry sensor breakout board
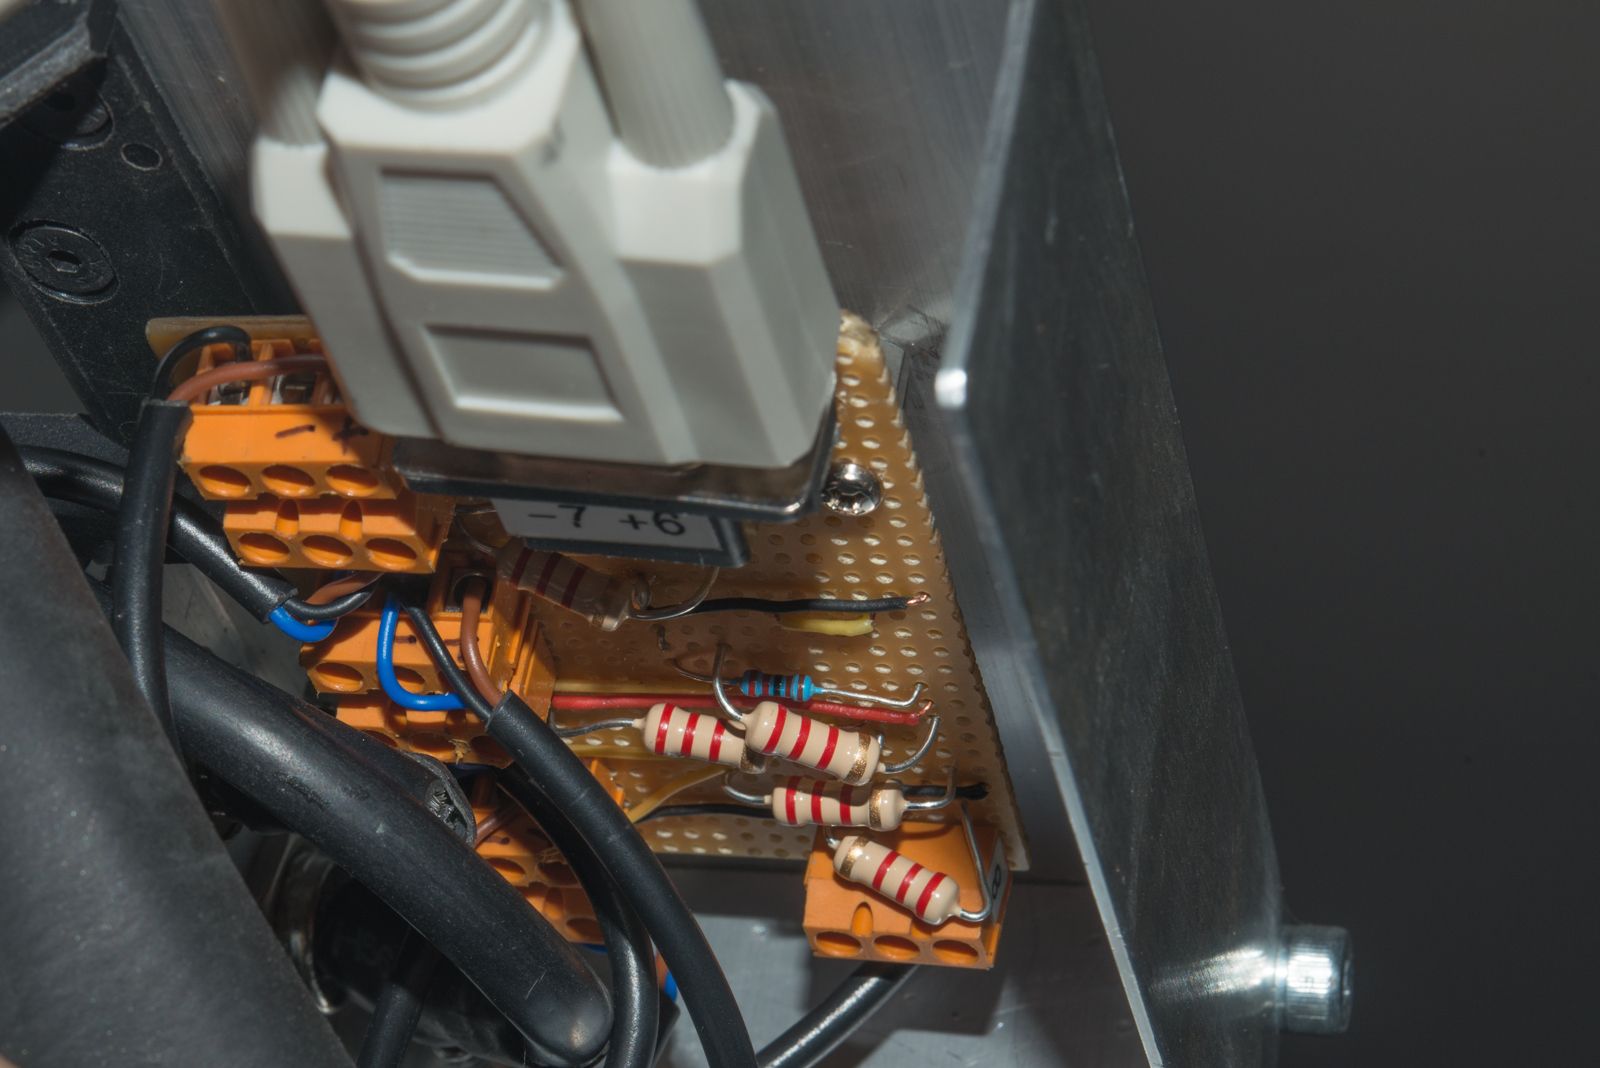
This has worked pretty well with an ordinary DB9 cable. There are 7 sensors up on the carriage.. The upper Z axis sensor is a shared home/limit switch.
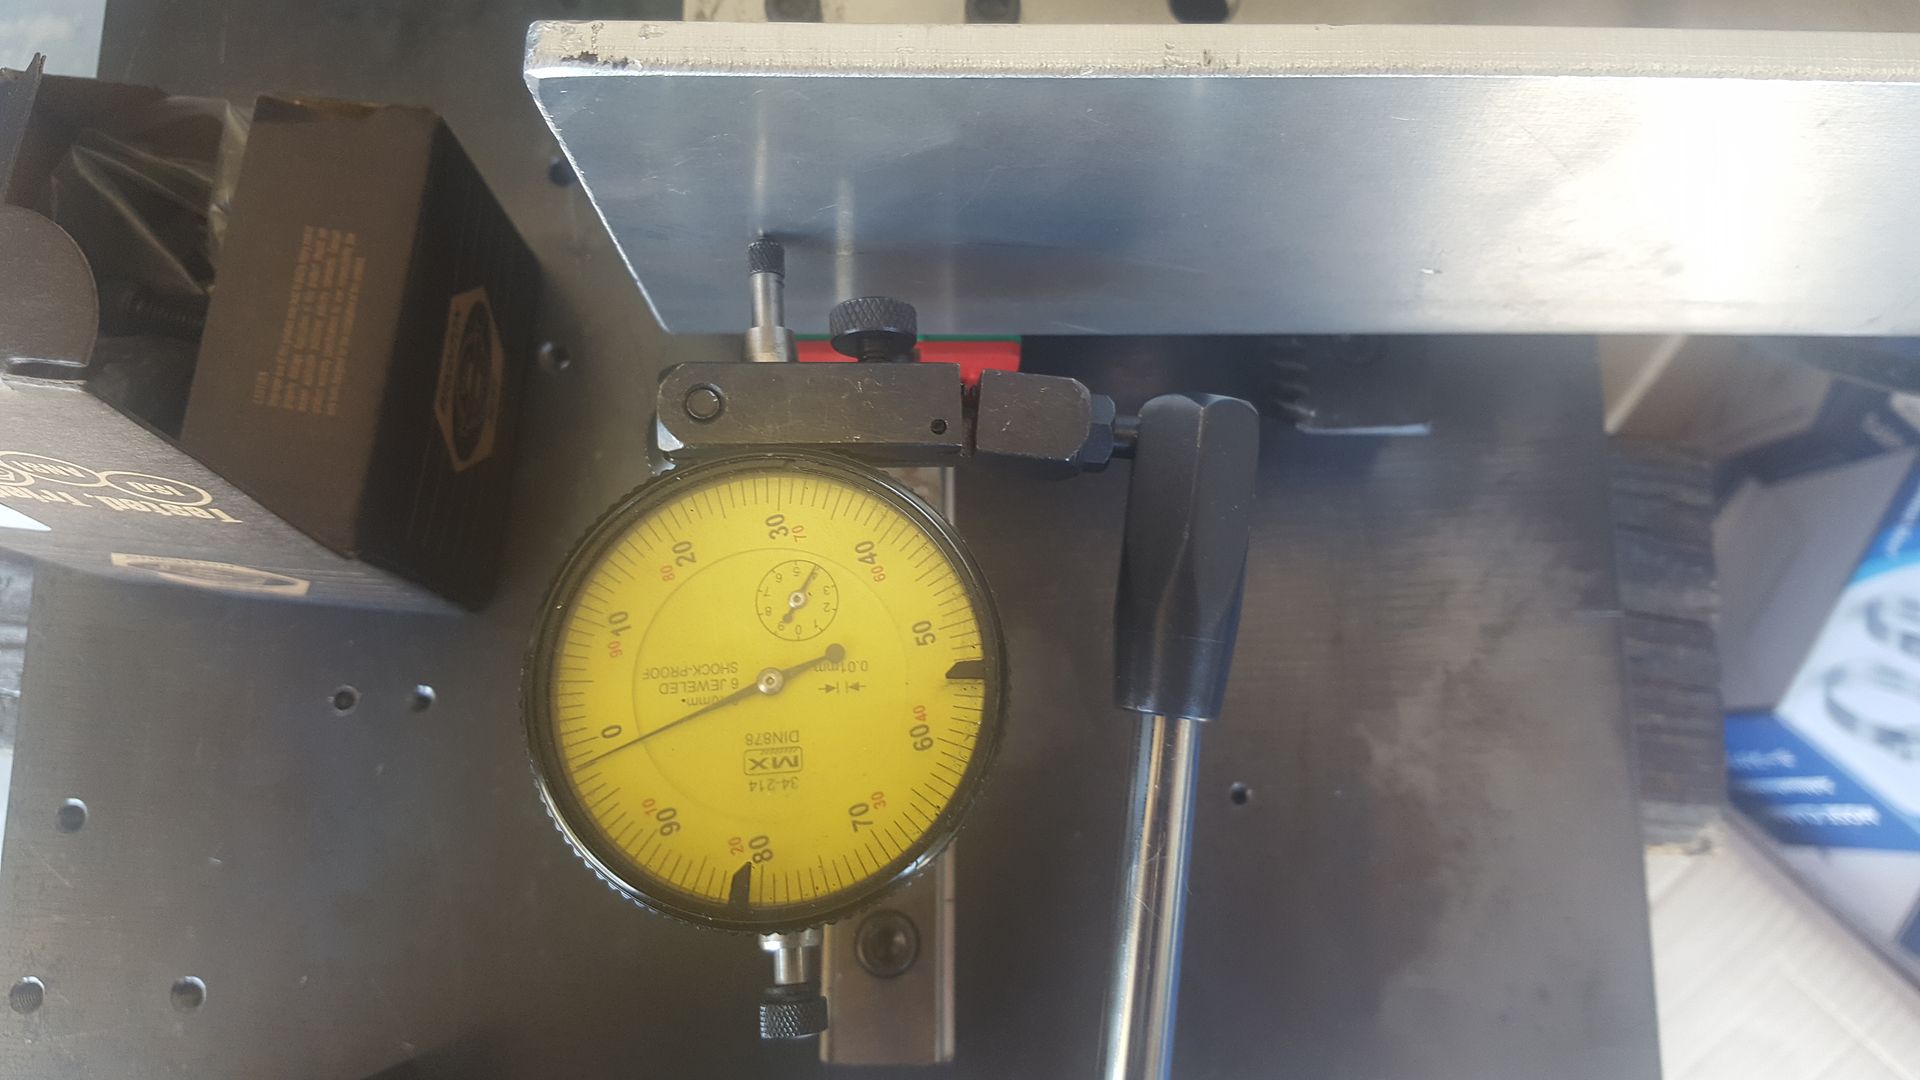
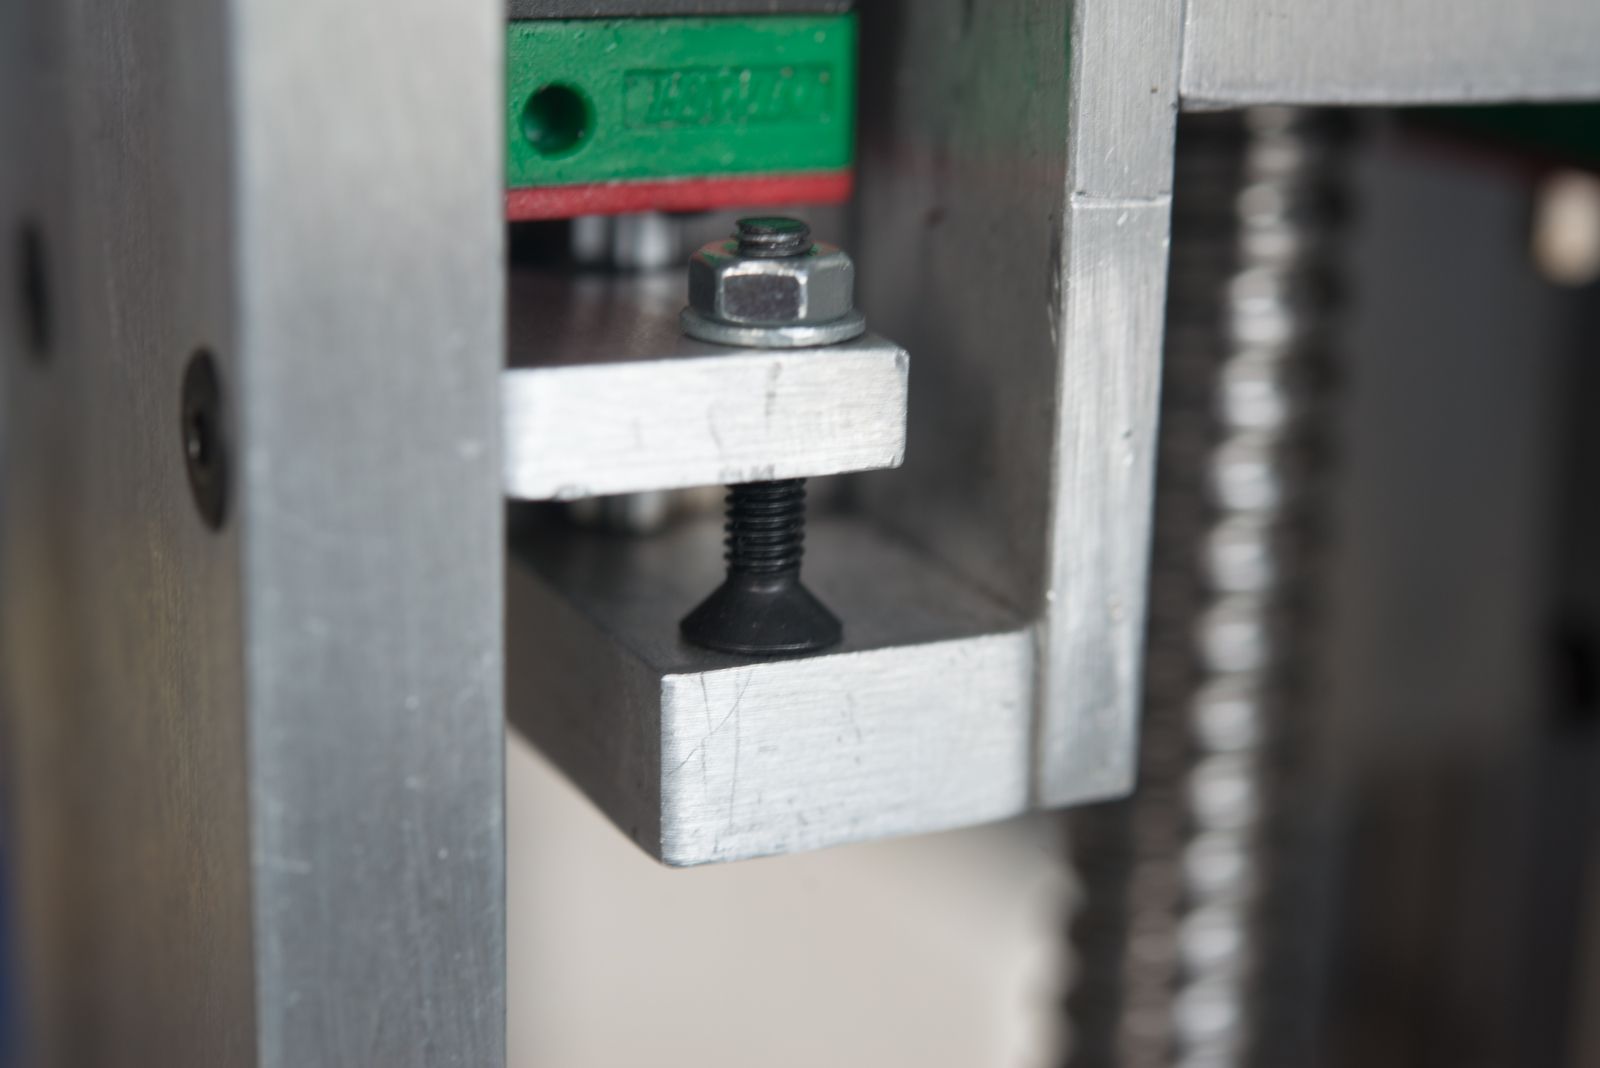
A late addition is an adjustment to minimise float switch movement before triggering. One day I will machine a nice little knurled knob, but there is still so much to do, it can wait.
Gmocappy touch screen interface (still needs a bit of work)
Mesa 7i76e Card that started out once looking so tidy, but wires everywhere testing stuff out.
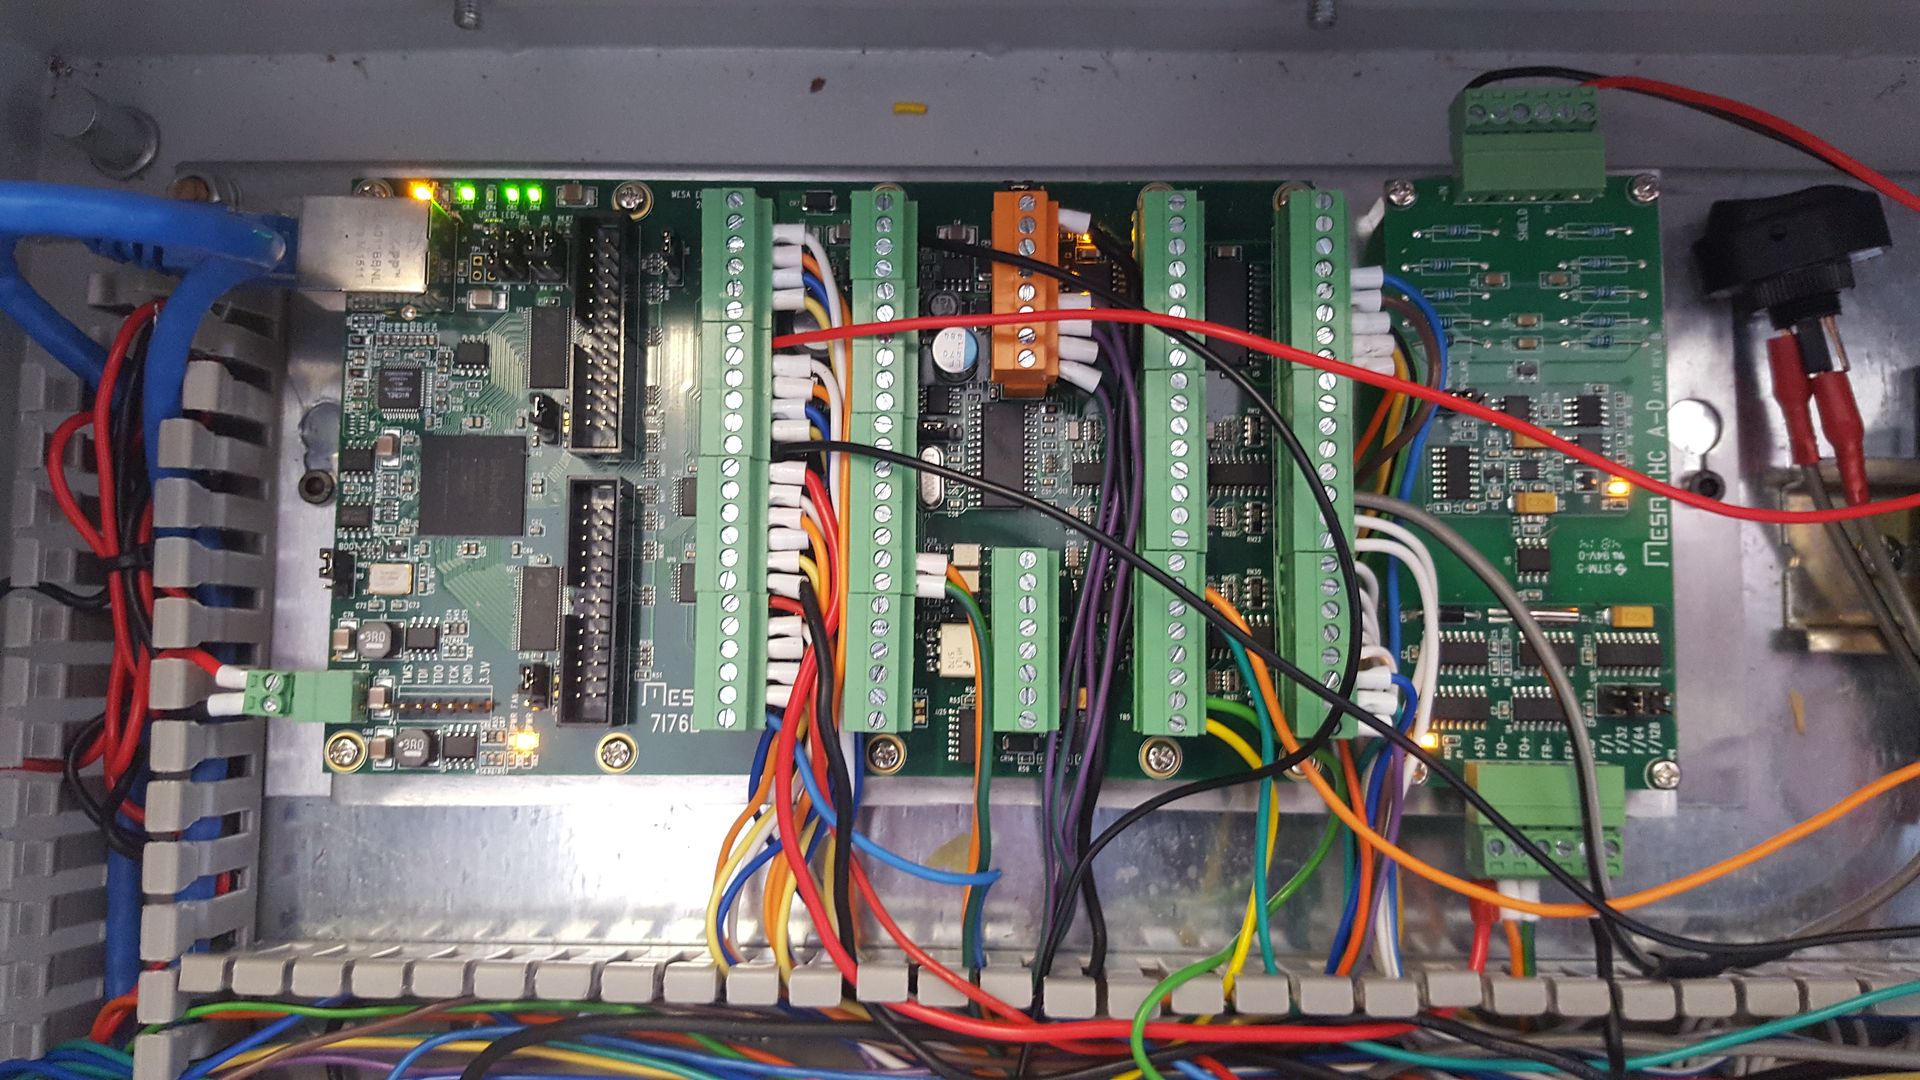
You can see the blue ethernet cable on the left. The small car on the right is the THCAD torch voltage sensor. It converts the voltage to a frequency that connects to the Mesa 7i76e spindle control inputs. Each car dis individually calibrated so the
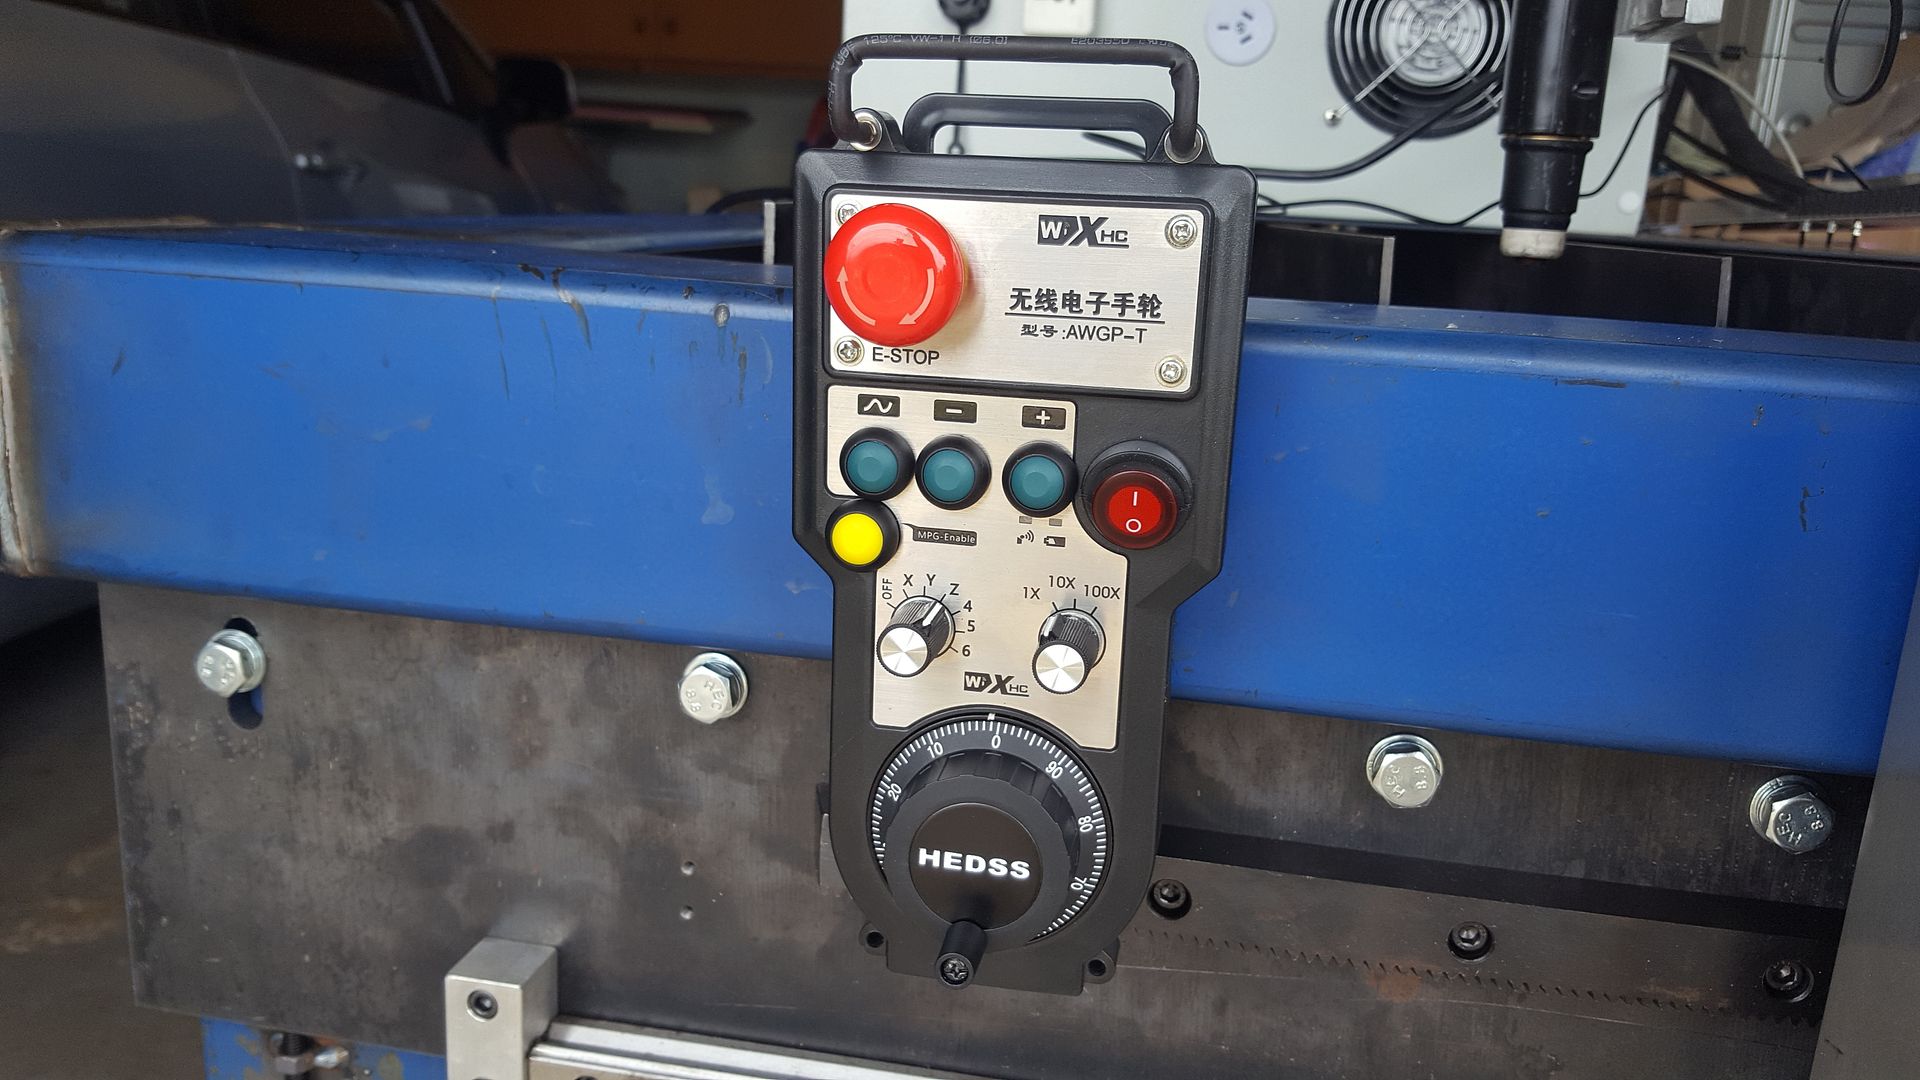
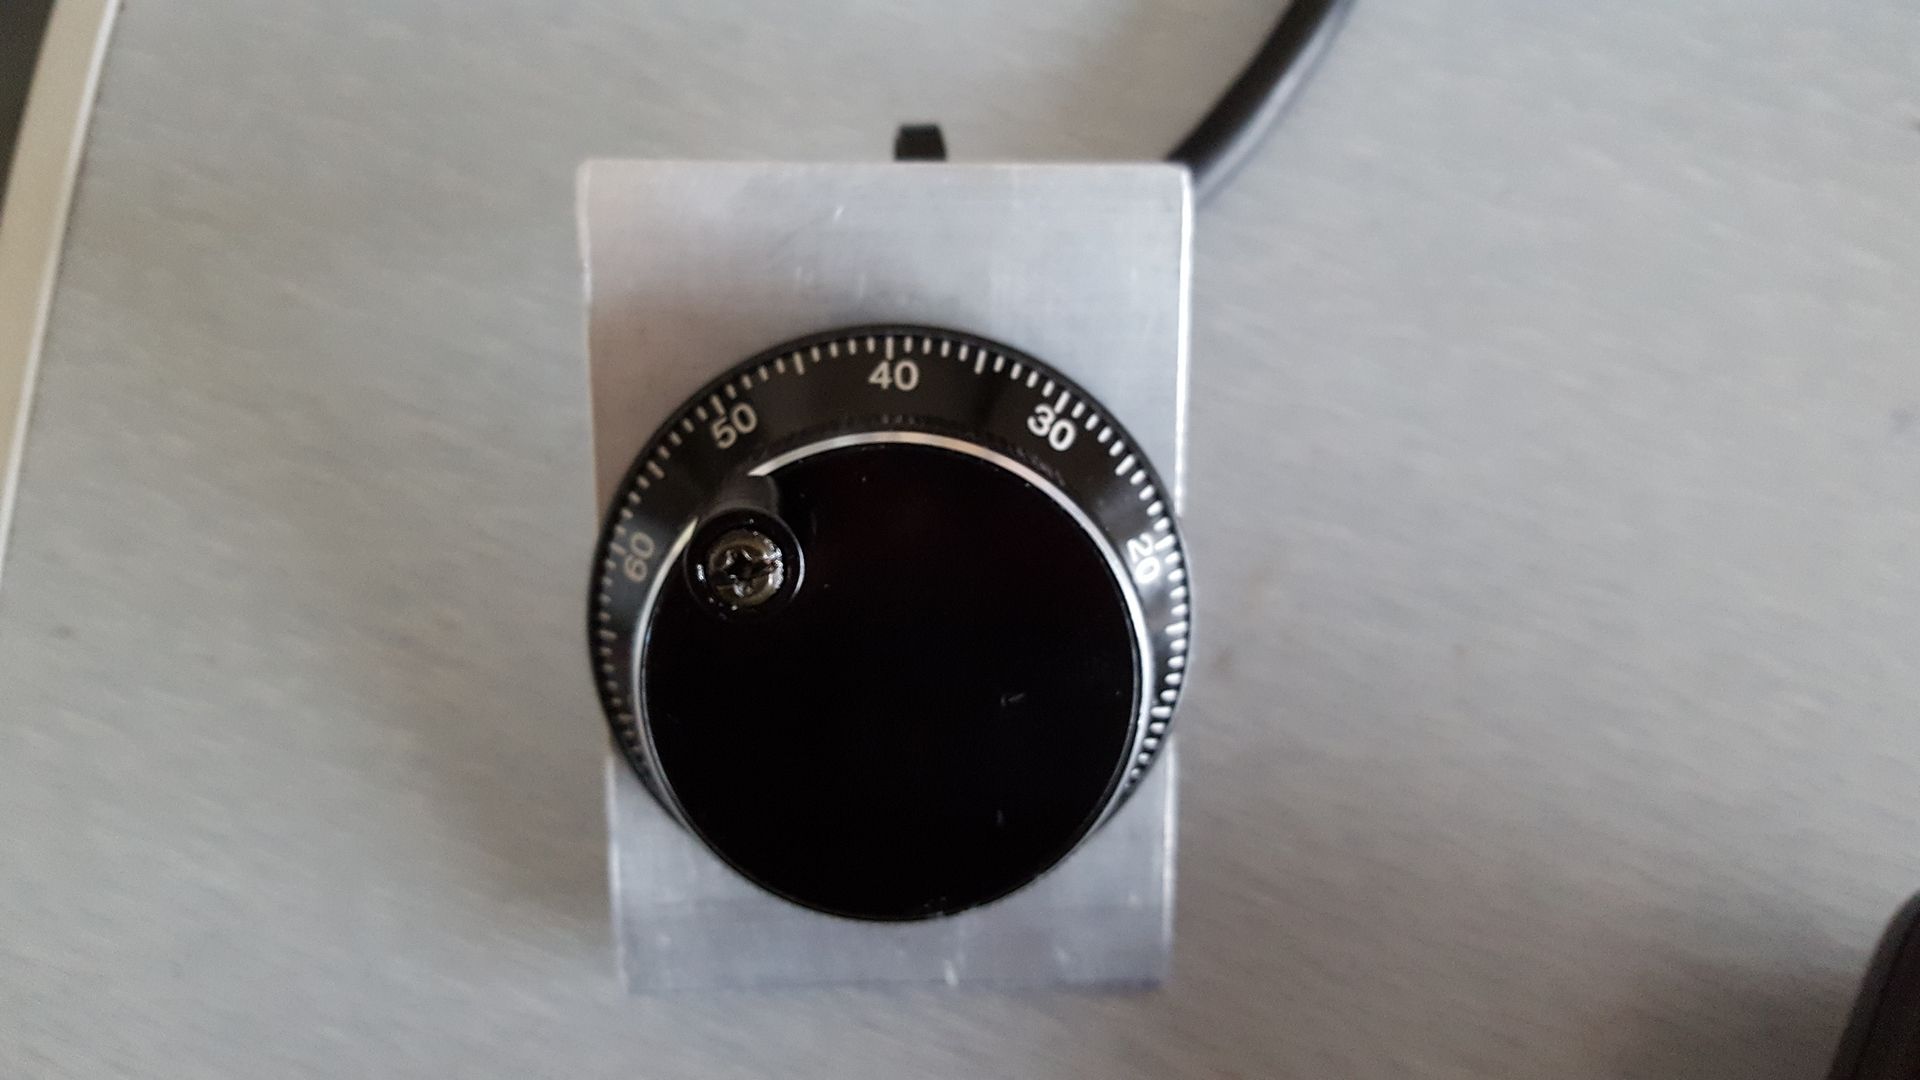
ONe of two MPG encoders that the 7i76e supports
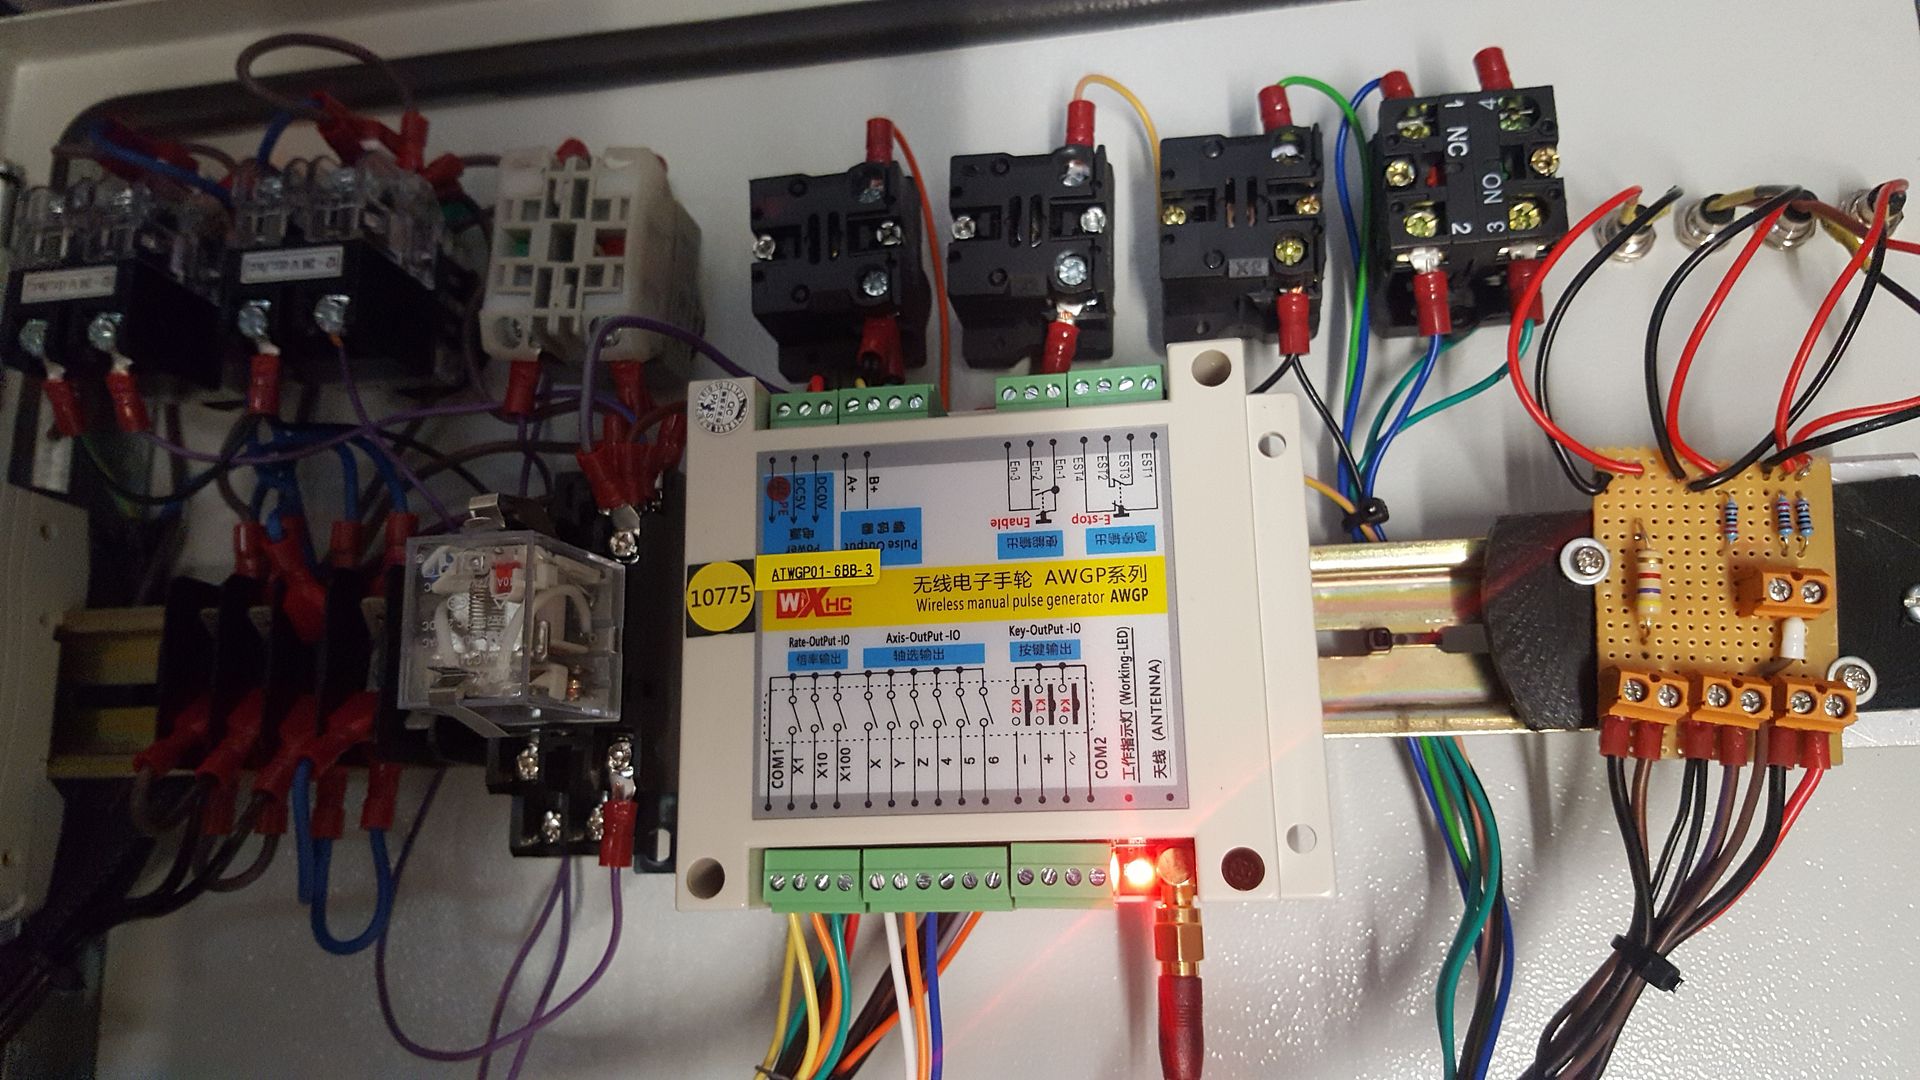
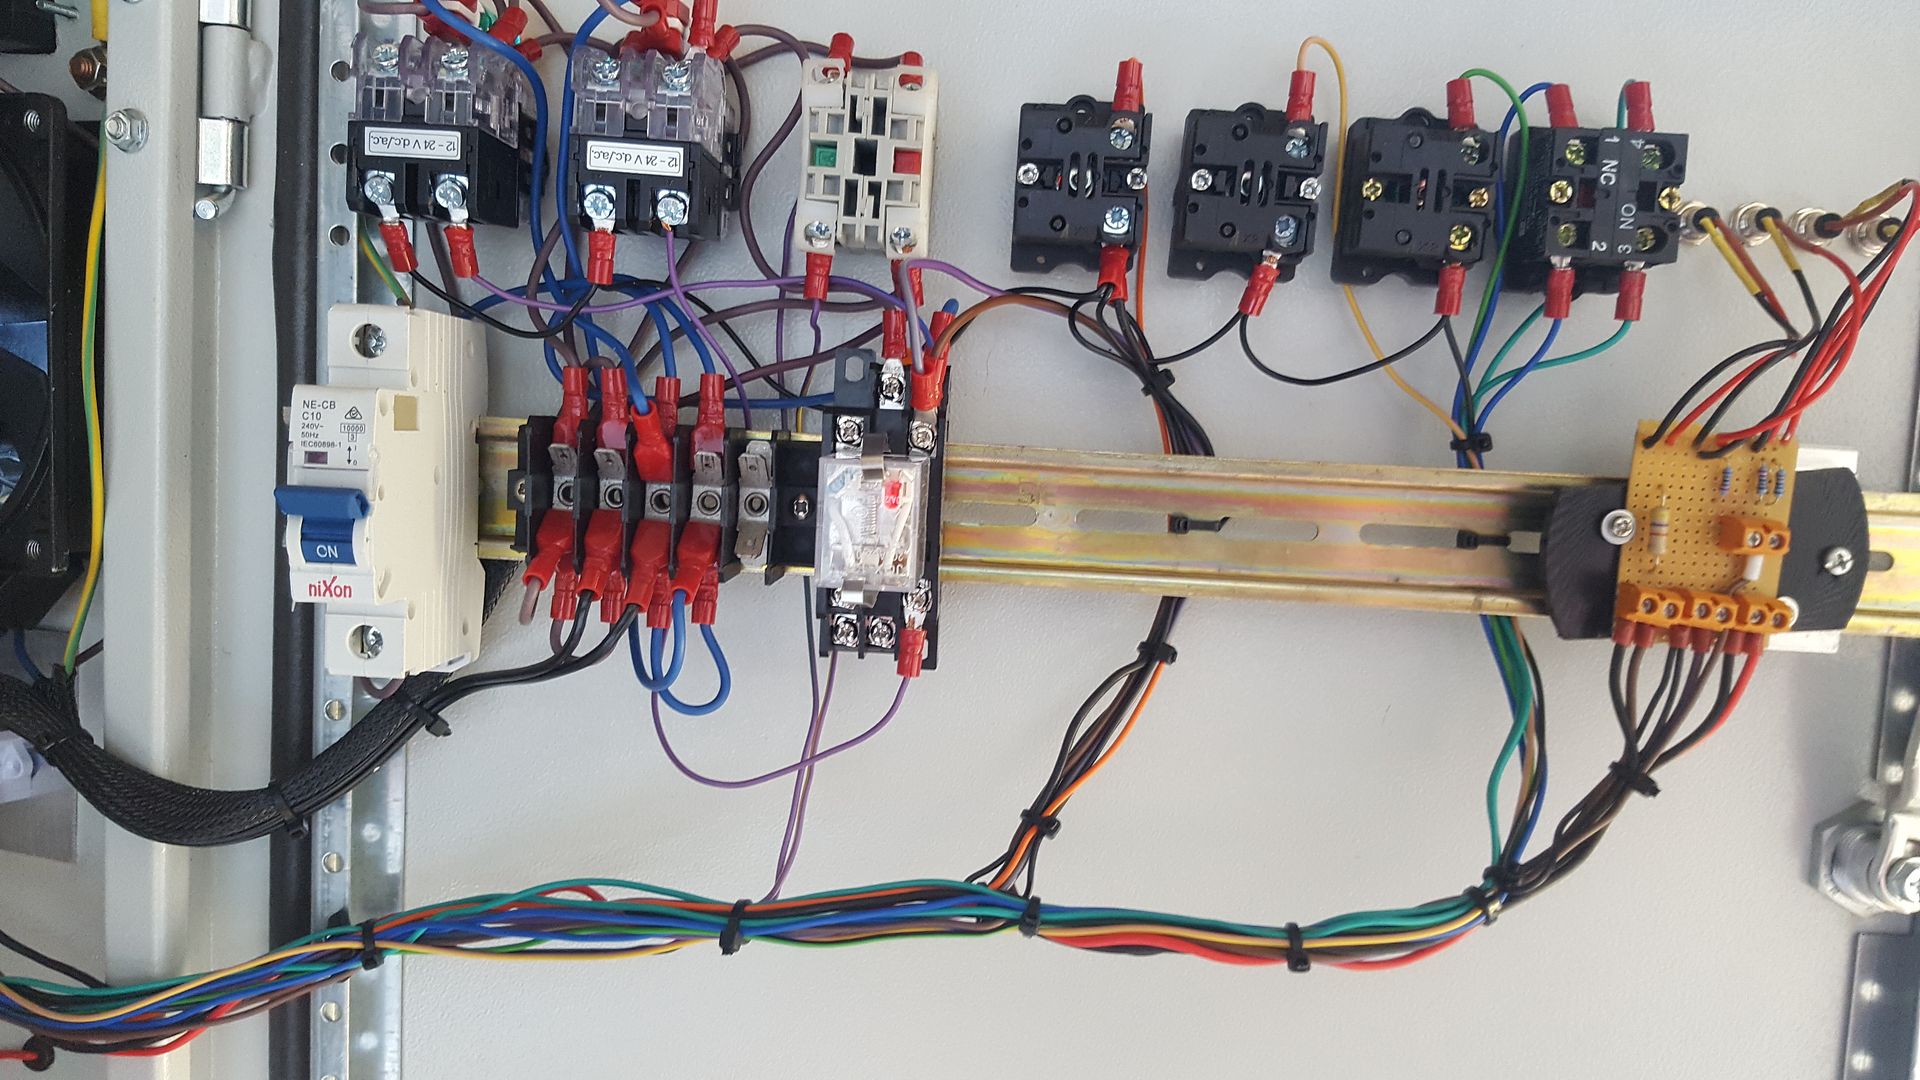
Some of the wiring on the enclosure door. Small circuit board on right just holds some current limiting resistors for LED's to show supply voltage status 5v, 24v, 48v.
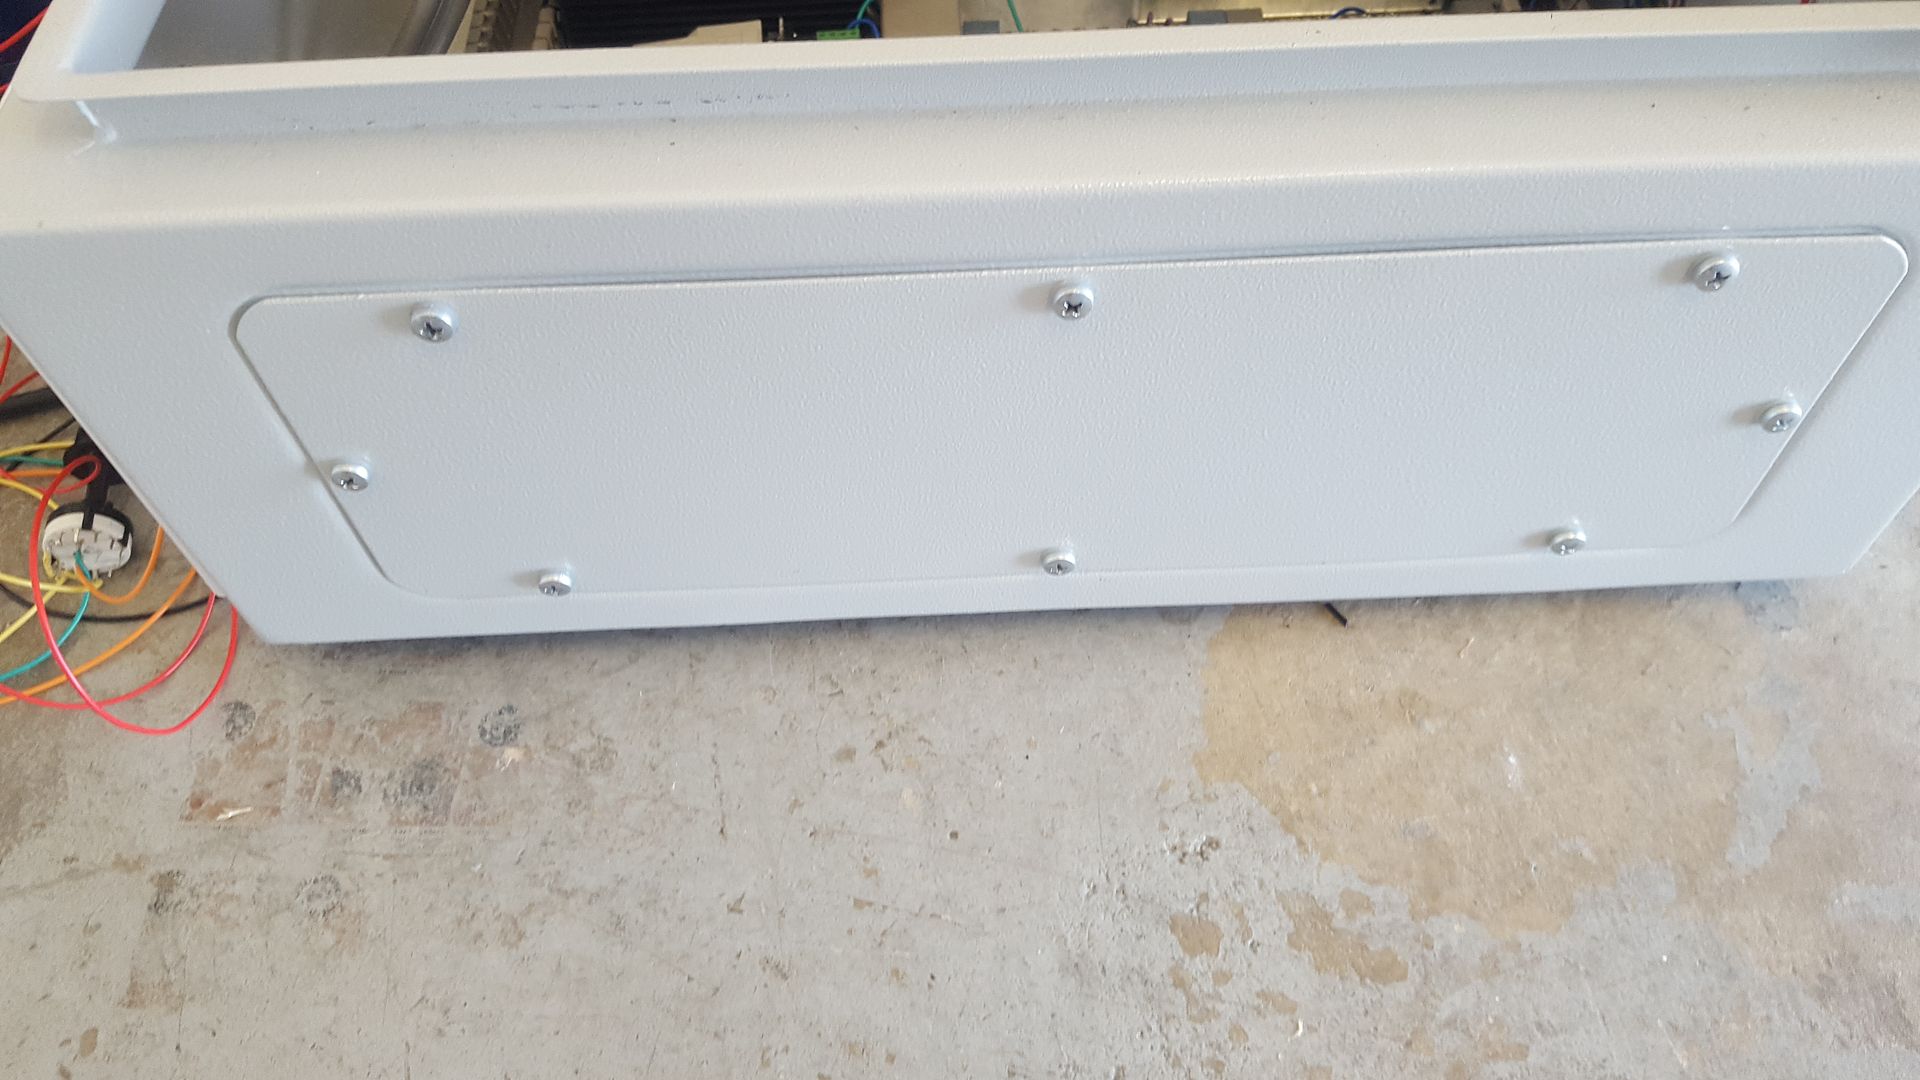
I still have not gathered up the courage to drill all th eholes and mount all of the connectors to the bottom panel of the enclosure.
Power supplies and stepper drivers. The Mes supports 5 axis so I can run the rotary axis for tube.
Some of the laser cut components.
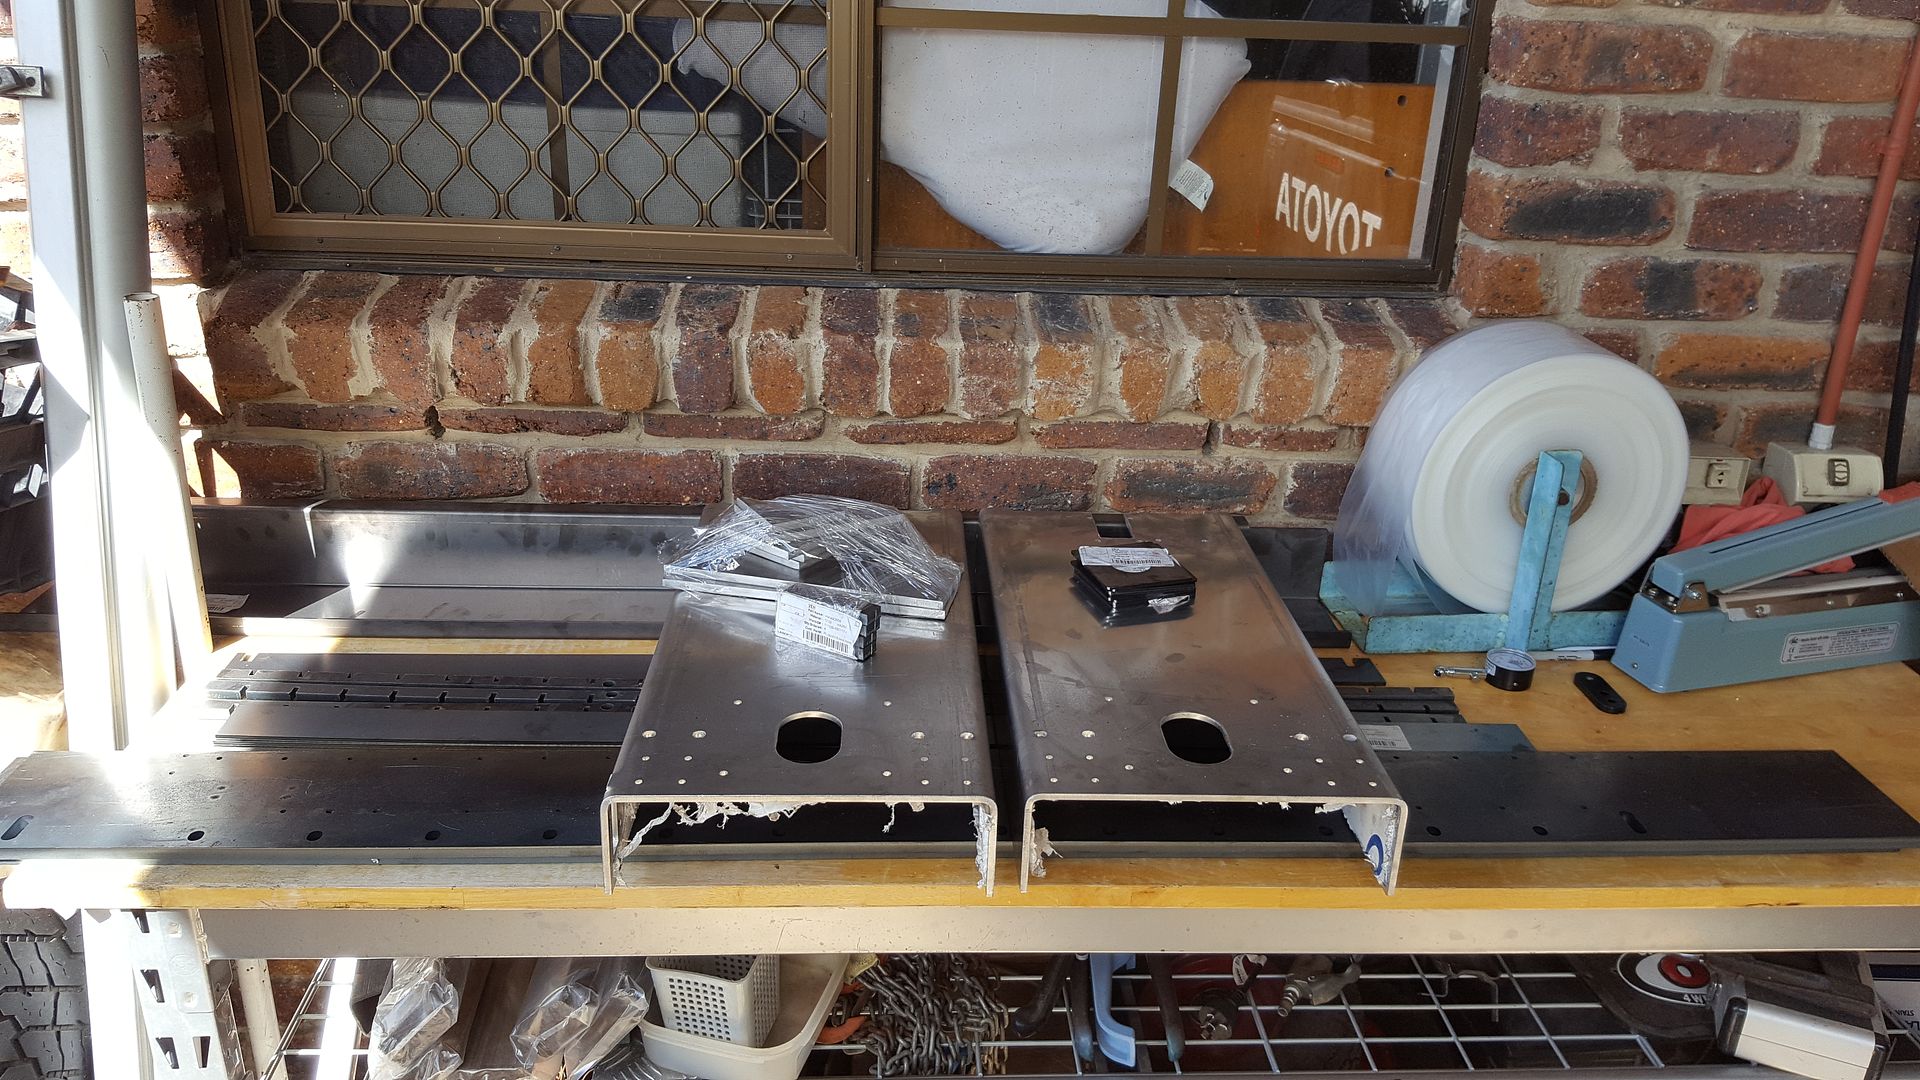
I spent about $1200 all up.
Inside of gantry towers and pinion drive
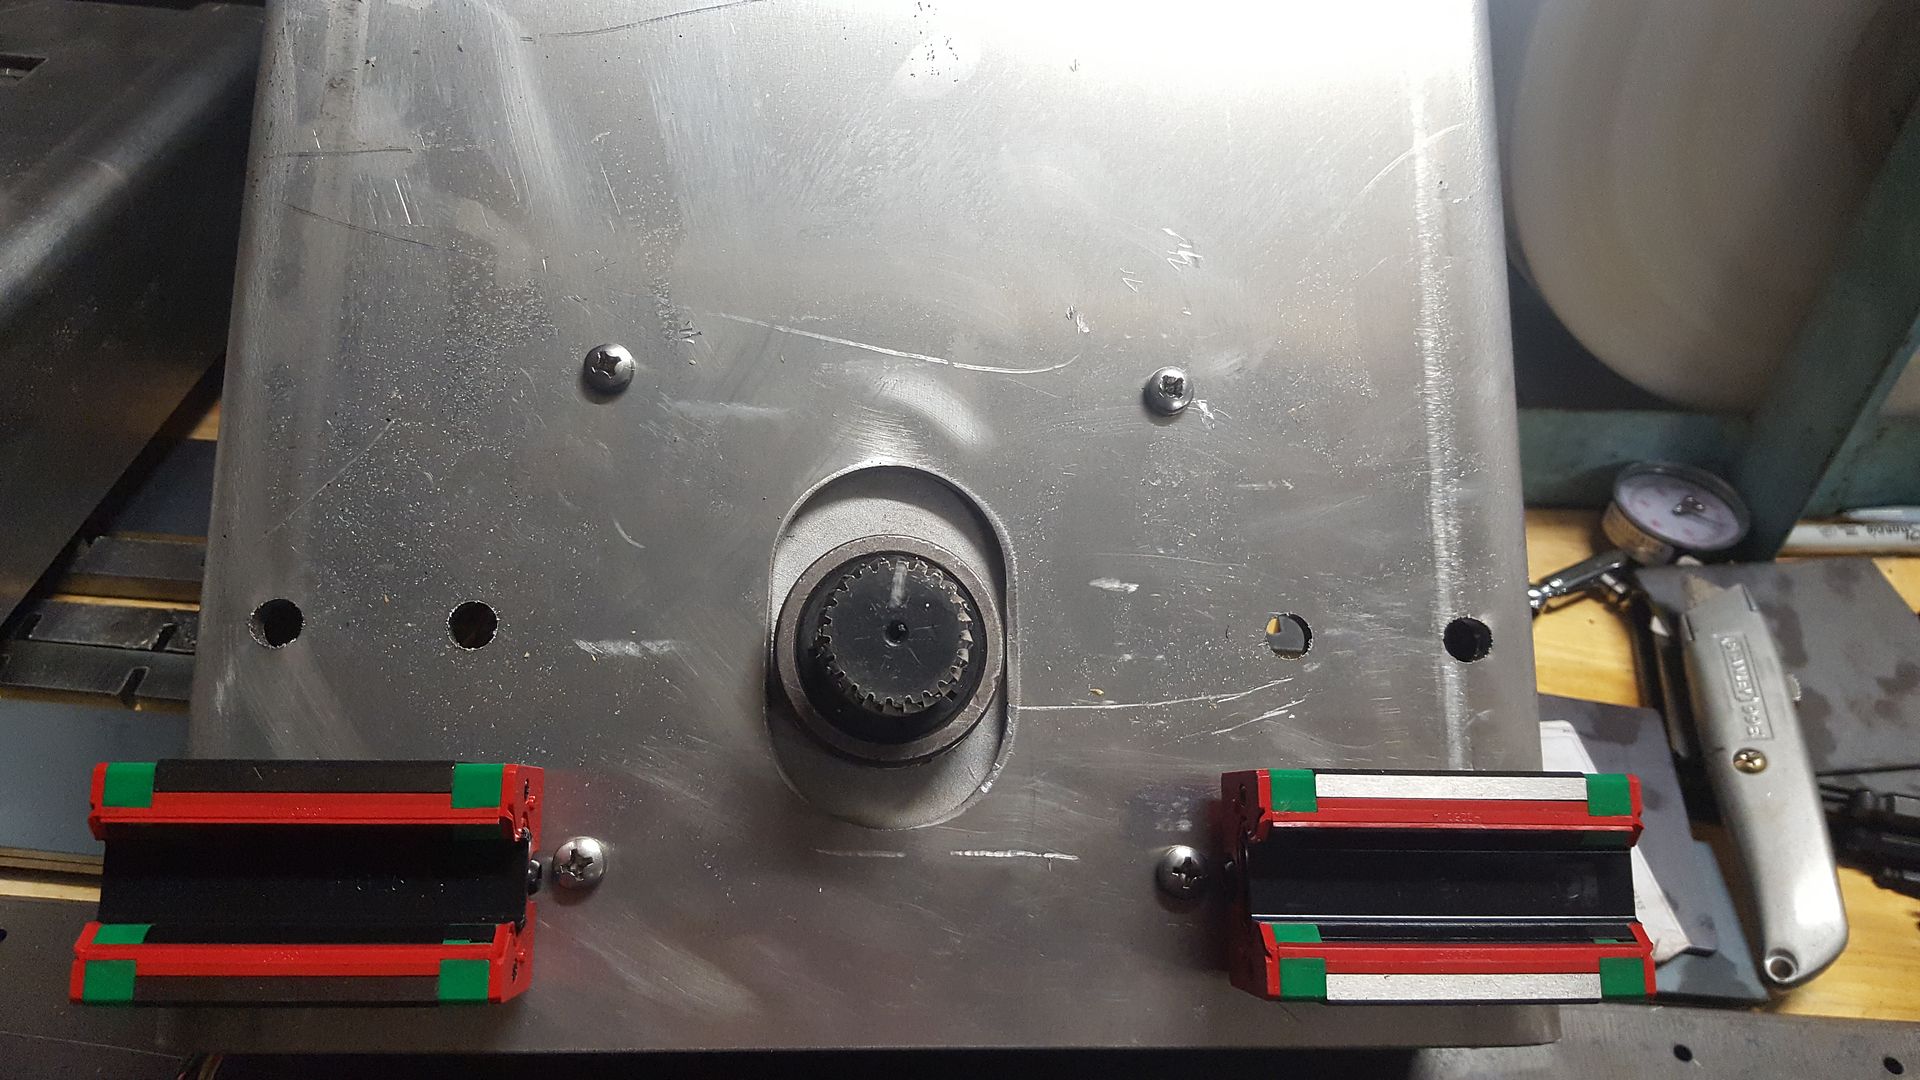
Laser cut mounting plates for rails and rack. Lots of tapping but at least the holes were drilled for me. I broke 1 M4 tap but luckily, I had a spare hole!
LInear rails, rack and gantry tower in position at last!
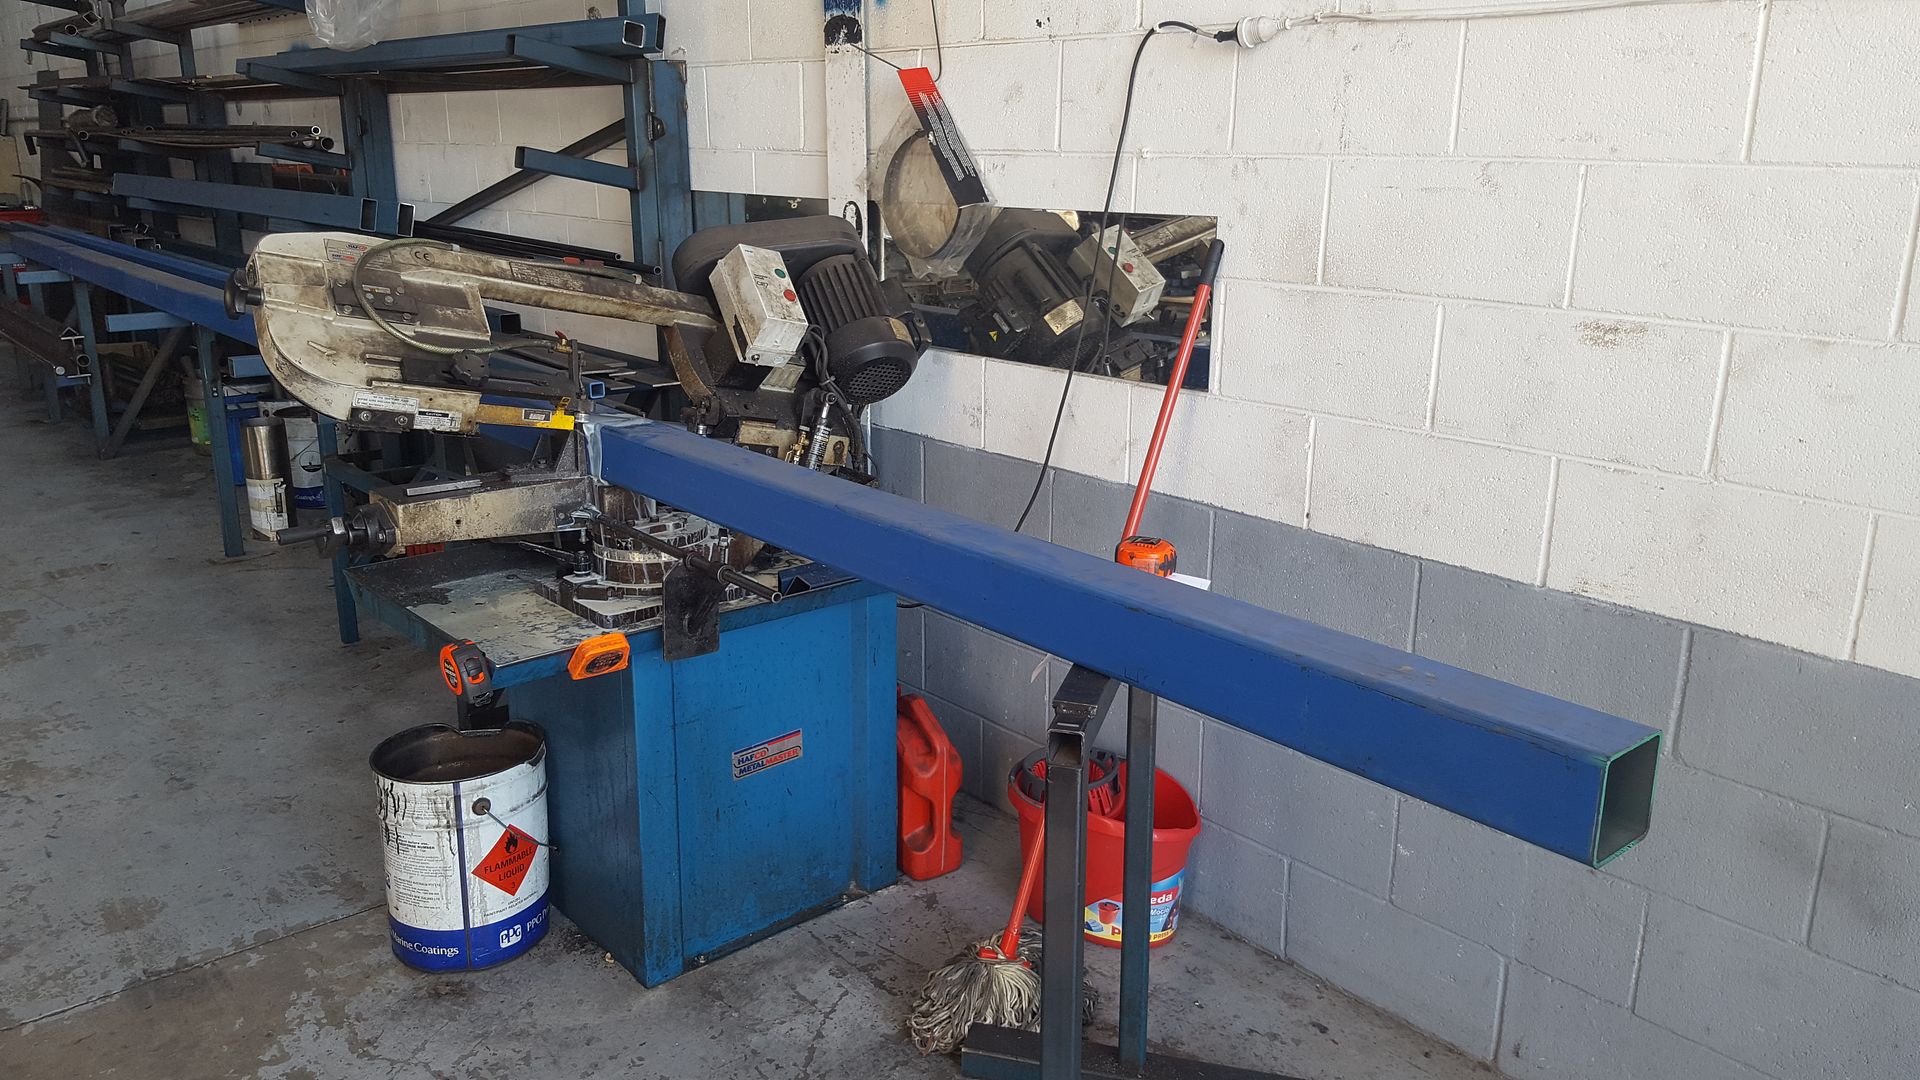
Finally got to cut some stuf ffor the table
Stepper cable connections.
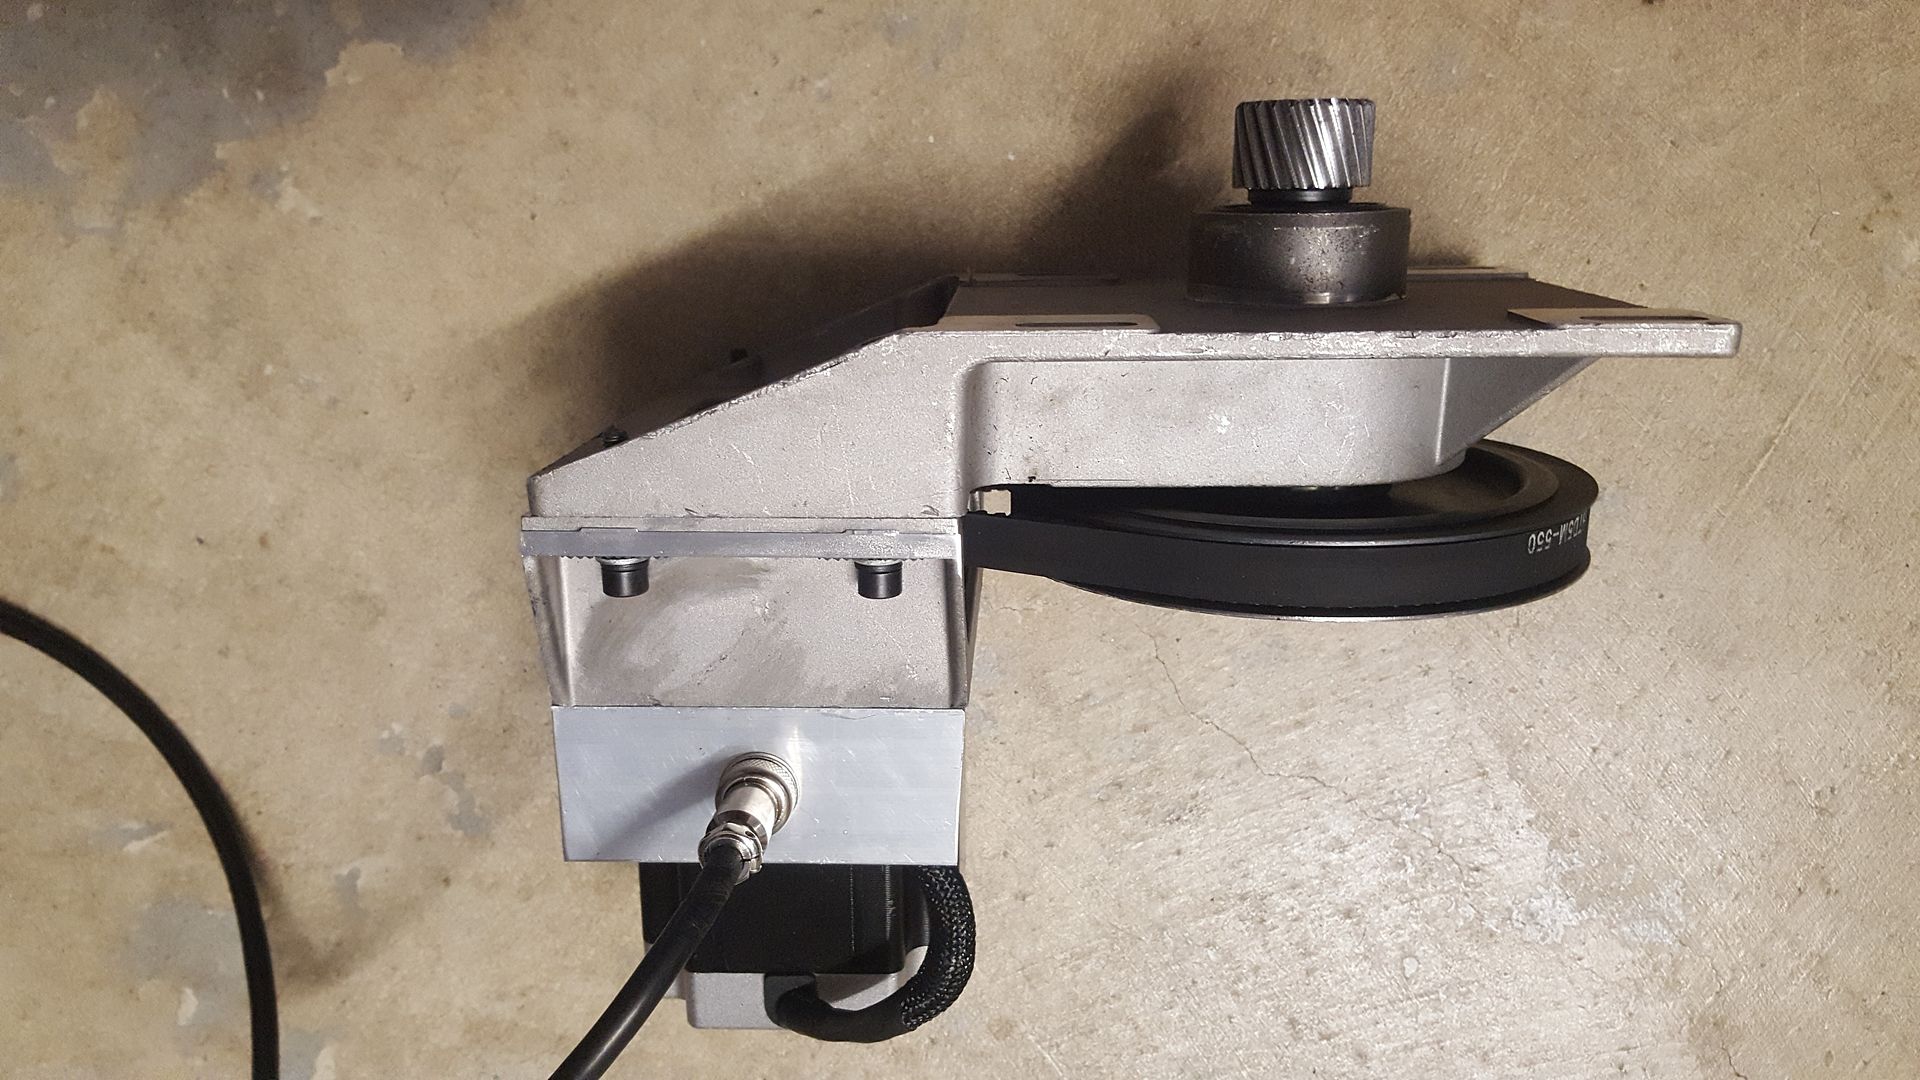
It was a bit tricky to work out where to drill and tap holes to secure the mounting brackets.
Plasma interconnect cable and a shot of the enclosure.
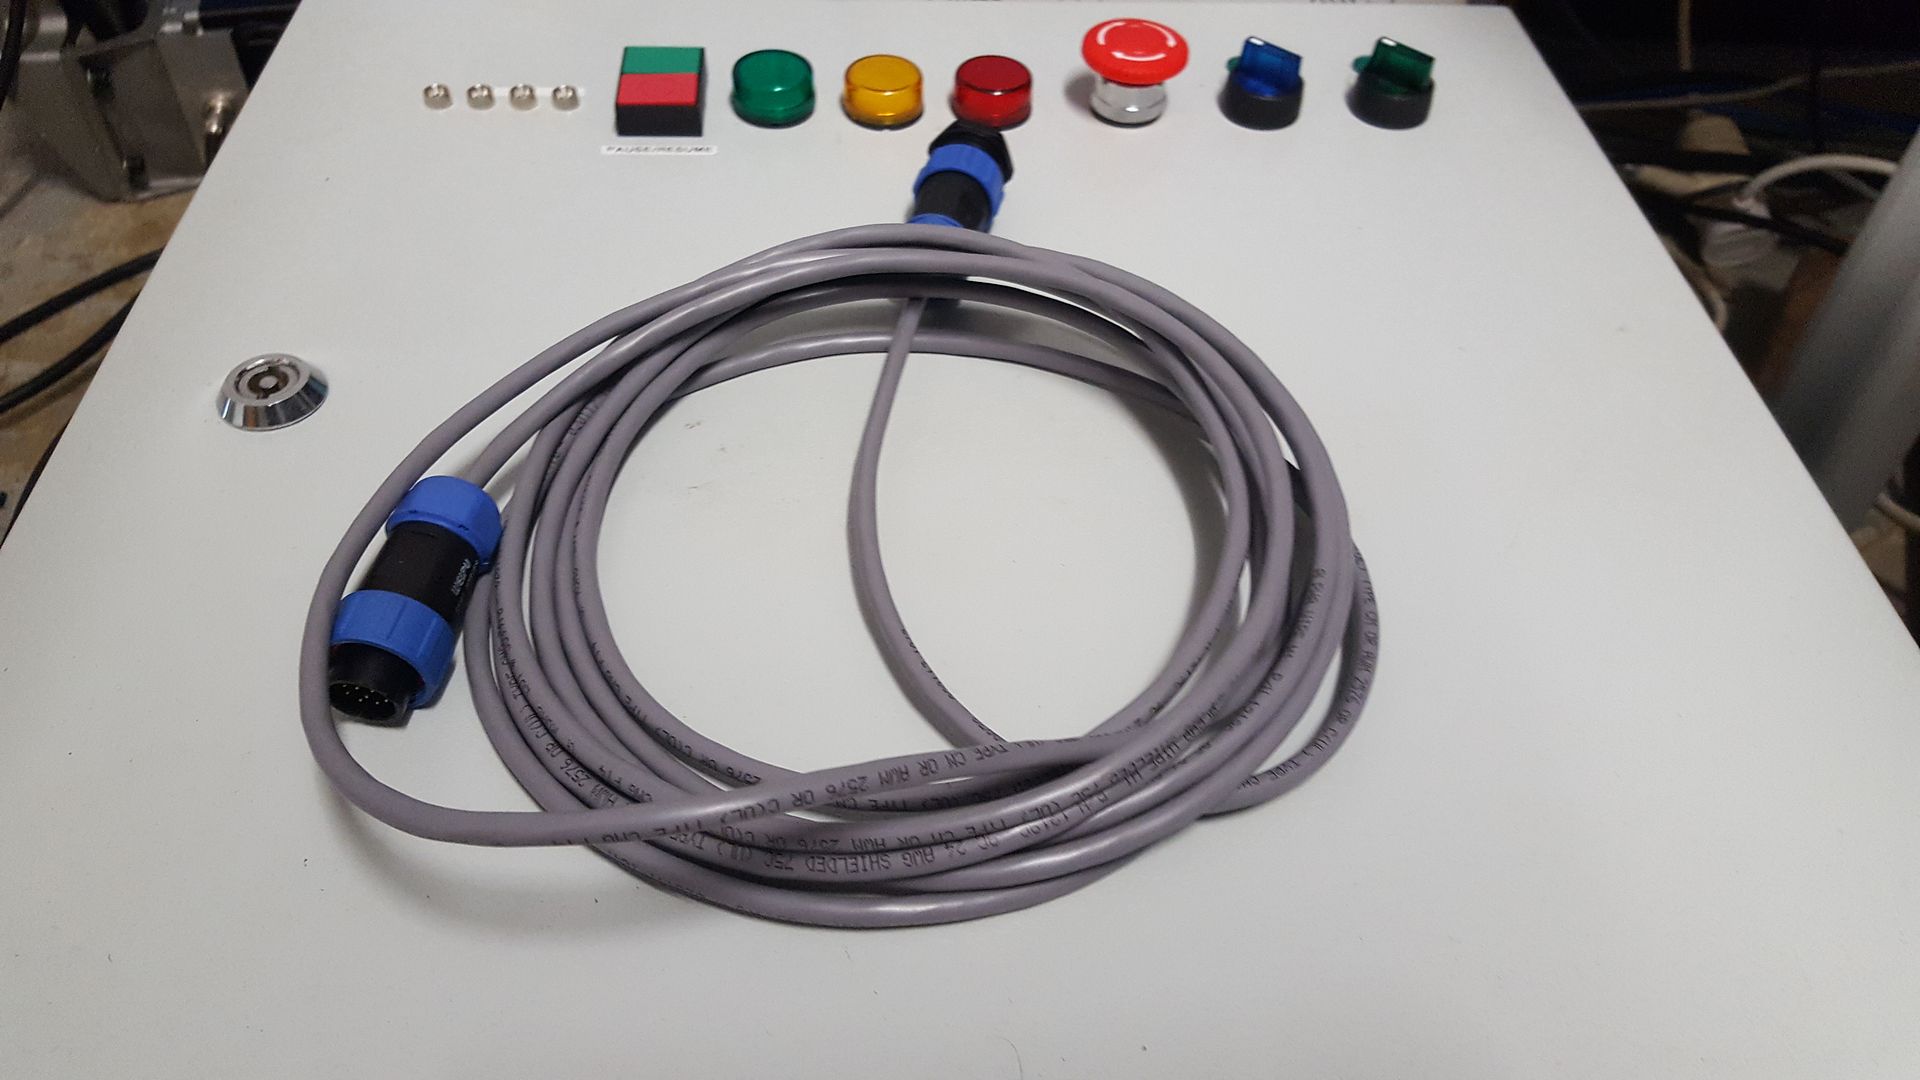
Power circuit LEDs on the right, Run/Step and Hold/resume buttons. 3 warning lights, estop, fan switch and main switch. Neon indicators on the 240 circuits above the last 2 switches are not visible.
Probably worth mentioning that the Mesa 7i76e has 5 stepper interfaces (10 MHz maximum), spindle control, 2 MPG inputs, RS422 interface, 2 expansion slots compatible with normal parallel port breakouts and a range of Mesa Daughter boards. It has 32 inputs and 16 outputsas well as asome analog to digital interfaces. So all in all a very nice bit of kit.
So I'm going to hit submit now and see if I've exceed the maximum number of photos allowed....

