Here is a current link to the CandCNC posts that will work.
http://candcnc.net/images/downloads/AdvancedPOSTS.zip
You will need to set YOUR offsets in the Post Processor.
The post I am using is Rev 9
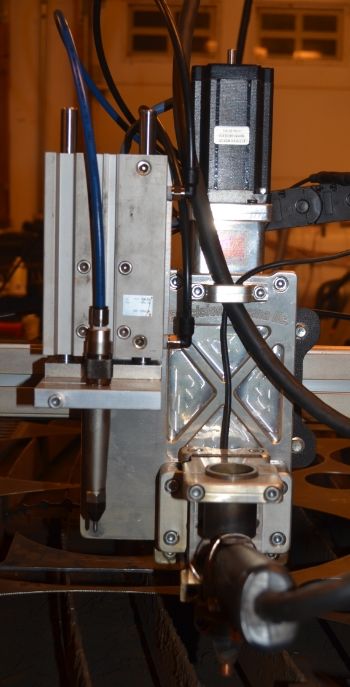
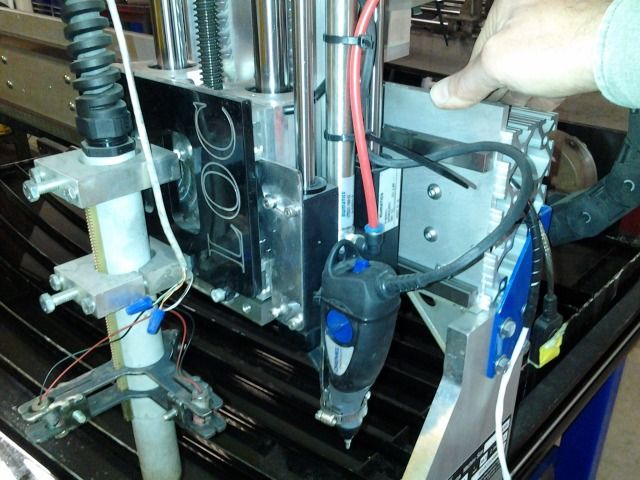
the settings as it comes are as follows, You will need to make your adjustments accordingly. You can edit this in Sheetcam. You can measure your X and Y offsets by punching a hole manually in a piece of scrap or a drop Zero X&Y then driving the scribe tip to drop into that hole You don't need the air connected for this. Read the DROs in MACH to see your offsets. This is just helpful information, Doesn't have a lot to do with the nature of this project. Just something you will have to do for YOUR installation of a scribe.
--************************************************
--*** Set these values up to suit your machine ***
--************************************************
--this is the distance between each torch reference in MILLIMETRES
refDistance = 0
switchOffset = 0 -- default touch0ff swtich offset
minLength = 0 -- default minumum length of cut for DTHC operation (set dynamically)
refFeed = 508 --this is the reference feed rate in mm/min NOTE Does not work with Z homing (touch off)
--Scriber X,Y,Z offsets in MILLIMETRES. Do not use inches here even if you want inch code
--For the marker use the scriber Z as the offset from Z zero you want the Z to move to during a scribe.
--Change these values to suit your scriber setup
scriberX = 50.8
scriberY = 50.8
scriberZ = 36.4
--scriber axis. Leave this as nil if the scriber is fixed to the same axis as the torch
scriberAxis = nil
--If this value is set to true then use G28 (home) for the Z reference
--Set it to false for G31 probe
refHome = true
--this value when set to "true" will set the Z to lift to rapid height between paths when using the marker tool.
--if false it will not lift the Z between paths but will at the end
markerZ = true


